| |

Laravel Google OAuth authentication using Socialite PackageIn this section, we are going to learn about Google OAuth authentication. We will use Laravel and the socialite package to do this. Social networks are spreading all over the world, and a large number of people are connected with them. Today, our website requires the implementation of social authentication because social networks such Twitter, Facebook, Github, Google, etc, are connected with many developers, many users, etc. In our application, we will see the process of sign in and sign up into a Google account. Using Laravel, we can very easily register our Google id and login into the Google account. The socialite package is provided by Laravel 5, which is used in social authentication. In order to sign in and sign out, the step by step is described as follows: Step 1: In this step, we are going to do Socialite package installation. This package is used to provide fb api, which will help us to connect with Google accounts. For this, we will use our command prompt and run the following command: When the above package is successfully installed, we will use a file named config file and add aliases and providers into it. Now, we will use a file named config/app.php and then add aliase and service provider into it like this: Step 2: In this step, we are going to Create Google App. For this, we require the id of the Google client and secret. Using these details, we can get the other user's information. We can use the following link to create the Google app account if we don't have: https://console.cloud.google.com/projectselector2/apis/dashboard?supportedpurview=project When we click on this link, we will get the following page: 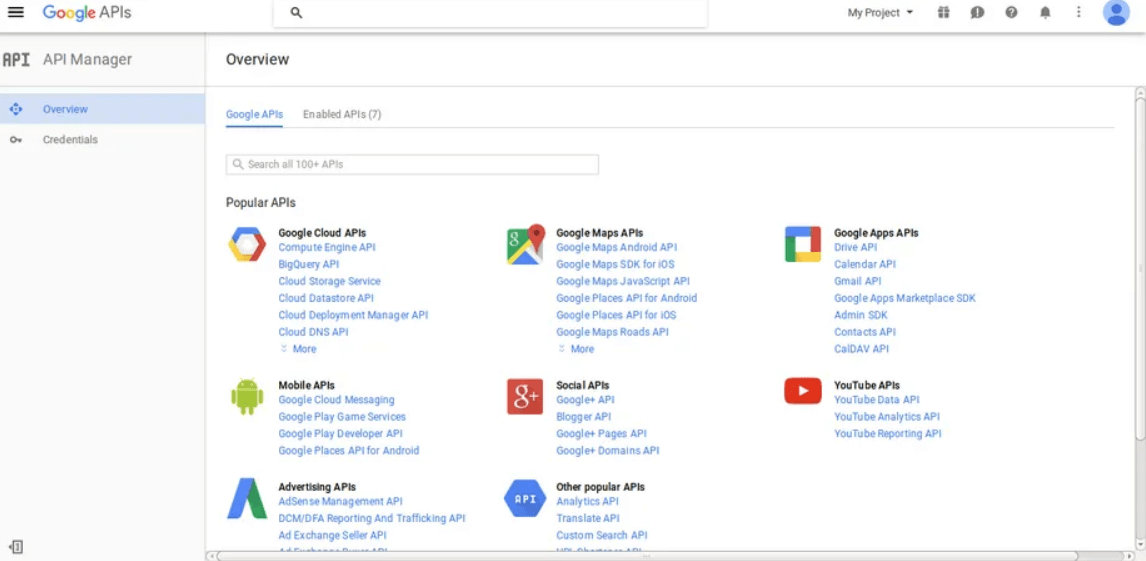
Now we will click on Credentials. After that, we will select the first option, OAuth. Then we will click on the button named Create new Client ID. After this, we will see the following page: 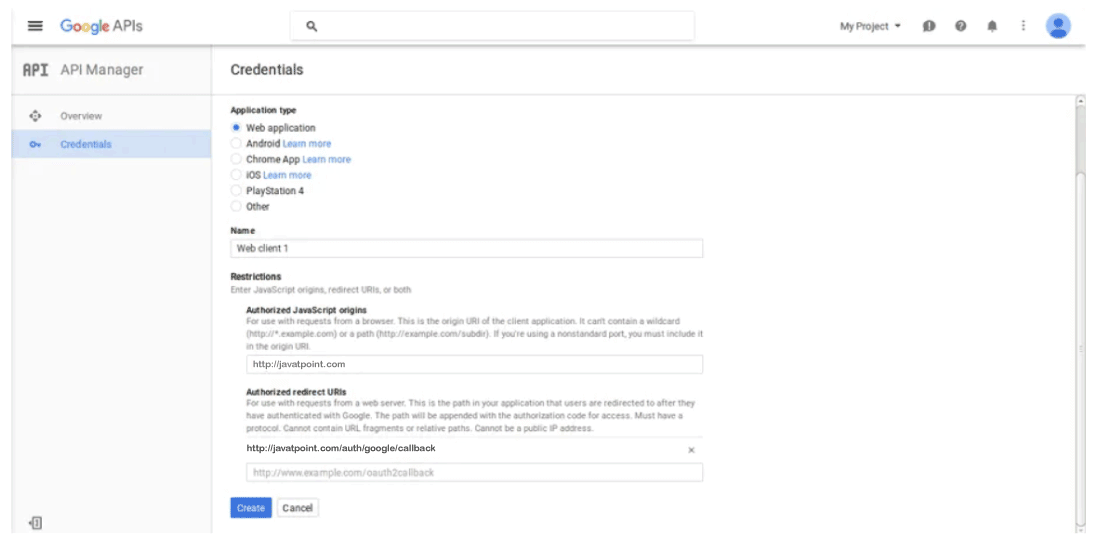
When we complete the process of creating an account, we are able to copy the id of the user and secret. Now we will use the config file and set the id of an app, secret, and call back url. For this, we will open a file named config/services.php, and then we will set id and secret like this: config/services.php Step 3: In this step, we are going to Create Google login. Now we have to add google_id by creating the migration in our user table. The code to create migration is described as follows: Migration When we successfully add the google_id column, we have to first login into Google by adding the new route. For this, we will use the routes.php file and add the following route code into it like this: app/Http/routes.php When we successfully add a route, we have to add the Google auth method. Using this method, we can handle the URL of Google callback, etc. We will use a file named AuthController.php and add the following code into it like this: app/Http/Controllers/Auth/AuthController.php After this, we have to add the blade view. For this, we will create a new file named googleAuth.blade.php and then add the following code into it like this: resources/views/googleAuth.blade.php Now our above code is ready to run. When we open our URL, the following output will be generated: 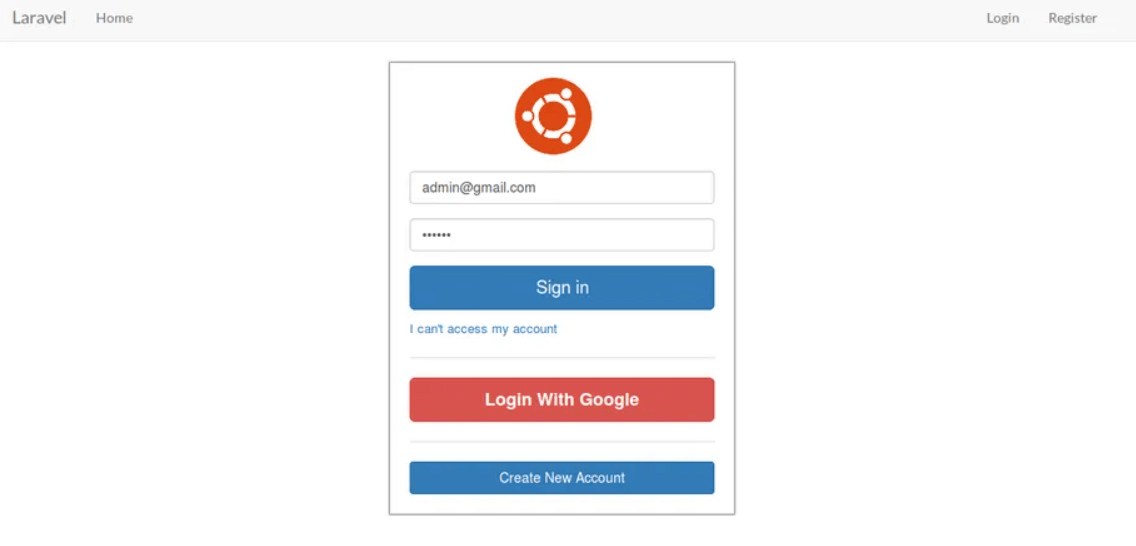
|
 For Videos Join Our Youtube Channel: Join Now
Feedback
- Send your Feedback to [email protected]
Help Others, Please Share


