| |

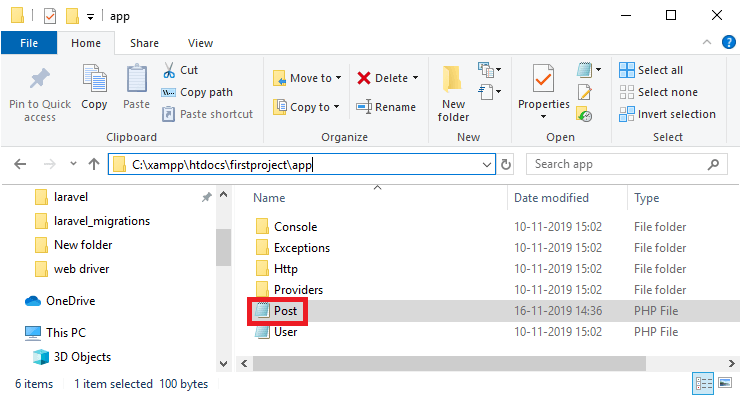
Laravel EloquentIn this topic, we will learn about the eloquent model that allows the interaction with a database. Each database table has its corresponding model that provides the interaction with a database. The model allows you to query the data in your tables. Models are created in the app directory. You can also place the model anywhere, which can be loaded automatically according to the composer.json file. We can use the following command to create the model: php artisan make:model Post We can also generate the model by using database migration: php artisan make:model Post -m or php artisan make:model Post -migration Steps to create the model
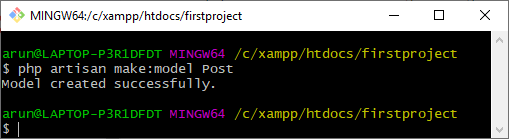
The above window shows that the model with the name 'Post' has been created successfully.
Structure of the modelThe structure of the model class that we created above is shown below: The above code shows that the class Post extends the Illuminate\Database\Eloquent\Model. Table namesIn laravel eloquent, we do not need to specify the table name to be used for the Post model. The plural name of the class will be considered as the table name unless we specify the name of the table explicitly. For example, in the above code, the name of the class is Post that works on the table posts. You can also specify the custom table by using the $table attribute of the model class shown in the below code: In the above code, the $table attribute specifies that the Post class is using the posts table. Primary keysThe eloquent model considers that each table has a primary key named 'id'. We can override this convention by providing a different name to the $primarykey attribute. By default, in eloquent, the primary key is an auto-incremented integer value. If we want to provide the non-incrementing value to the primary key, then we have to set the $incrementing attribute 'false'. public $incrementing = false; If we want to provide the non-integer value to the primary key, then we have to provide a different value to the $keyType attribute. protected $keyType = 'string'; In the above, we are assigning string type to the primary key. Reading dataNow, we will look at how to retrieve the data from the database. Let's understand through an example.
Post.php
web.php In the above code, we use the all() method that retrieves all the records from the database, and then we apply the foreach loop to retrieve the body name of all the rows available in the database, which is shown below. In the below screenshot, we can see that two records are available in the posts table. 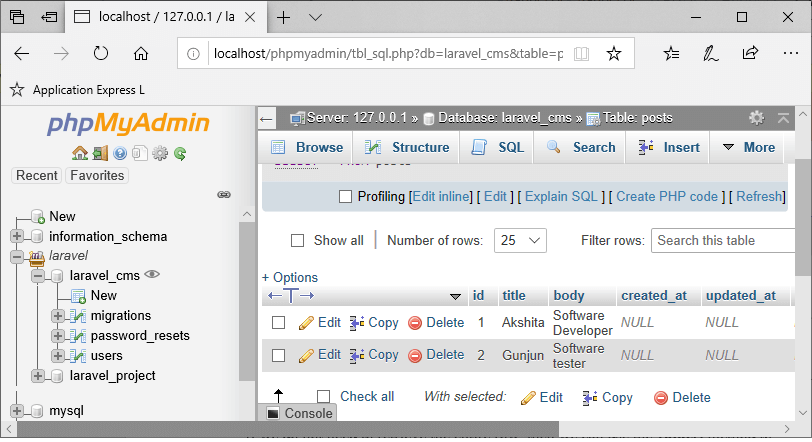
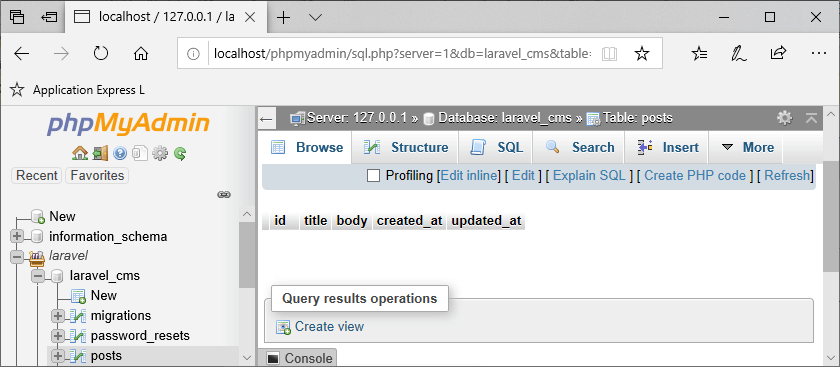
Output When we run the url, localhost/firstproject/public/read, the output would be: 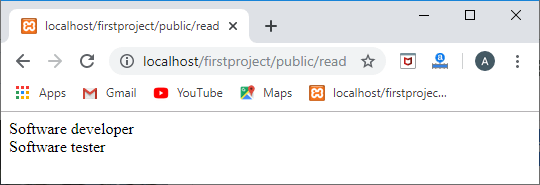
If we want to retrieve the particular record from the database, then we use the find() method. Output Run the url, localhost/firstproject/public/find to view the output of the above code. 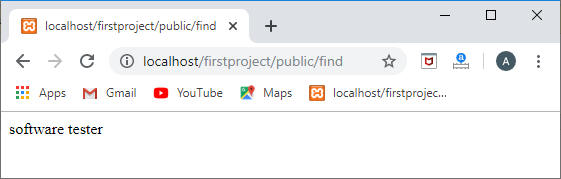
Reading data with constraints
Output 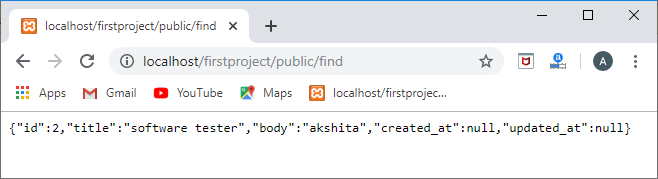
Output 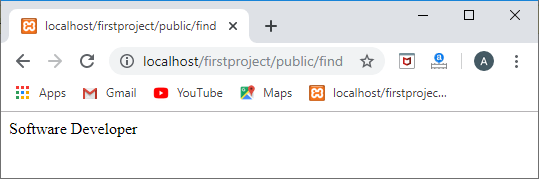
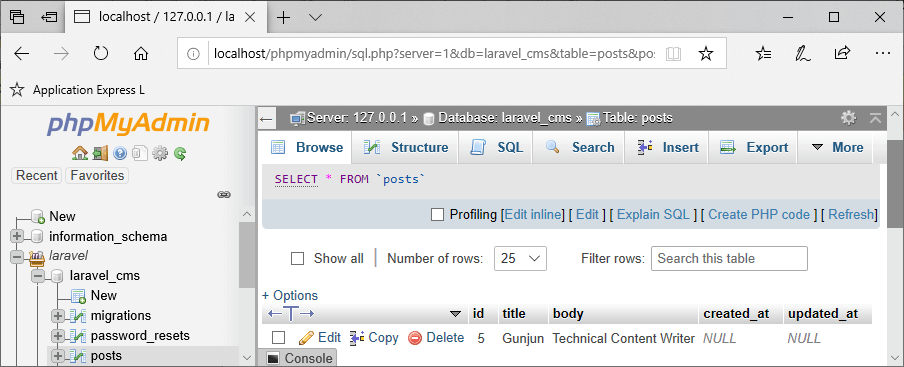
Inserting dataNow, we will see how to insert the data in a database. Let's look at an example given below: Output Run the url, localhost/firstproject/public/insert in a web browser. After executing the url, open the phpmyadmin. 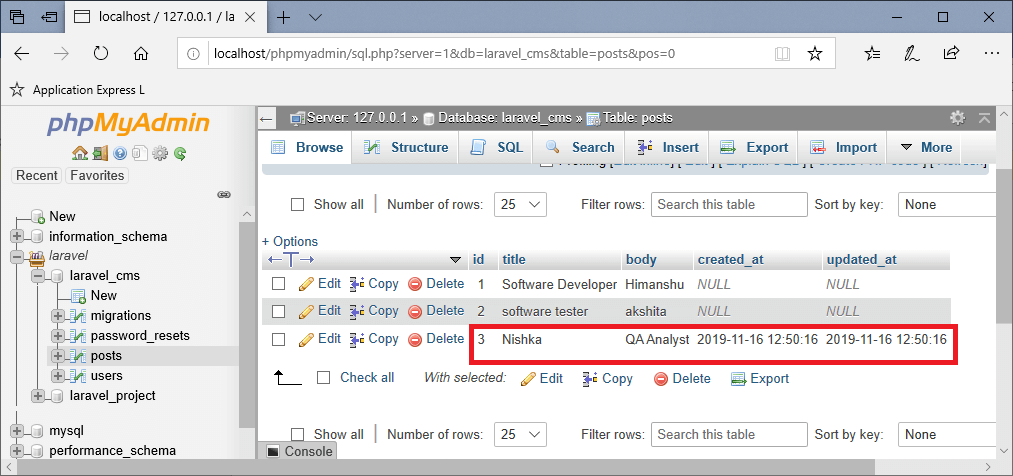
The above output shows that the data has been inserted successfully. Updating Data with the save() methodWe can also update the records by using the save() method. Let's understand through an example. Output 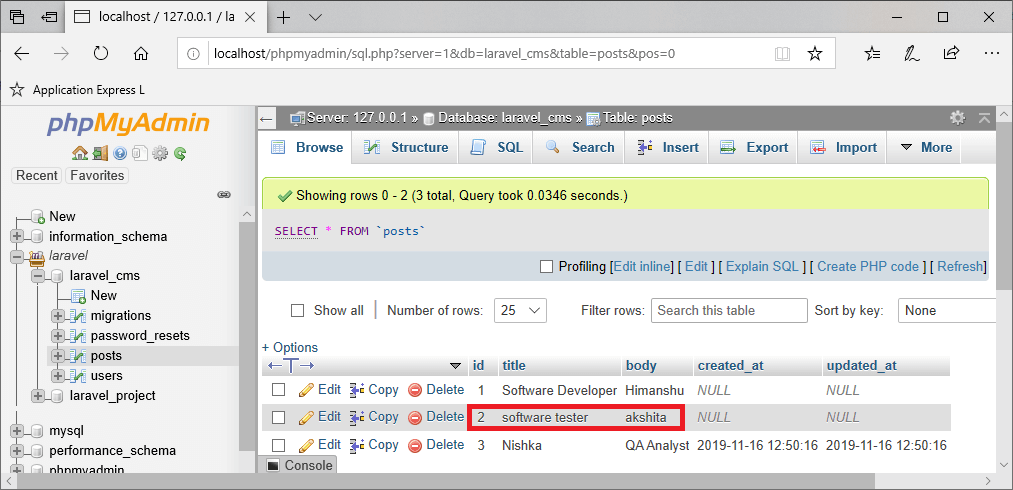
The above screen shows the database table, which is before the execution of the above code. When we execute the above code, the data gets updated shown in the below screen. 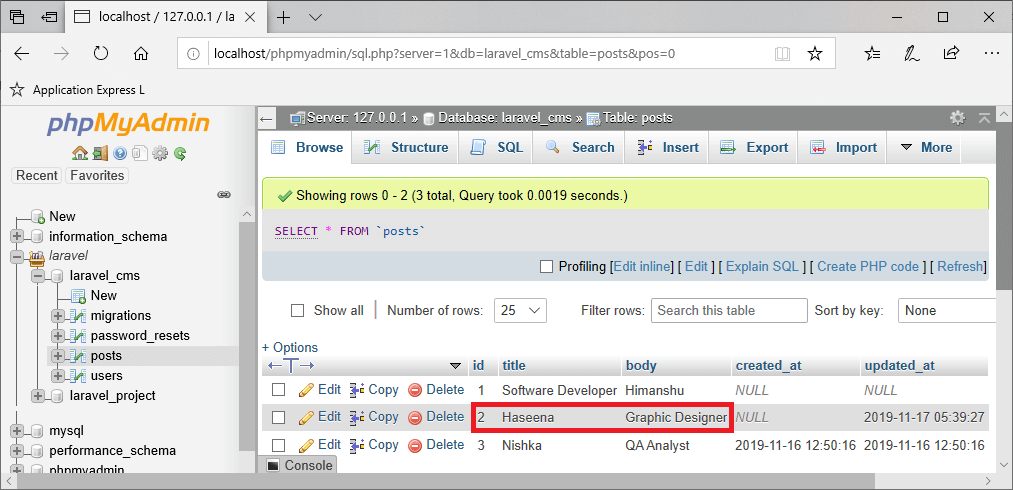
Mass AssignmentTo provide the mass assignment, we need to use the create() method and also provides the $fillable property in a model class. Let's understand through an example.
Output Run the url, localhost/firstproject/public/create to run the above code. 
Now, look at the database. 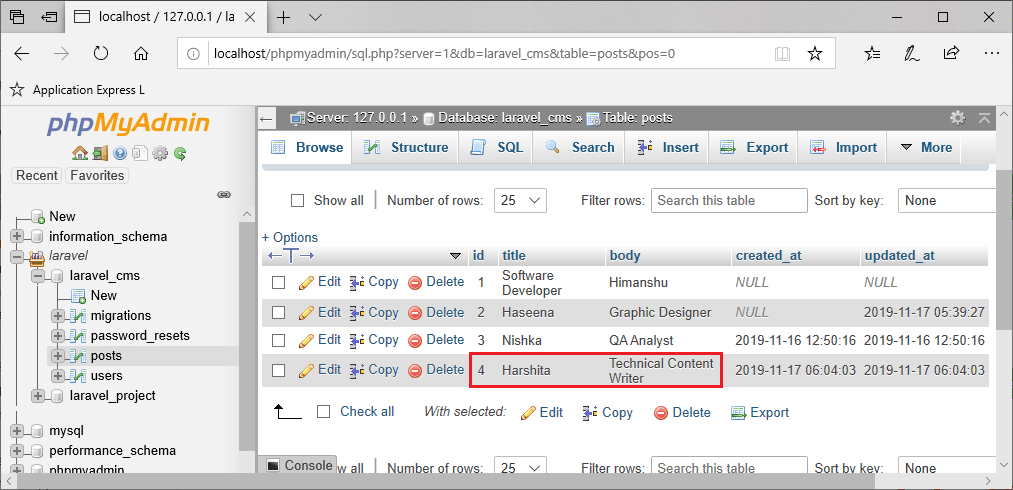
The above highlighted-area shows that the new record has been created successfully. Updating data with EloquentNow, we will see how to update the data by using eloquent. Let's understand through an example.
In the above code, we use the update() method of the model class. We are updating the record which is having id equal to 1. Output 
Deleting dataNow, we will see how to delete the data by using Eloquent. We directly implement the delete() method available in the eloquent model class. There are different ways of deleting the data.
Output 

Output 
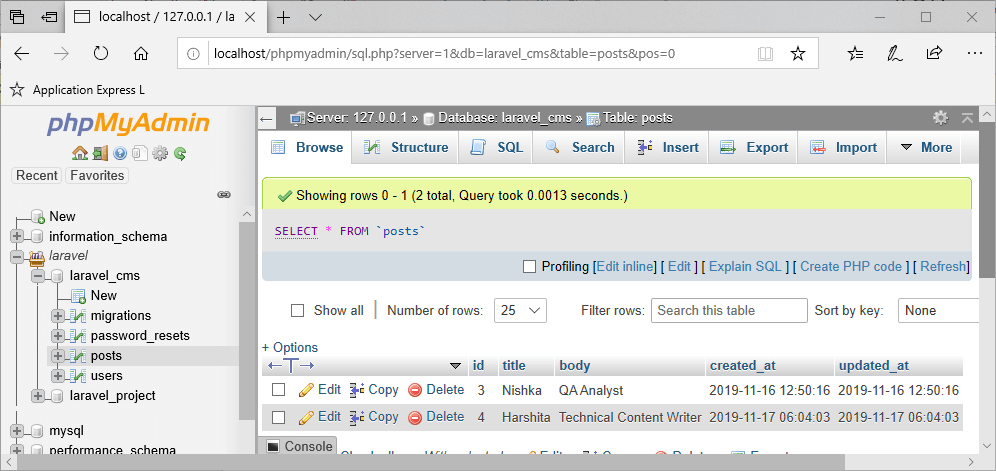
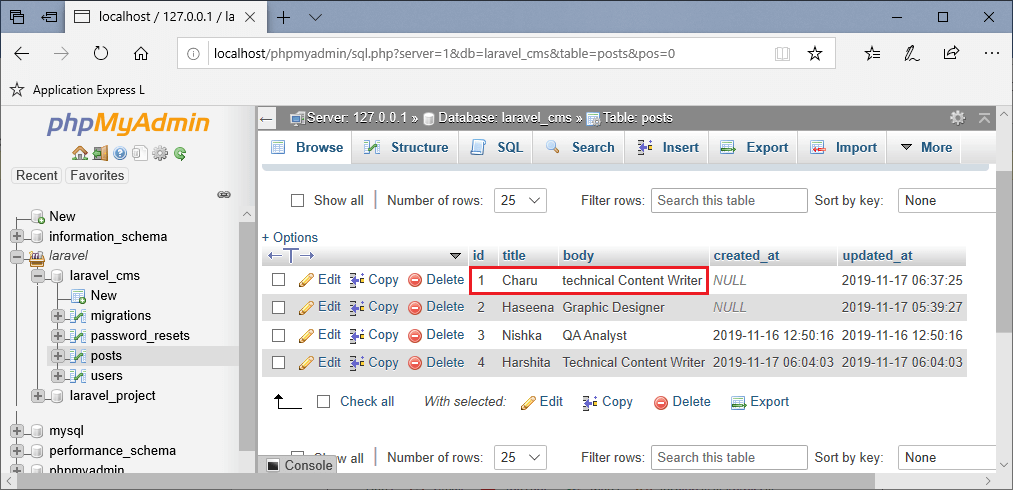
If we want to destroy more than one row, The above code is destroying the records having id, 3 and 4. Output 
Output 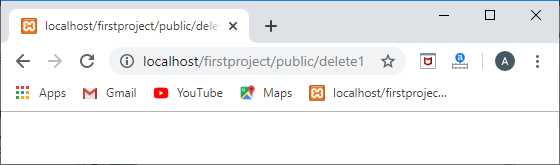
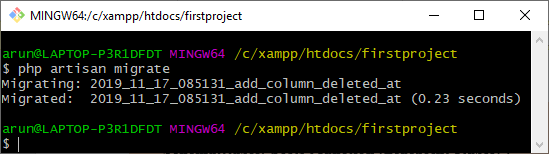
Soft Deleting/TrashingThere is also another way of deleting the records is soft deleting. When models are soft deleted, it means that records are not actually removed from the database. In soft deleting, records are not permanently deleted; they are stored in the trash space. Let's understand through an example of how soft deleting is done.
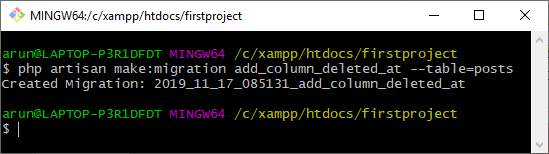
The laravel contains the helper method known as softDeletes(), which we have used in the above code. The softDeletes() method is used to create the column.
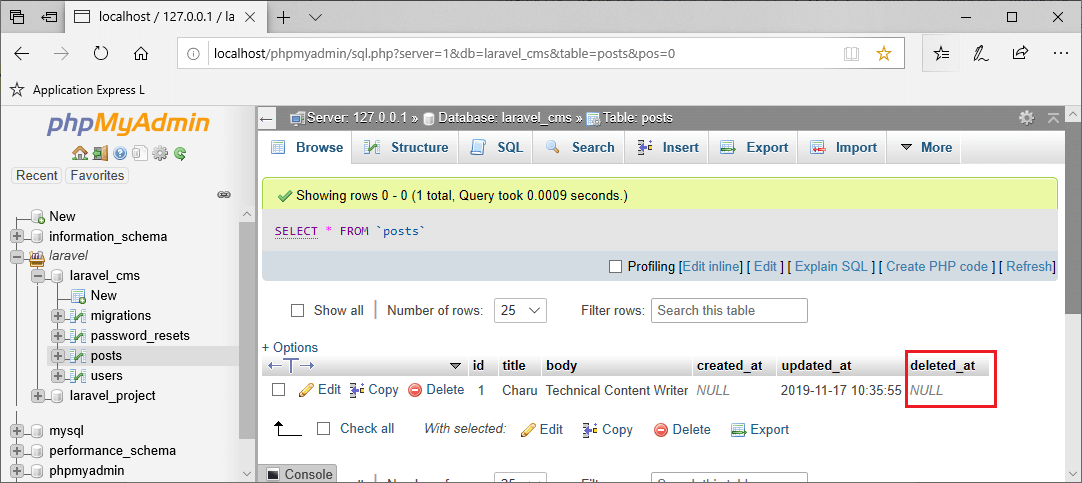
In the above code, we are soft-deleting the record which is having id '1'. Output 
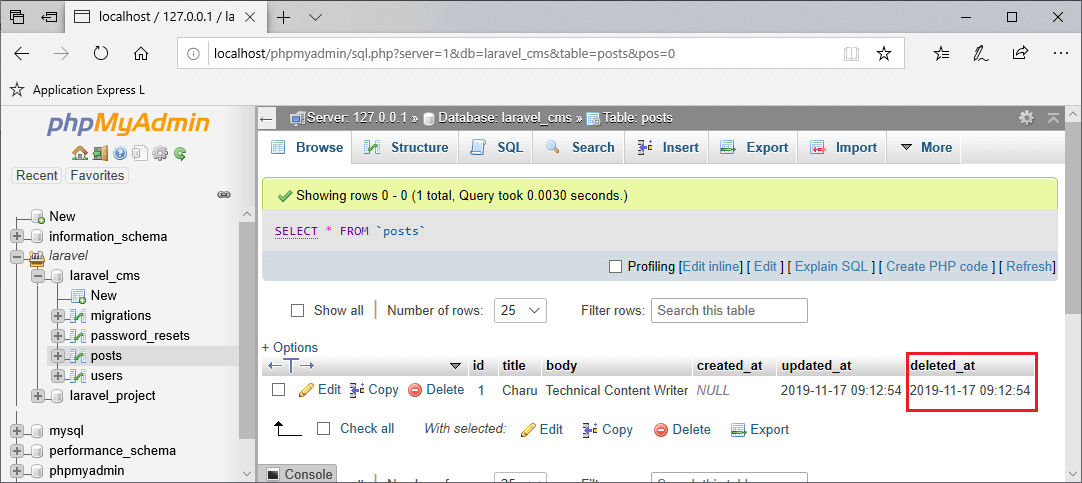
In the above screen, deleted_at column shows the time at which this record has been soft-deleted. If this column contains the null value, it means that this record is not soft-deleted. Retrieving deleted/trashed dataTo retrieve the deleted data, we use the withTrashed() method. Let's understand this through an example. In the above, we are retrieving the record which is trashed or soft deleted. Output 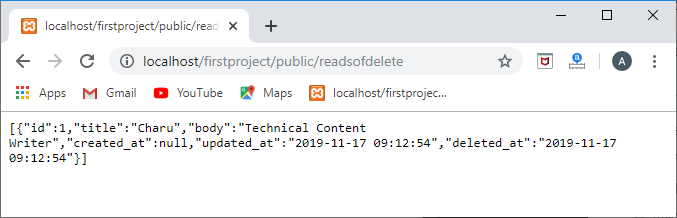
Restoring deleted/trashed dataIn the previous topic, we see how to retrieve the data from the soft-deleted model. Now, we will see how to restore the data from the trash space to the original place. Let's understand this through an example. In the above code, we are restoring the data which is trashed by using the restore() function. Output 
The above screen shows that the value of the deleted_at column is NULL which means that the record is restored in a database. Deleting records permanentlySometimes we need to remove the data permanently. To delete the soft-deleted model permanently, we use the forceDelete() method. Let's understand this through an example. In the above code, we are deleting the data which are trashed. Before the execution of the above code, the trashed record is having an id equal to 1 shown in the below screenshot. 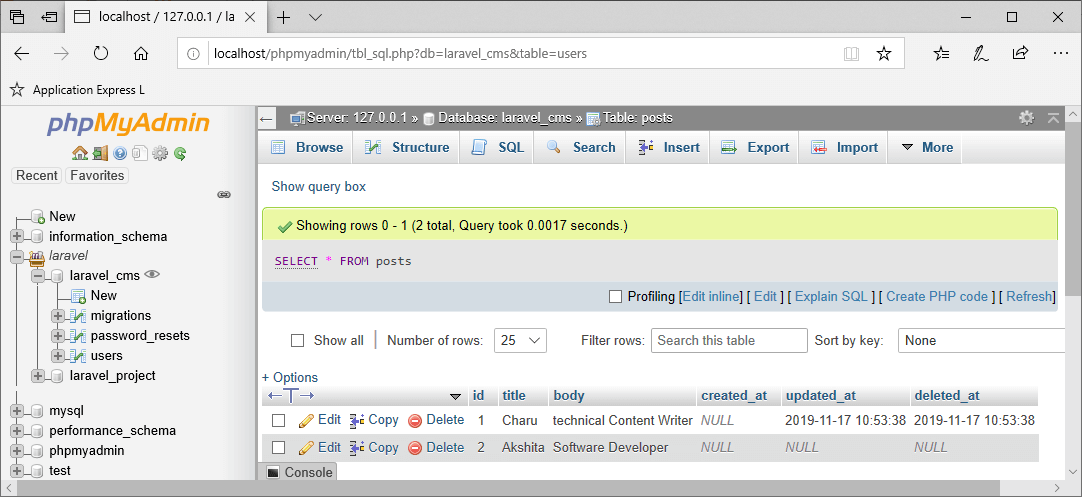
When we run the above code, the trashed record will get deleted, and the table would like, as shown below: 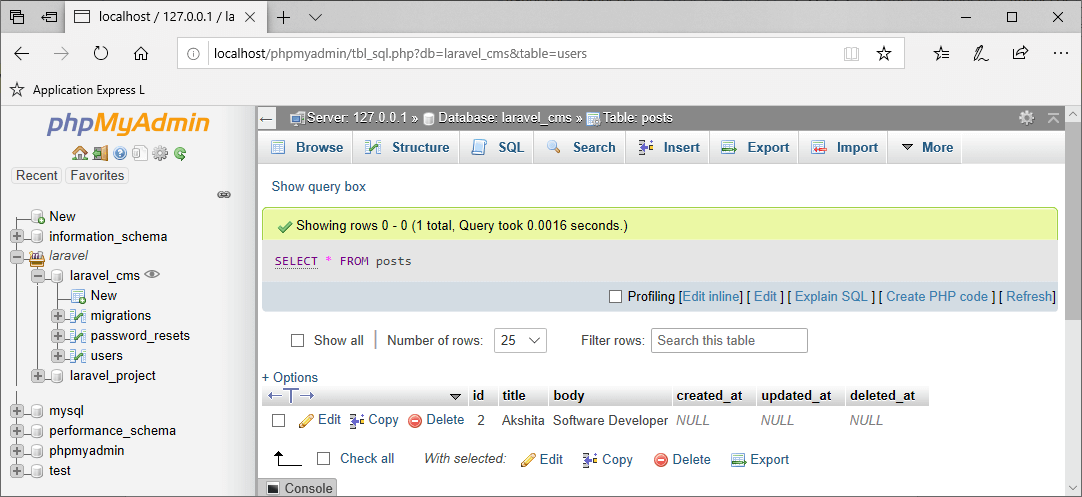
Next TopicLaravel Relationship
|
 For Videos Join Our Youtube Channel: Join Now
Feedback
- Send your Feedback to [email protected]
Help Others, Please Share


