XAMPP Installation
The following are the steps required to install the PHP environment:
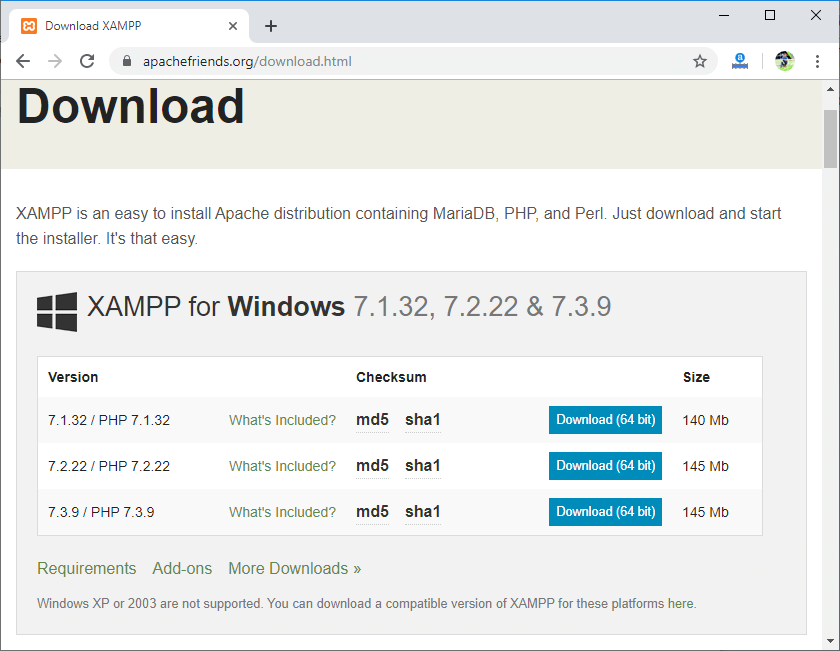
- Download the PHP 7.3.9 version. To download this version, click on the Download button.
- Click on the file, i.e., xampp-windows-x64-7.3.9-0-VC15-installer.exe to install the XAMPP.
- When you click on the downloaded file, the screen appears shown below:
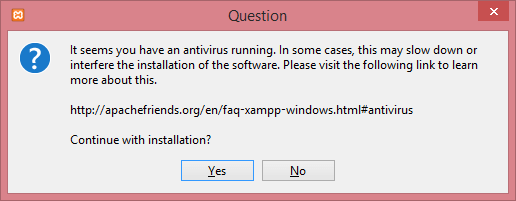
- Click on the Yes button.
- After clicking on the Yes button, the warning appears, but ignores this warning and click on the OK button.
- On clicking the OK button, the Setup window appears shown as below:
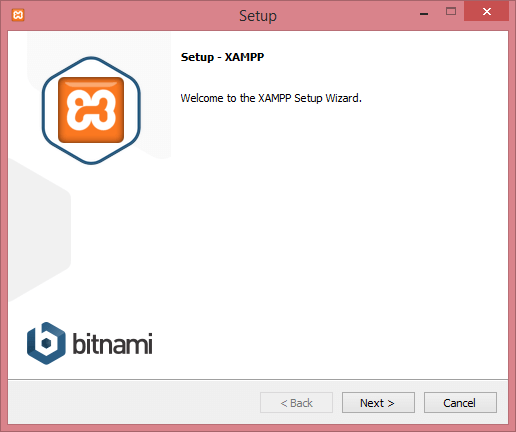
- Click on the Next button.
- Select the components in the below screen, and then click on the Next button.
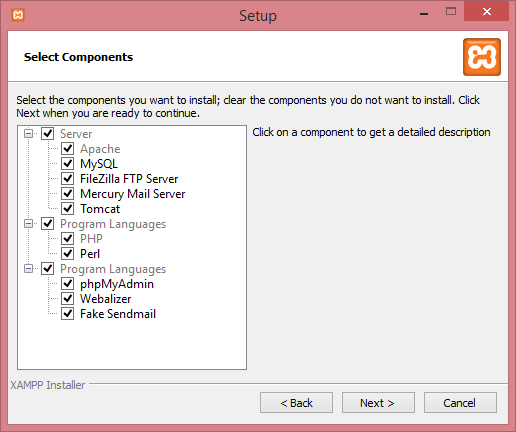
- Select the folder in which you want to install your XAMPP and click on the Next button.
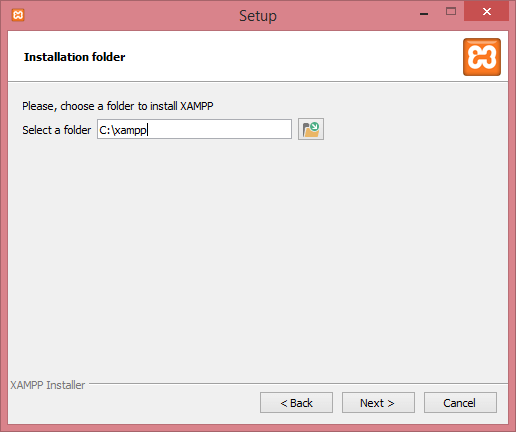
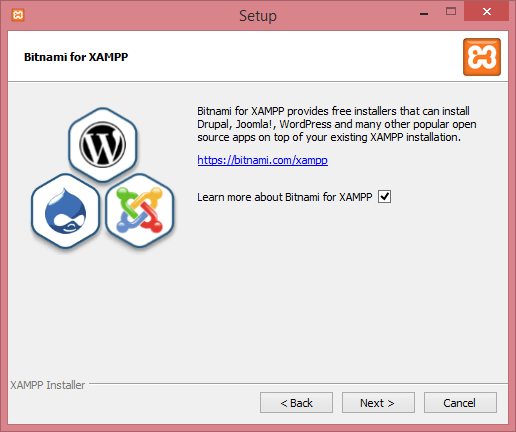
- Click on the Next button.
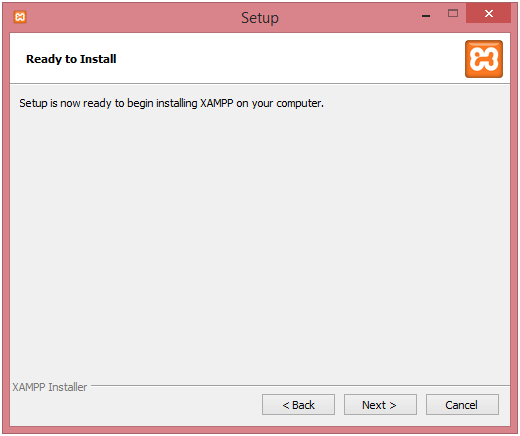
- The below screen shows that the setup is ready to install, click on the Next button.
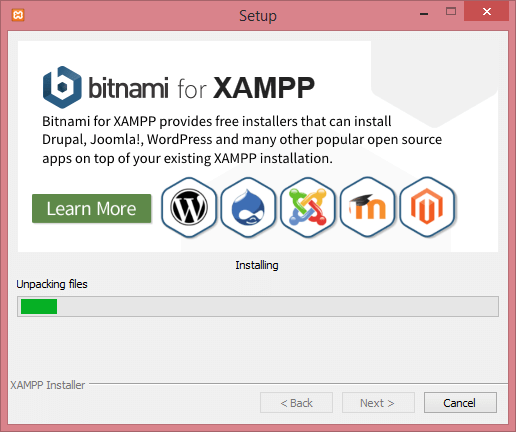
- The installation process is started, which is shown in the below screen:
- When the installation is completed, the screen appears asking for the completion of a XAMPP Setup Wizard.
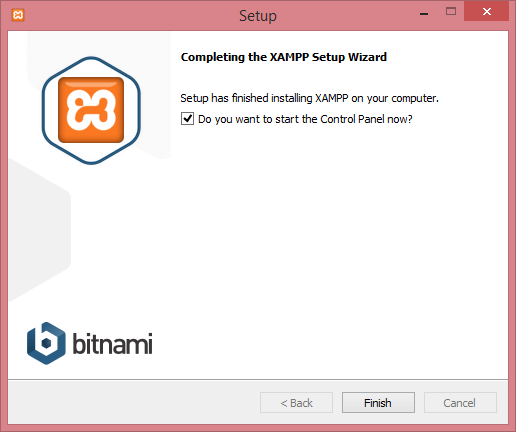
- Click on the Finish button.
- Select the language and then click on the Save button.
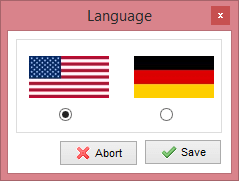
- After selecting the language, the XAMPP control panel appears shown as below:
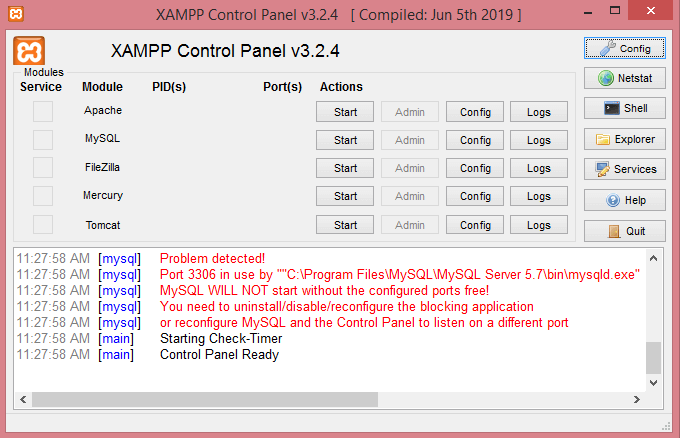
In the above panel, you can either start or stop the Apache, MySQL. When we run the Apache then we will get an error that port has been blocked or have some missing dependencies. In such a case, we need to provide some unique port.
Following are the steps required to provide the unique port:
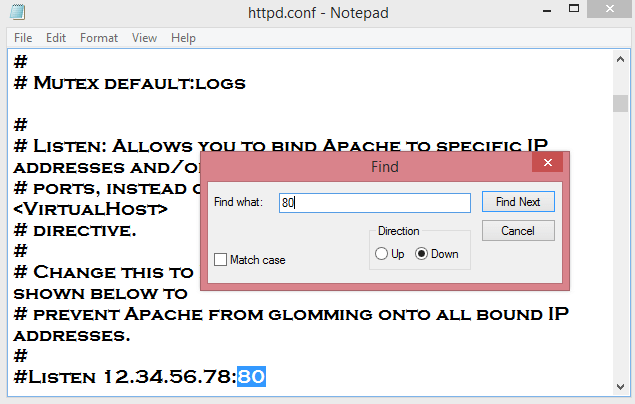
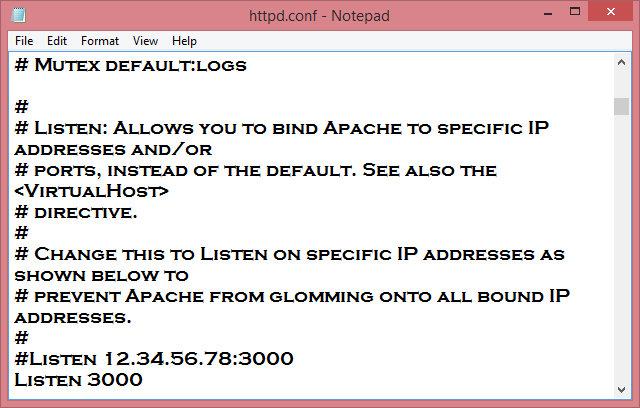
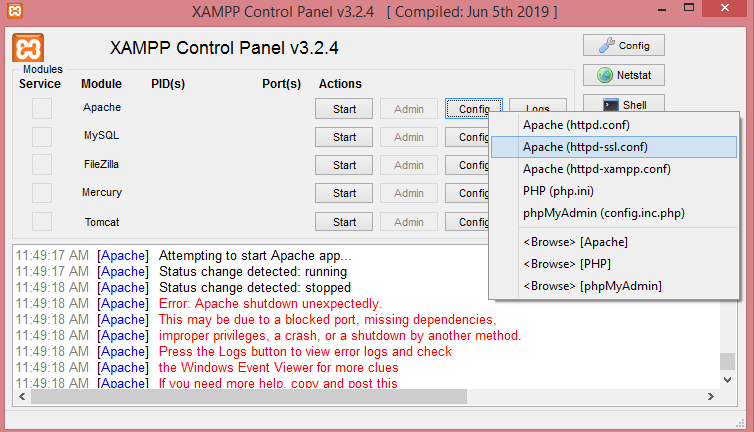
- Click on the config button and then click on the Apache(httpd.config) file.
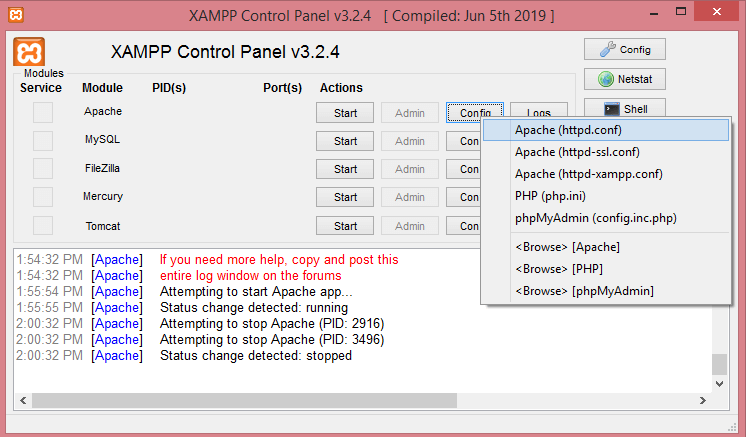
- Update the port number, i.e., 80 with some unique number. Suppose I provided 3000 port number, so replace all the appearances of 80 port number with the 3000 port number.
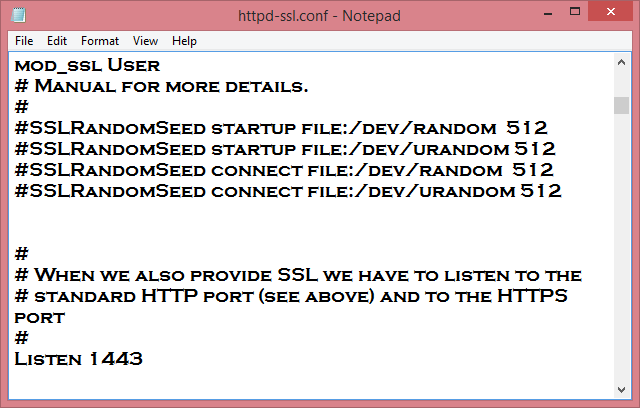
- Click on the Apache(httpd-ssl.config) file.
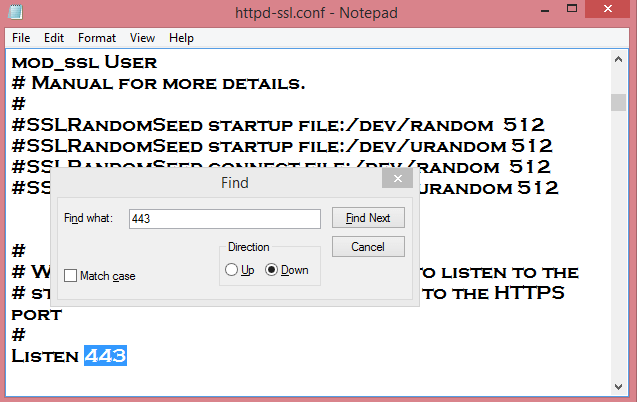
- Update the port number, i.e., 443 with some unique number. Suppose I provided 1443 port number, so replace all the appearances of 443 port number with the 1443 port number.
- Click on the config button.
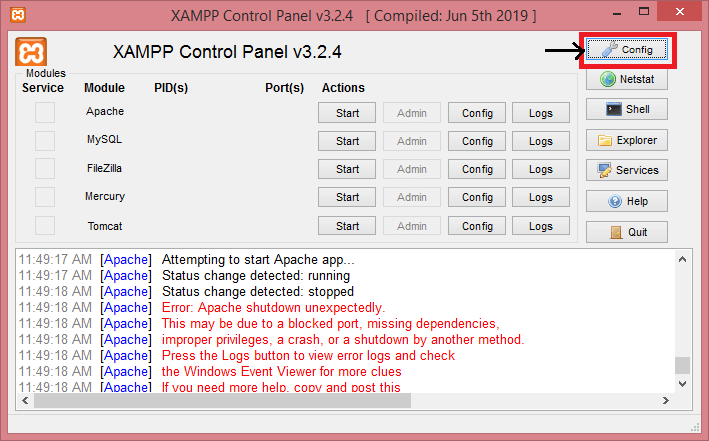
- When you click on the config button, the screen appears shown below:
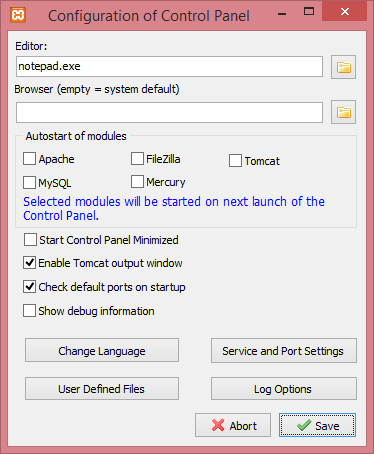
- Click on the Service and Port settings, the screen appears shown as below:
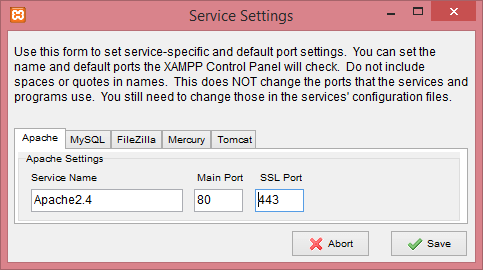
- Change the main port from 80 to 3000 and SSL port from 443 to 1443.
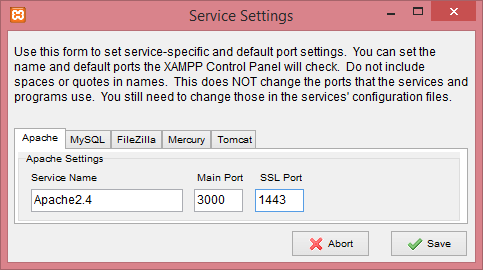
- Click on Save button.
- Now, start the Apache server.
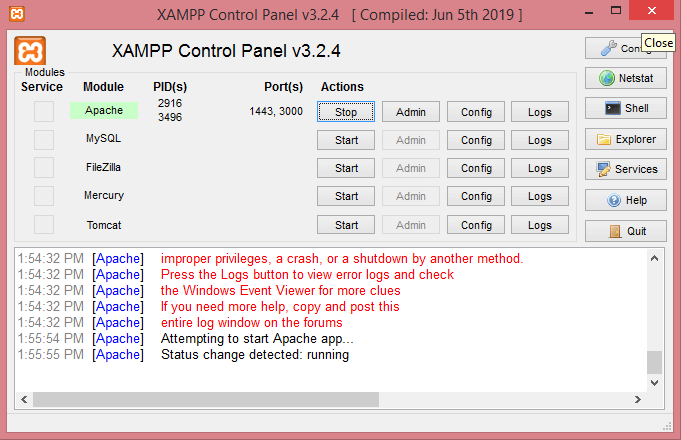
The above screen shows that Apache server has been started with the port (1443, 3000) where 3000 is the main port and 1443 is the SSL port.
|


 For Videos Join Our Youtube Channel: Join Now


