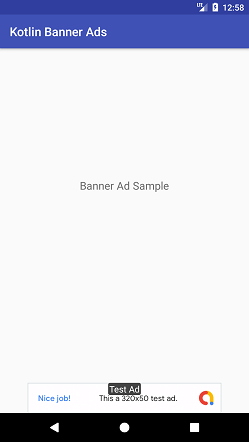
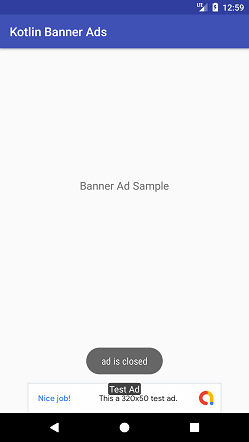
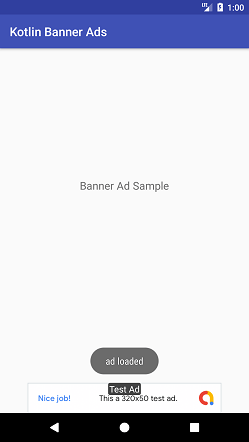
Kotlin Android Google AdMob Banner Ads ExampleIn this tutorial, we implement the Google AdMob Banner Ads in our Android application. To place the Google AdMob in Android application, we need to create the Google Ad Unit Id. The complete reference for creating the Google AdMod account and generate the Ad Unit Id is described at Android Google AdMob. Banner ads are rectangular text or image ads that occupy a small spot in activity layout. To implement the Google AdMob in the Android application, select Google AdMob Ads Activity and select the Ad format type as Banner. This activity adds the default required library dependency, View for Ads display, Internet permission, and other required code. We are also able to place the Google AdMob Ads on other activities such as Blank Activity. Add the Google ads dependency 'com.google.android.gms:play-services-ads:17.0.0' in the build.gradle file: build.gradleactivity_main.xmlAdd the Google Ads View on that layout in which we want to display our ads. Here, we have added in our activity_main.xml file. To display the banner ad, we need to add the com.google.android.gms.ads.AdView element to our XML layout. The banner ads align to the bottom of the screen. strings.xmlAdd the created ad unit id in the string.xml file. MainActivity.ktAdd the following code in MainActivity.kt class. To load the ad on the UI, create the instance of AdRequest and load the ad in AdView by calling AdView.loadAd(AdRequest). Override the AdView listeners onAdFailedToLoad(), onAdLoaded(), onAdOpened(), onAdClicked(), onAdClosed(), etc. Note: If you got an exception as java.lang.RuntimeException: Unable to get provider com.google.android.gms.ads.MobileAdsInitProvider: java.lang.IllegalStateException: then add thein AndroidManifest file. AndroidManifest.xmlAdd the following code in AndroidManifest.xml file Output: 


Next Topic#
|
 For Videos Join Our Youtube Channel: Join Now
Feedback
- Send your Feedback to [email protected]
Help Others, Please Share


