Django Form Widget | Creating forms using various widgetsIn this tutorial, we will learn how we can apply the various widgets in the form. Django forms come with various attributes that enhance the appearance of the form. There are many built-in classes, but we will cover the most commonly used form widgets. These widgets will help to create more interactive form for any site, So let's get started. Creating ProjectsAll we start with is creating the Django project and app. Then we set the basic configuration of the newly created app. There are three ways to create the form in Django - Using Model Form, Using the Form class, and simple HTML form. We will use the Form class. Creating FormCreating a forms.py file in sampleapp under the Hello project Hello>sampleapp>forms.py Example - To render this form, we need to create the view and template that will used to display the form to the screen. views.py Base.html To display the form we will run the following command. Click on the http://127.0.0.1:8000/ 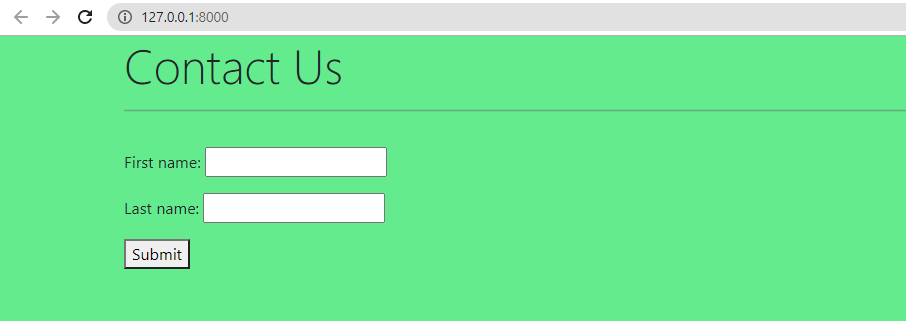
Custom form with fields WidgetsWe create a two form-field using the CharField() field that takes in a text input. We can override the default widget of each field for various uses. The CharField() has a default widget TextInput which is the equivalent of rendering HTML code <input type = "text">. charField() with Teaxarea widget We add comment field in existing form with the Textarea widget. Example - Output: 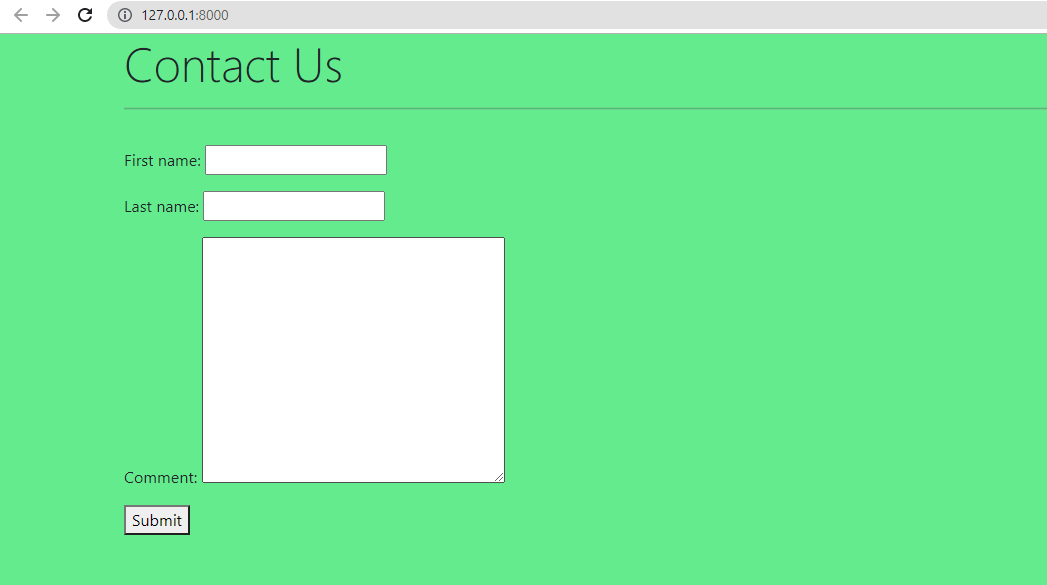
The Textarea widget is equivalent to <textarea>....</textarea> tag, which is a multi-line text input. CharField() with Textarea widget attributes We can also modify the height of Textarea, specify the 'row' attribute in the widget. Example - Output: 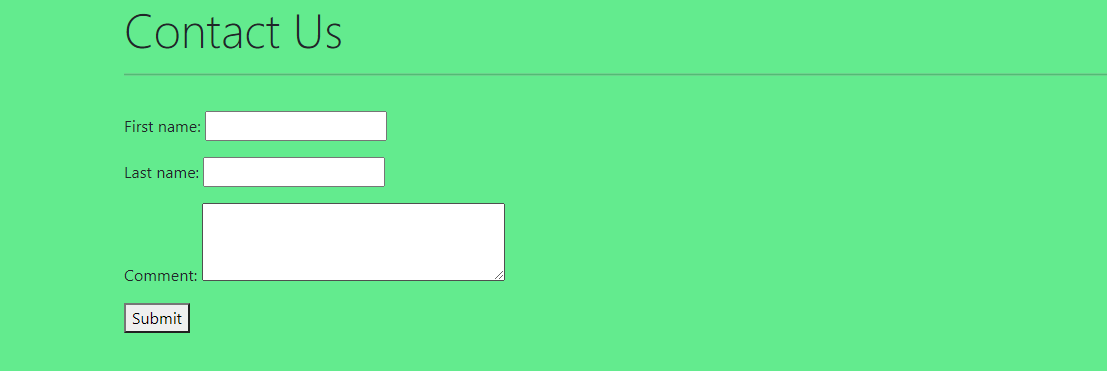
Note - The default number of rows of Textarea is 10.EmailFieldThe EmailField is used to take the email input from the user. Its default input is EmailInput and renders as <input type = "email"> in plain HTML. This field consist of default email validator that requires a @ symbol within the input for it to be considered valid. Let's see the following example. Output: 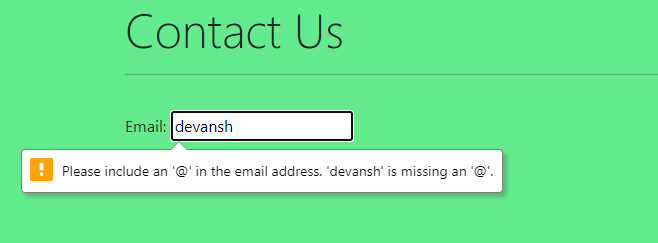
BooleanFieldAs its name suggests, it takes the Boolean input from the user who is either true or false. The default value is False and shows the unchecked checkbox in HTML form. Let's see the following example. Example - Output: 
Custom Form with DataField()The DateField() takes the value in the date format such as 2021-08-01. The default input is DateInput but it seems like CharField. Let's see the following example. Example - Output: 
When we hit the submit button, it shows the "Enter a valid date" warning because we have provides the wrong format date value. 
DateField() with NumberInput widget attribute To get the number value through the dropdown, we can use the DecimalField(). The default widget is NumberInput. Let's understand the following example. Example - Output: 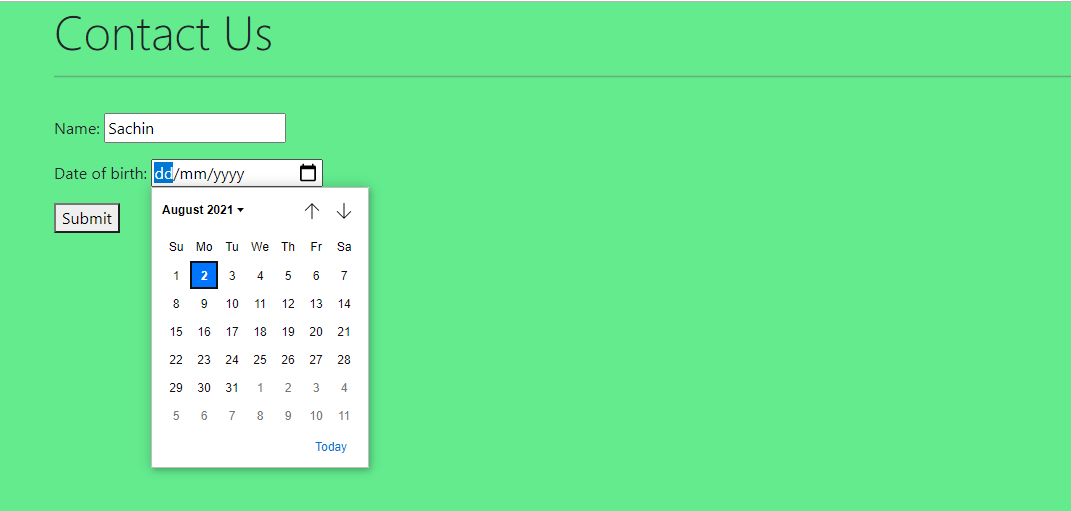
DateField() with SelectDateWidget widget Django also provide the facility to select the date manually using the SelectDateWidget which display three drop-down menus for month, day, and year. Let's understand the following example. Example - Output: 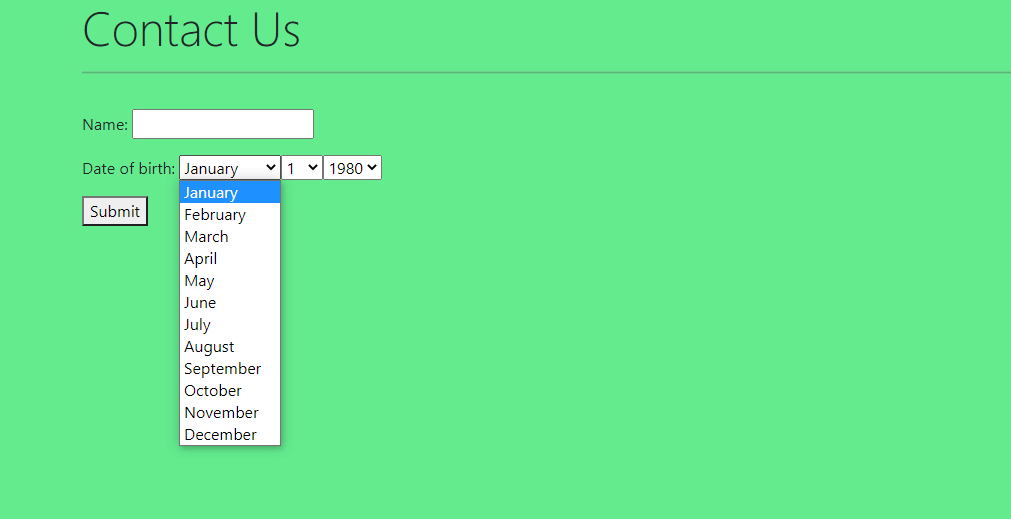
Custom Form with DecimalField()To get the number value through the dropdown, we can use the DecimalField(). The default widget is NumberInput. Let's understand the following example. Example - Output: 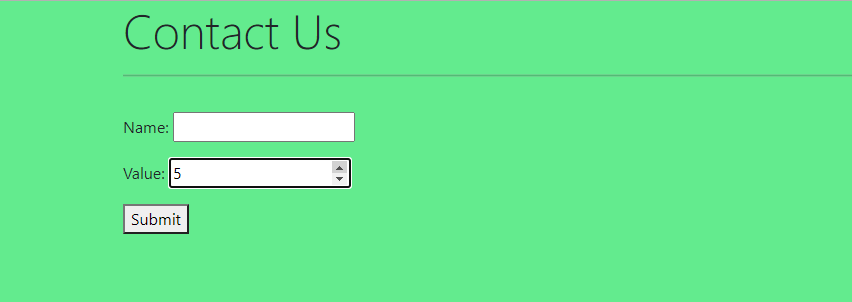
Custom Form with ChoiceField()The ChoiceField() allows us to choose any one or more options from the given choices. Let's understand the following example. Example - Output: 
ChoiceField() with the Select Widget The Select widget deals with the choices. They present the list of options to choose from list of list of choices. The Select widget is equivalent to Example - Output: 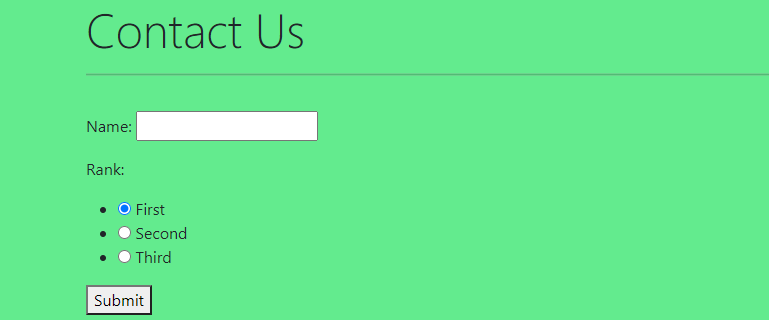
Core ArgumentsWe define the core arguments which will be same for the all fields. Below are the some important arguments. required (Boolean)This argument signifies that if the fields are required for form submission. It takes a Boolean (True or false) and highlights the asterisk mark next to the field. By default, the argument is assigned for each value is true. Example - Output: 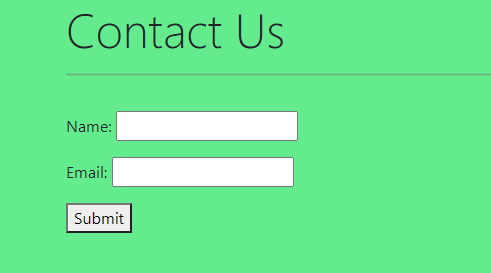
max_length and min_lengthThe max_length is assigned to get the maximum length of value and the min_length is assigned to get the minimum length of value. Let's understand the following value. Example - Output: 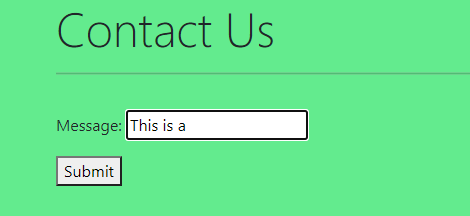
Label (String)We can create the custom label of the field using the label argument in the field. Let's understand the following example. Example - Output: 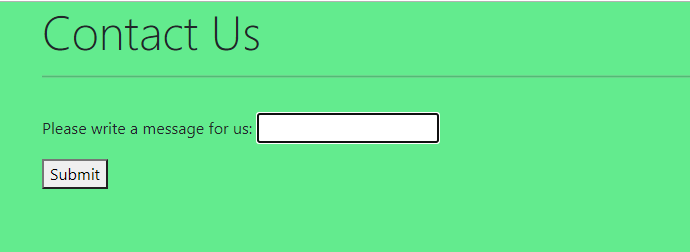
Initial (String) for CharField()To add pre-loaded information to input, use the initial argument. Let's understand the following example. Example - 
Initial (Boolean) for BooleanField()We pass the initial=True to the BooleanField() to set the default clicked as the checkbox. Let's understand the following example. Example - 
Initial (Datetime) for DateField()We can also initiate the default value of the DatefField(). First, we need to import datetime at the top of the file. It will set the current date. Let's understand the following example. Example - 
MultipleChoiceFieldThis field is used to show pre-define multiple choice options. User can select the option from the predefined choices. Let's understand the following example. Example - 
MultipleChoiceField() with CheckboxSelectMultiple widgetWe can add the multiple choice option in the form of checkbox. Let's understand the following example. Example - 
ModelChoiceField()Django provides the facility to use the Django model form. To do so, we need to import the model in the forms.py file and use the ModelChoiceField() and specify the queryset in the form field. Let's understand the following example. Sending Django Contact FormHere, we will render the Django tradition contact form. Let's see the following example. Example - Note - We use the crispy form framework and import the crispy_form_tag to the form template format files.Example - We have imported the send_mail, BadHeaderError, and HttpResponse at the top of the file. Then, we checked the form is generated the post request and checked form is valid. We have defined the subject and message before trying to send an email to the specified email address in the send_mail method. We need to require the EMAIL_BACKED in the setting.py file. ConclusionThis tutorial has described the important Django forms fields and how we can make it more user-friendly using the widget. These widgets allow us to create more interactive forms and save from the hard coding.
Next TopicRuby on Rails vs. Django
|
 For Videos Join Our Youtube Channel: Join Now
Feedback
- Send your Feedback to [email protected]
Help Others, Please Share


