How to connect MySQL to DjangoThe Database is the essential component of the web application to store and organize the data. Whenever we develop an application/website, we need to choose a suitable database that makes it more interactive. Django comes with a built-in SQLite database. However, we can use the various databases in Django. Below are the lists of databases that Django supports.
There are also numbers of database backends provided by third parties. Django middleware allows us to communicate with the database. In this tutorial, we will learn how we can connect the MySQL database to our Django application. Prerequisites
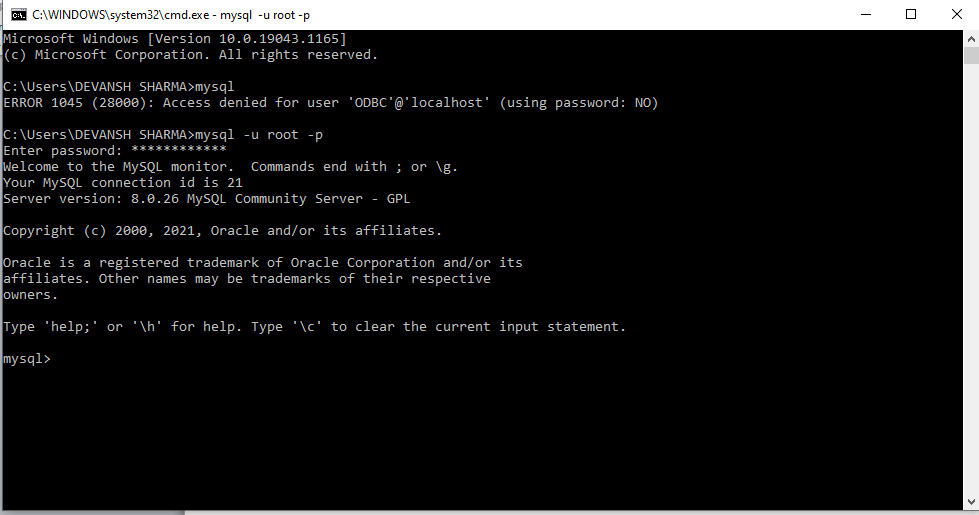
We assume that you have already installed the MySQL server on your local computer. If you haven't installed then download it from MySQL official website. ImplementationWe use the following steps to establish the connection between Django and MySQL. Step - 1: Create a virtual environment and setting up the Django project First we will create the virtual environment and install Django in it. We skip this process as it lengthens the tutorial. We create the new project using the following command. The period (.) at the end of command indicates that we are creating the project in the working directory. If the period is not provided, the project will be created in the new directory named MyProject and inside that directory contains our actual django files. Now start the server using the below command. The terminal will display the link http://127.0.0.1:8000, visit this link Step - 2 Create new Database We can create the Database using the two ways - MySQL Workbench and MySQL shell. MySQL Workbench is a GUI tool for the MySQL database that provides features like SQL development, data modeling and server administration. We will use the MySQL shell, which is more recommended for learning purposes.

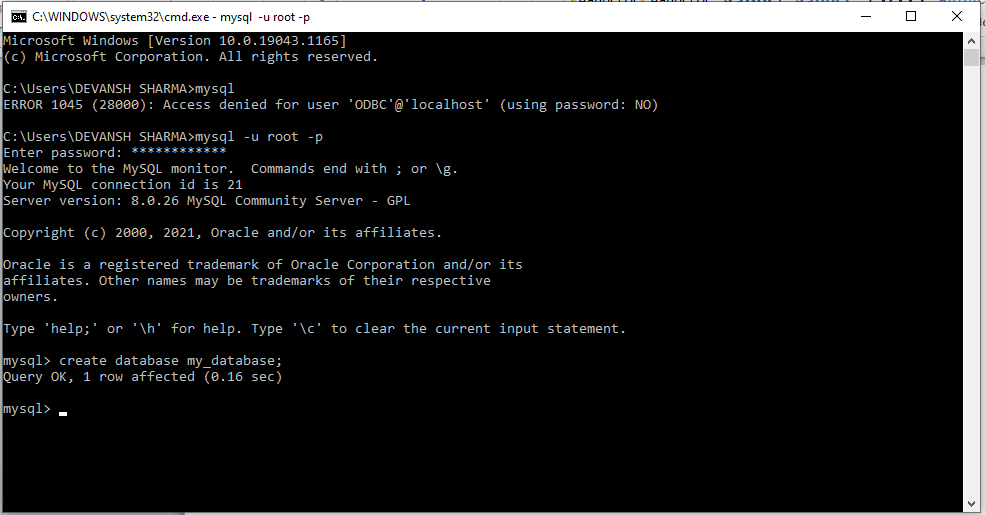
Use the create database my_database query. It will create the new database. 
We can check the databases through the show databases query. It shows the all available database in our MySQL server. Step - 3: Update the settings.py Once we are done creating the Database, we have to update the database section of the settings.py file with the following setting configuration. Let's understand what we have done above.
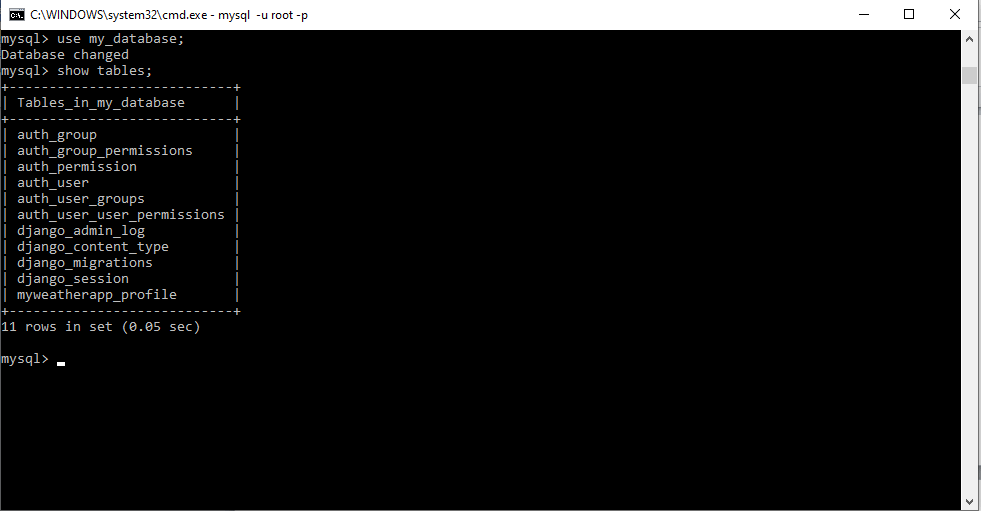
Step - 4 Install mysqlclient package Before installing the mysqlclient package, let's understand what mysqlclient is and why we use. The mysqlclient is the Python interface to MySQL that allows Python project to connect to the MySQL server. So it is necessary to install mysqlclient package to establish the connection between the MySQL and Django. To install, use the following command in the working directory. Step - 5 Run the migrate command Now we are ready to migrate or create tables in the newly created database. In this final step, we will run the migrate command and it will create the exiting tables in the my_database database. After running this command Django will automatically create the necessary tables such as auth_group, auth_user, auth_permission, etc. It will also create the tables which are defined in the models.py file. mysql> use my_database; Database changed mysql> show tables; 
ConclusionIn this tutorial, we have discussed how we can use the MySQL database in Django. Though Django comes with the built-in database SQLite, sometimes it doesn't fulfill the requirements. So we can connect with the various databases.
Next TopicHow to use F() Expression
|
 For Videos Join Our Youtube Channel: Join Now
Feedback
- Send your Feedback to [email protected]
Help Others, Please Share


