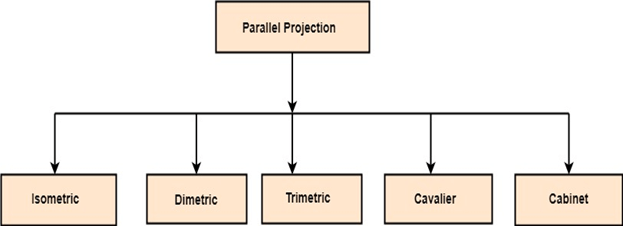
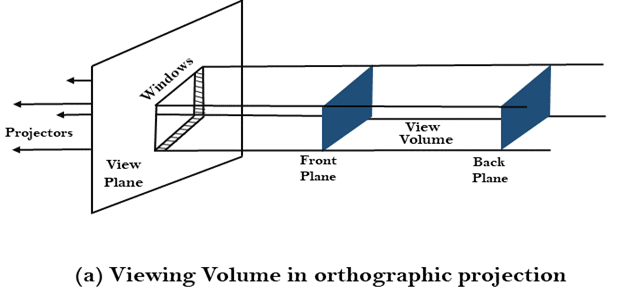
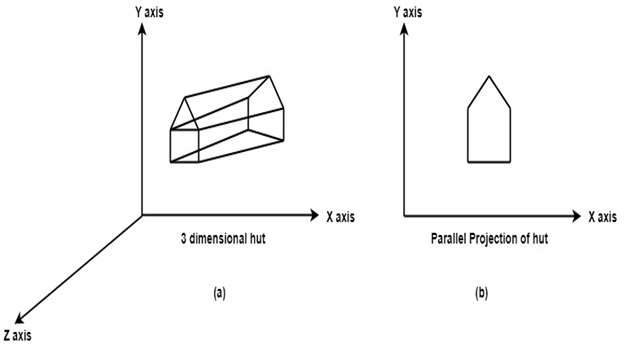
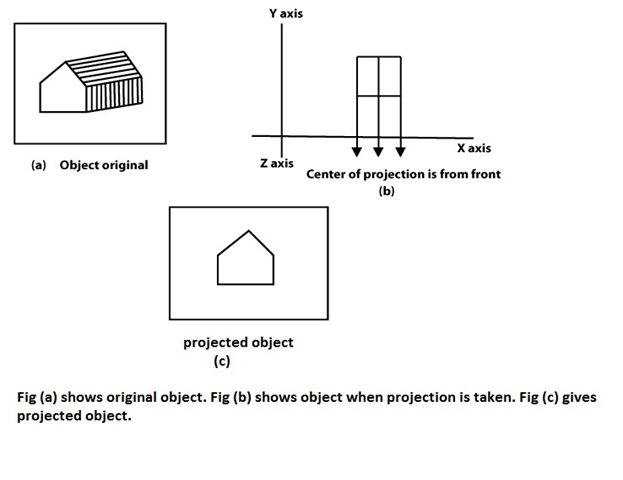
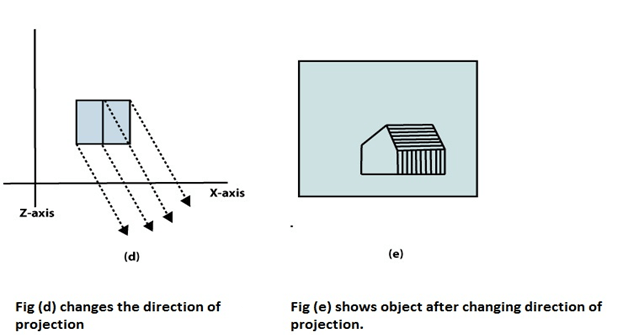
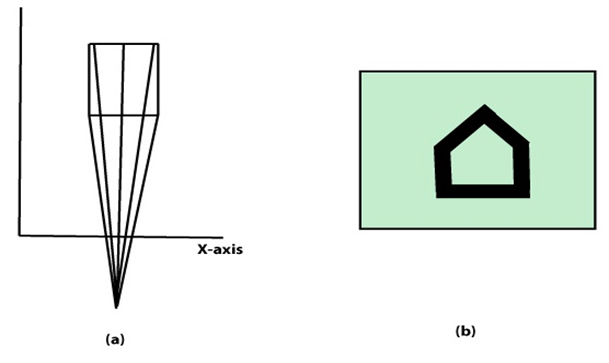
Parallel ProjectionParallel Projection use to display picture in its true shape and size. When projectors are perpendicular to view plane then is called orthographic projection. The parallel projection is formed by extending parallel lines from each vertex on the object until they intersect the plane of the screen. The point of intersection is the projection of vertex. Parallel projections are used by architects and engineers for creating working drawing of the object, for complete representations require two or more views of an object using different planes. 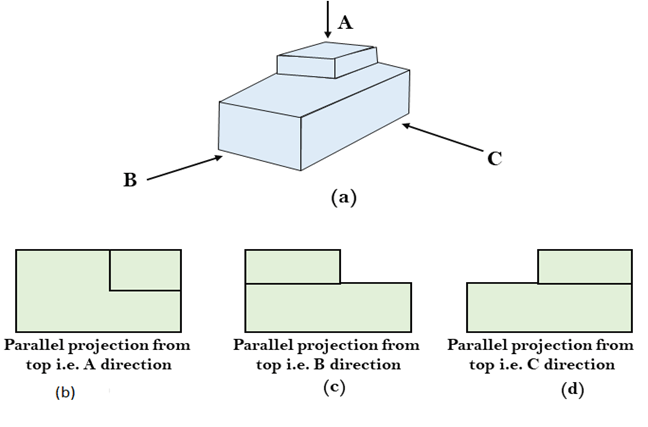
Next TopicComputer Graphics Programs
|
 For Videos Join Our Youtube Channel: Join Now
Feedback
- Send your Feedback to [email protected]
Help Others, Please Share


