| |

Linux Change HostnameBefore going to discuss how to change the hostname in our system, we need to know what is the meaning of the Hostname. Here, we are going to briefly explain the introduction of Hostname. What is a Hostname?When we visit any website, we type the URL of that website into our browser. The URL is composed of some regular words that we can understand such as "JavaTpoint.com". A DNS server links that name with the IP address of a server. This system available due to IP address is a little difficult and no one will do it. The hostnames operate in a similar way, only over a local network. If we provide a hostname to our computer, it is a regular word that we understand and we can easily enter in to recognize that computer on our network. Similarly a URL, we can replace that hostname where we would apply an IP address regularly. It includes browsing various local web pages and applying SSH. Unless we are using any local DNS server, it will take a little setting up for making it smoothly run. View Our HostnameIt is very easy to view our hostname. To do so, we need to follow the following steps:
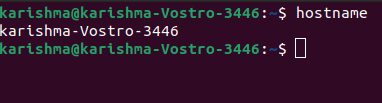
This command will show the current hostname of our computer inside the terminal window. Options in hostname CommandThere are so many options available in the hostname command for different purposes. Some of the options are mentioned and discussed below: 1. -a: It is used for getting the hostname's alias name (if any). This option returns a line (empty)when no name of the alias is fixed. It also enumerates each configured address on every network Interface. We can use the --alias or -a option for displaying the alias (also known as substitute hostname) of a host when one is fixed. There are some cases where the alias option is helpful and the use of it is no longer suggested. Syntax: The command is mentioned as follows: Or, The output will be as follows: 
2. -A: It is used for getting each FQDNs (stands for Fully Qualified Domain Name) of a hostname. This option enumerates each configured address on every network interface. Repetitively, the output might show similar entries. Syntax: The output will be as follows: 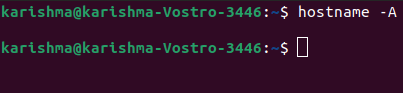
3. -b: It is used for always setting a hostname. If none defined, then the default hostname will be used. Syntax: The output will be as follows: 
4. -d: It is used for getting the Domain when local domains are fixed. This option nothing returns (even not any blank line) in case no local domains are fixed. Syntax: The output will be as follows: 
5. -f: It is used for getting the FQDNs. This option includes a DNS domain name and short hostname. Syntax: The output will be as follows: 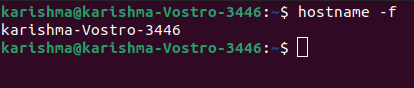
6. -F: It is used for setting the hostname defined in a file. This option can be implemented only by the root user (superuser). We can use the --file or -F options for searching the particular file (such as hosts or hostname) and modify the hostname of our computer for matching the file's content. Syntax: The command is mentioned as follows: Or, The output will be as follows: 
Note: We also need to mention the file path that we wish to check when using the --file or -F options.7. -i: It is used for getting the network (IP) addresses. It only works if a hostname is dissolvable. Syntax: The output will be as follows: 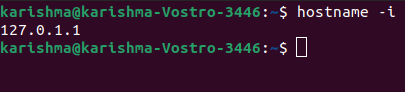
8. -I: It is used for getting each network (IP) address. It does not depend on the hostname's resolvability. Syntax: The output will be as follows: 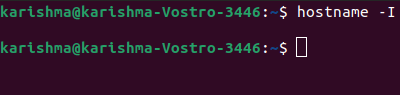
9. -s: It is used for getting a hostname (short). A short hostname can be defined as a hostname section before the first dot/period (.). The complete hostname will be displayed if a hostname contains no period. We can use the --short or -s option for displaying the hostname's short version. It is cut off on the first dor. The command is mentioned as follows: Syntax: Or, The output will be as follows: 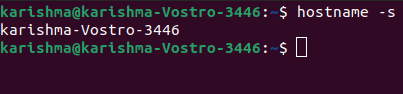
10. -V: This option provides the number of the version as an output. Syntax: The output will be as follows: 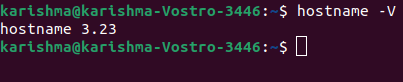
11. --help, -h: It is used for showing a help message as a result. Syntax: The output will be as follows: 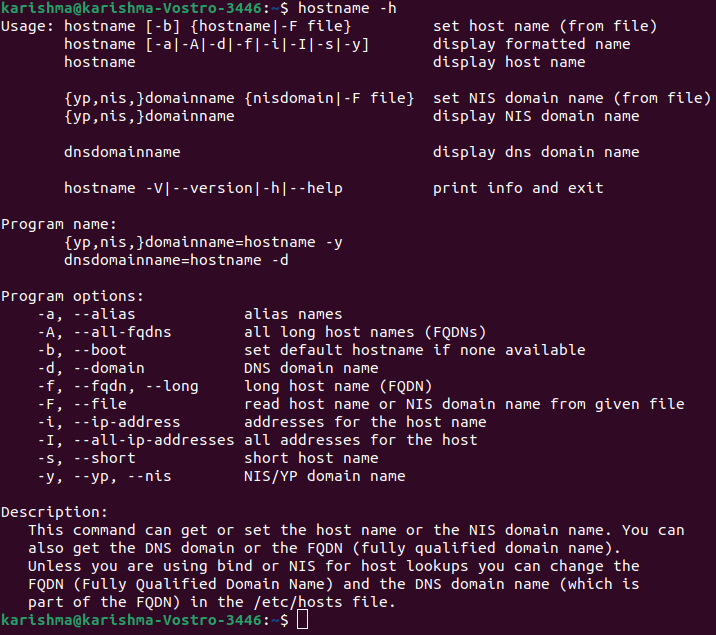
12. --nis, --yp, -y: This option is used for displaying the domain name of NIS. Syntax: The output will be as follows: 
How to Change the HostnameThe following are some of the steps of how we can change the name of our computer in Linux. We need to follow these easy steps for changing the hostname or computer name of our system. These steps are mentioned below: 1. We can enter the below command for editing the /etc/hostname file using vi or nano text editor: 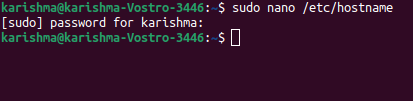
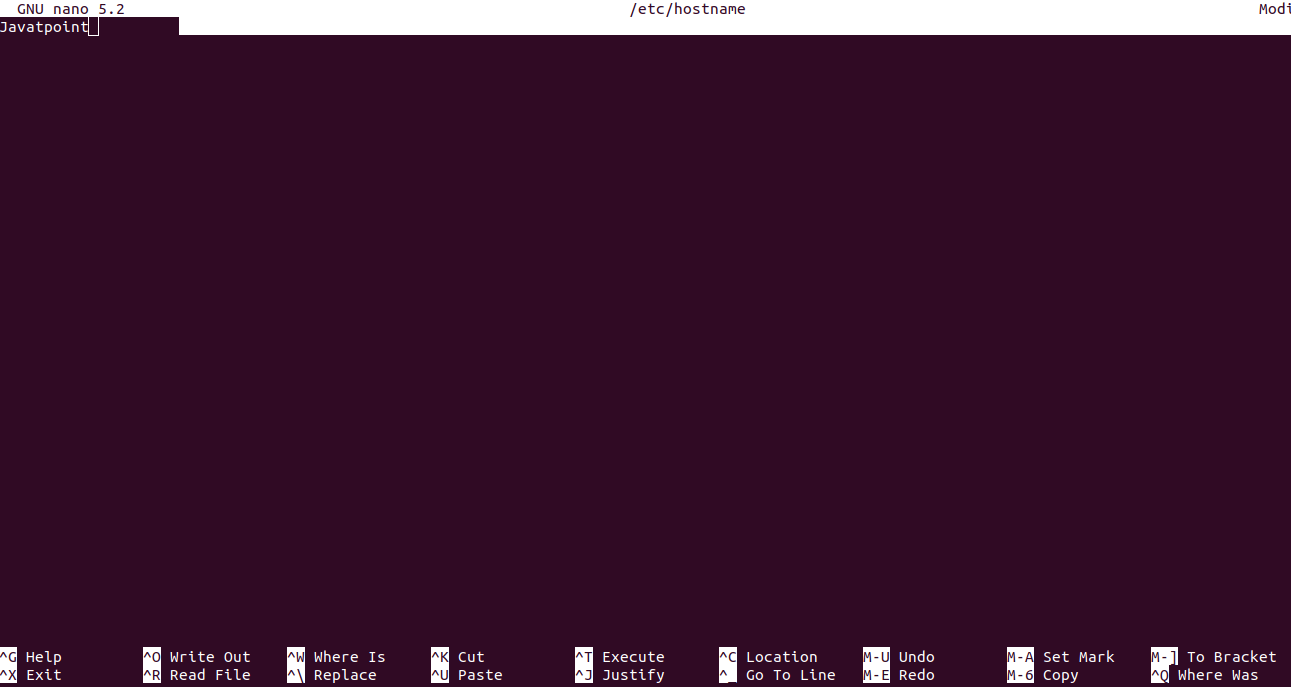
Remove the previous hostname and enter a new hostname. 2. After the first step, edit the /etc/hosts by entering the following command: 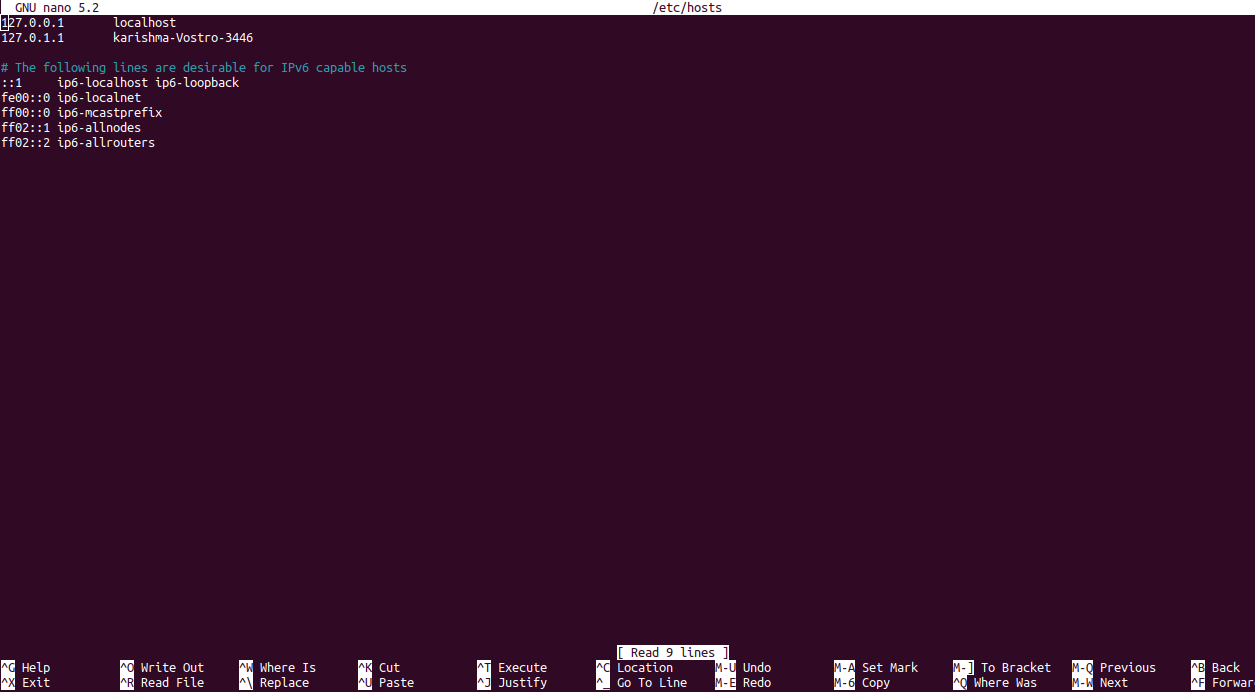
Remove an existing computer name occurrence with our new name. 3. Type a command which is mentioned below to see the changes: 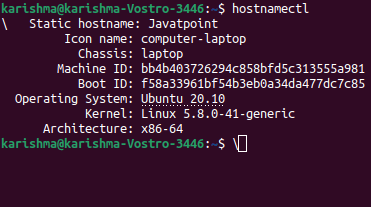
Setting Our HostnameProbably, we set the hostname of our computer when we installed the OS, but we can modify it any time we choose. There have been various distinct ways for setting the hostname of a Linux computer. Greatly, systemd has simplified this process. SystemdWe can execute the below command for changing the hostname of our computer on a system running systemd. The command is mentioned as follows: 
Systemd would take care while resetting everything for us. Old School TechniqueOne of the most traditional and universal techniques involves changing two files and then rebooting our computer. The initial file is known as the "hostname". It is a plain text file along with one word inside it. The system will read that one word and fixes it as our hostname. Hence, enter whatever we like there for making it the hostname of our system. This file is positioned at the "/etc/hostname" file. The second file is known as the "hosts" file. It tells our system which of the hostnames to connect with IP addresses. We need to specify it for associating our hostname with a local computer. This file is positioned at the "/etc/hosts;" file. Once locate it, we need to open it. There are two lines that we have to concern with and it must look like below: We need to modify the second line only that has our current hostname. When we are done, then save, exit, and restart our computer. What is Hosts File?This file operates sort of like the ultra-simplified DNS server. It is a file that lets our computer matching up a hostname on our network with an IP address. We can get the file at the "/etc/hosts". Once we locate it, open it. This file is categorized into two parts. The top part manages the IPv4 addresses that we are used to, and the bottom part is IPv6. When we pursued the traditional technique, we set our hostname on the top. For adding the other device's hostnames on our network, we need to make new lines under the two for our computer and pursue a similar format. Initially, add the device's local IP. Then, provide its hostname. When we are done, then reboot networking on our computer. It must be as easy as rebooting the network service. To reboot the network, the command is mentioned below: We can now access our new entry by its hostname. We should also try to get in along with SSH. The command is as follows:
Next TopicUbuntu Disable Firewall
|
 For Videos Join Our Youtube Channel: Join Now
Feedback
- Send your Feedback to [email protected]
Help Others, Please Share


