ASP.NET MVC AuthenticationIt is recommended to make web application highly secure and safe. A web application over the network faces securities issues and challenges. ASP.NET provides authentication feature to deal with these kinds of problems so that we can filter users to access our application. We can set various types of authentication for our application at the time of creating application. During application crafting MVC asks for authentication that includes the following. 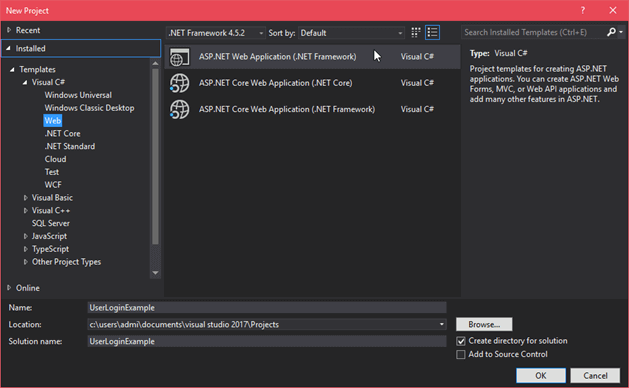
No Authentication: It is used to set no authentication for the application. It allows anonymous user to access. Individual User Accounts: It is mostly used and common approach to set authentication for the application. It is used to set authentication for individual user to access the application. Work or School Accounts: It is used to authenticate users with Active Directory, Microsoft Azure Active Directory etc. We can set permission for individual organizations. Windows Authentication: It is mainly used for intranet applications. Example Let's create an ASP.NET MVC application that implements authentication module. This example includes the following steps. Create an ASP.NET MVC ProjectSelect file menu and create new project, provide project name and select application type from the given couple of choices. 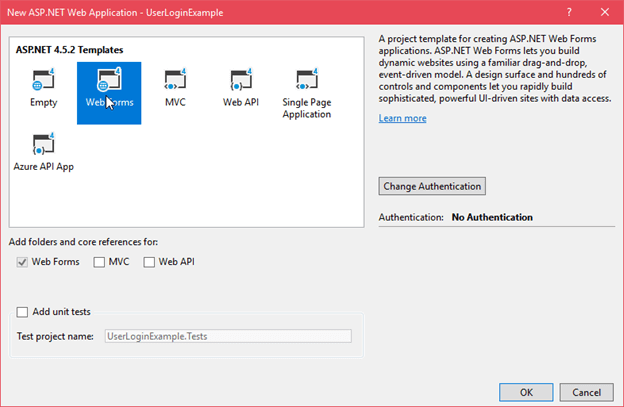 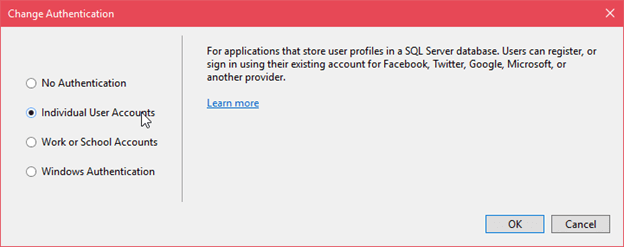
Select Template 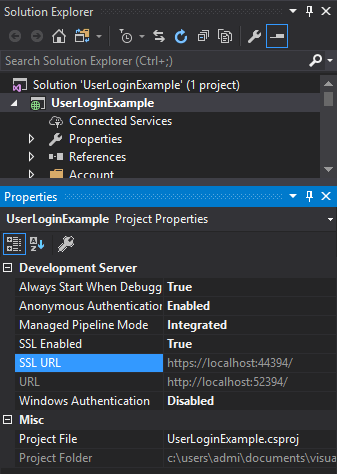
Change Authentication 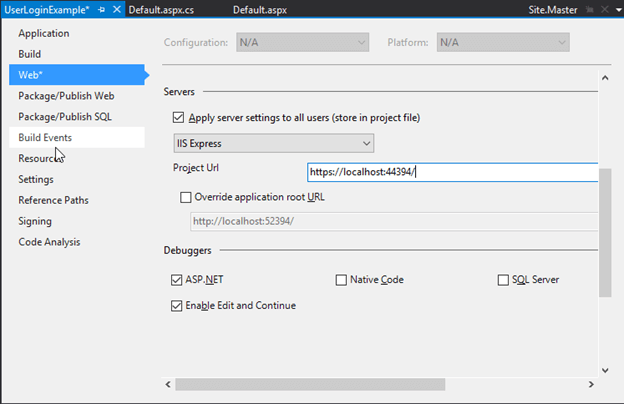
After clicking ok, it will create a project that something looks like this. 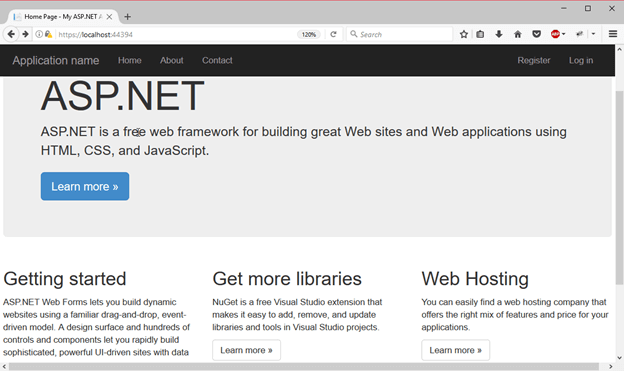
This project has default structure that contains individual folders for Model, View and Controller. The HomeController is default controller; we can execute this project by using Ctrl+F5. It will produce the following output when run to the browser. 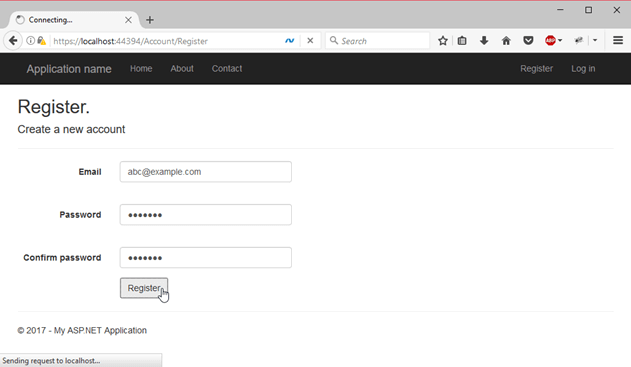
We can see that at the top right corner of the application there are Register and Log in links. These links are available because we changed authentication type at the time of creating the application. Now this application will allow only registered users. Apart from this, we can set authentication at controller level too. ASP.NET MVC provides annotations that can be applied to the controller and action level as well. Authentication AnnotationsASP.NET provides an Authorize annotation that can be applied on the action to set user accessibility. To create a controller right click on the Controller folder and select controller, it will add a new controller to the folder. A screenshot is given below. 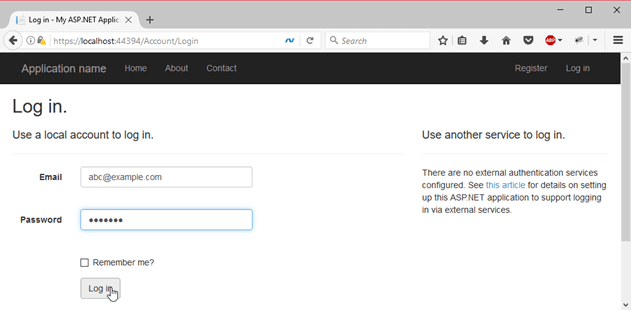
The created controller has some default code that we have modified to implement the authorize annotation. Our controller name is CheckAuthController. // CheckAuthController.csBy accessing from the browser, if we use http://localhost:54382/CheckAuth, it will produce the following output. 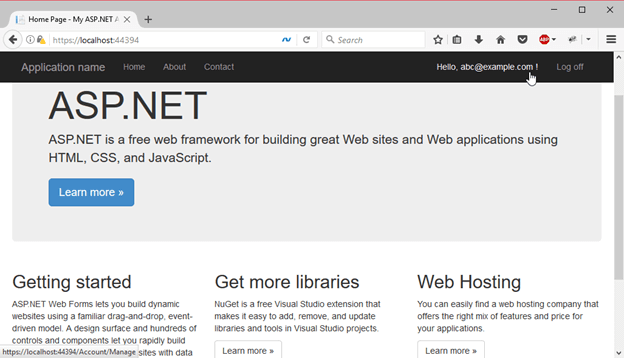
It works because it is publically accessible but another action is not public. So, when we access http://localhost:54382/CheckAuth/AuthorisedOnly , it automatically redirects to the login page. It means only registered users can access it. 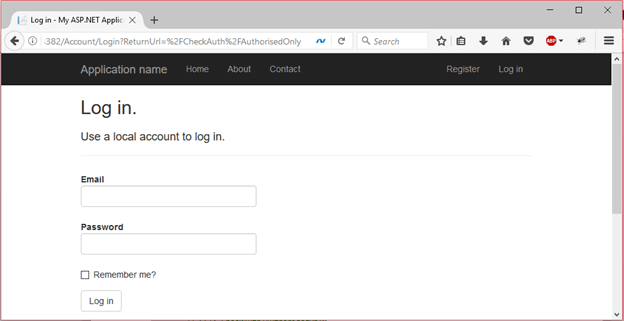
Next TopicASP.NET MVC Bootstrap
|
 For Videos Join Our Youtube Channel: Join Now
Feedback
- Send your Feedback to [email protected]
Help Others, Please Share


