| |

Joomla - Create ModulesJoomla modules can be defined as the extensions which are flexible, light-weight, and useful for page rendering. In this article, you will understand how to insert or edit the Joomla Modules on your site. Create ModulesCheck out the steps given below to understand how to add the Joomla Modules on the site: Step 1 First of all, navigate to the "Extensions - Modules" from the Joomla Taskbar. It will redirect you to the page showing a list of all the modules installed on your site. It will look like the following image: 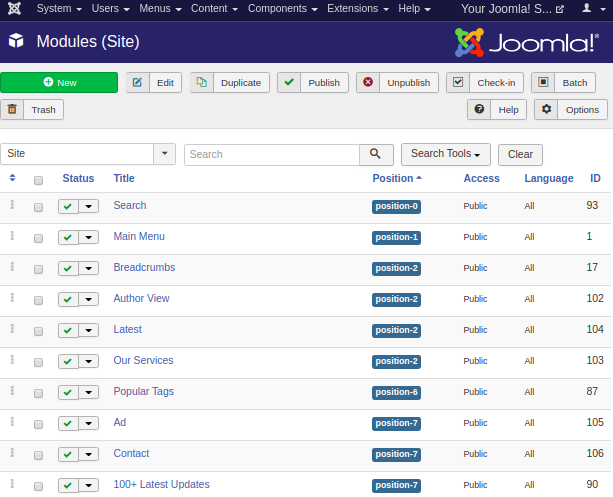
This page can also be accessed from Joomla Control Panel. Step 2 Click on the 'New' button from the Joomla toolbar. After clicking on the 'New' button, you will get a list of all the module types. You need to select the module type that you want to create for your site. The following image displays the list of module types available on Joomla: 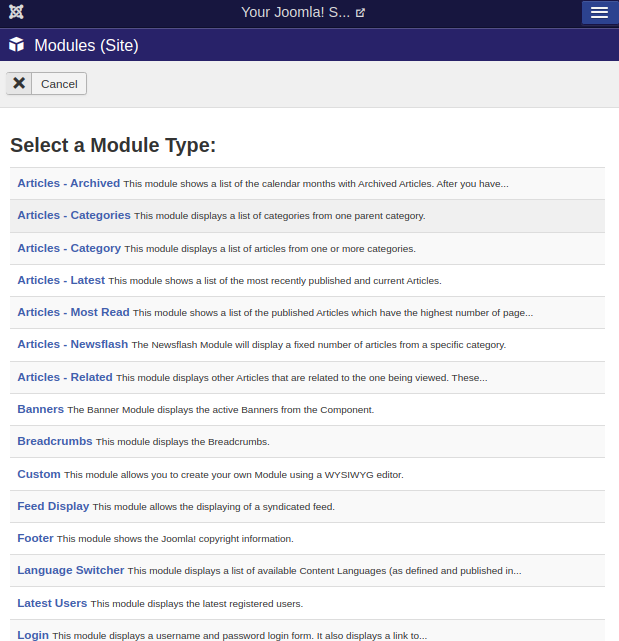
For an illustration purpose, we are choosing the module type as 'Login'. Step 3 After clicking on the 'Login' module, you will get the following form: 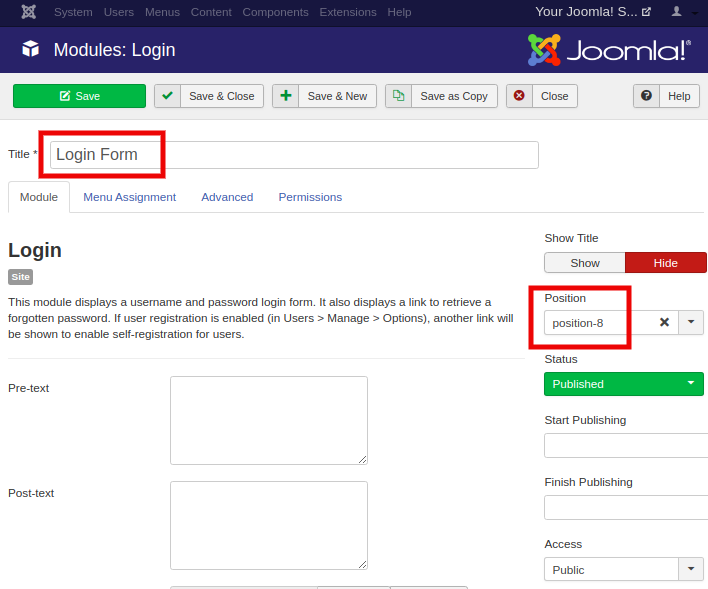
Here, you are required to fill all the mandatory details. Most of them are optional, so that you can leave them as default. Some of the important fields are:
Step 4 Now, open the "Menu Assignment" tab and choose whether you want to display the created module on all the available pages or only on specific pages. You can select the option from the drop-down list available on the module assignment page. It will look like the image attached below: 
Step 5 The 'Advanced' tab is used to change the advanced settings of the modules. The following image displays the options available on the 'Advanced' tab: 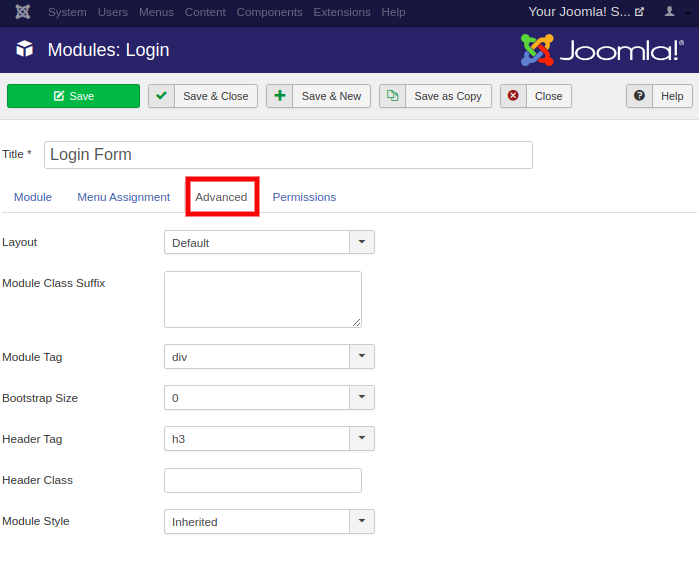
The table given below provides a short description of available options:
The options available here are not mandatory and can be left as defaults. Step 6 'Module permissions' tab is the last tab available on the module creation page. It is used to manage the permissions of the module for the user groups. The following screen displays the options available under the Module permissions tab: 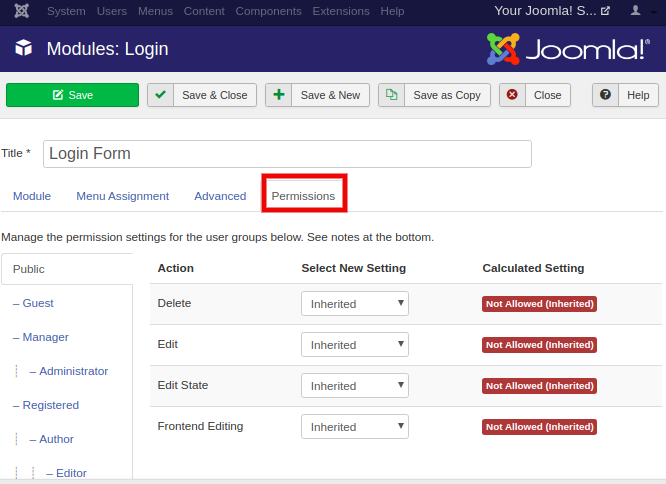
Step 7 After filling all the details, click on the "Save" button from the toolbar to keep the changes. The following image displays how the created 'Login' module will look on the site: 
That is how you can create modules in Joomla. Edit Module in JoomlaTo edit a module in Joomla, follow the below steps: Step 1 Log in to Joomla's account and navigate to the 'Module Manager'. Step 2 Select the module that you want to edit by clicking on the checkbox and then click on the 'Edit' button. 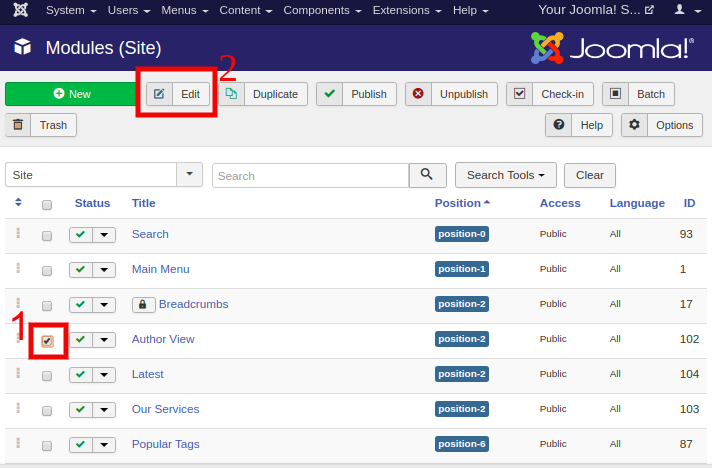
Step 3 Make the changes and click on the 'Save' button to keep the changes.
Next TopicJoomla - Module Types
|
 For Videos Join Our Youtube Channel: Join Now
Feedback
- Send your Feedback to [email protected]
Help Others, Please Share


