| |

CorelDRAW: Implementing with bitmapsWe can transform any vector graphics into the bitmap. In CorelDRAW, we can also crop and import bitmaps. Also, we can insert special effects, watermarks, and color masks, and modify the tone and color of an image. This chapter includes the following essential topics:
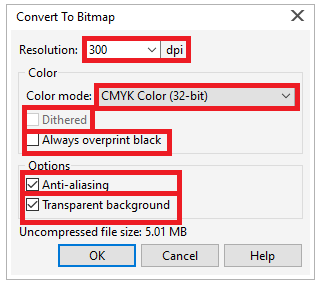
Transforming vector graphics into bitmapsTransforming vector graphics into bitmaps allows us to use some special effects on the objects in CorelDRAW. The vector graphics transforming process into bitmaps can also be referred to as "rasterizing." To transforming vector graphics into bitmaps1. Choose the object. 2. Press Bitmaps > Covert to bitmap. 
3. Select any resolution from the list box of Resolution. 4. Select any color mode from the list box of the Color mode. 5. Select from the below checkboxes:
Cropping bitmapsBitmap cropping removes the bitmap's unwanted area. To crop any bitmap into the rectangular shape, we can apply the Crop tool. To Crop the bitmap1. Select the Shape tool from the Toolbox. 2. Choose the bitmap. 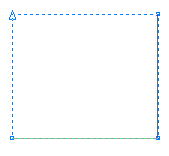
3. After that drag any corner node for reshaping the bitmap. 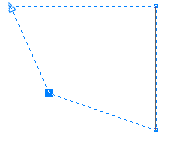
4. Press Bitmaps > Crop bitmaps. 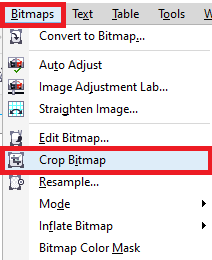
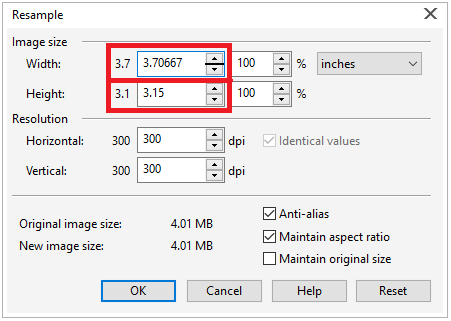
Note: We can't crop the bitmap consists of multiple objects.Changing the bitmap's resolution and dimensionsAfter we insert the bitmap into any drawing, we can modify its resolution and dimensions. To modify the bitmap's dimensions1. Choose the bitmap. 2. Press Bitmaps > Resample. 
3. Select the measurement unit from the Width and Height 4. Fill the values inside the below boxes:
To modify the bitmap's resolution1. Choose the bitmap. 2. Press Bitmaps > Resample. 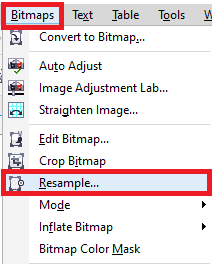
3. Fill the values inside the below boxes within the Resolution area:
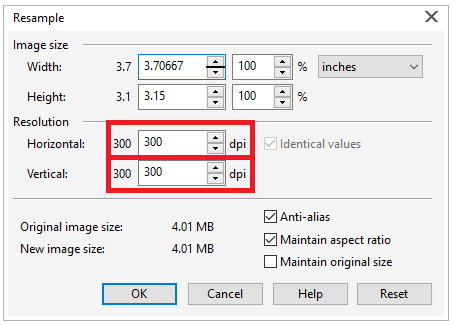
Straightening bitmapsA dialog box, i.e., Straighten image allows us to quickly correct the bitmap straighten images and lens distortions. This aspect is very helpful to straighten images that were scanned or taken over an angle and include lens distortions. To straighten images1. Choose any image. 2. Press Bitmaps > Straighten image. 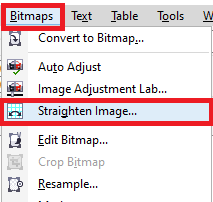
3. Move the slider, i.e., Rotate image, or fill the value among -15 and 15 inside the Rotate image 
4. Move the slider, i.e., Grid to maintain the grid cell's size if necessary. 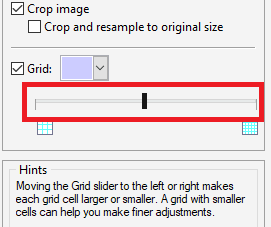
5. To straighten and crop an image, select the dialog box, i.e., Crop image. 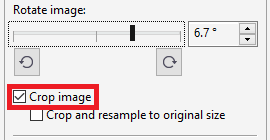
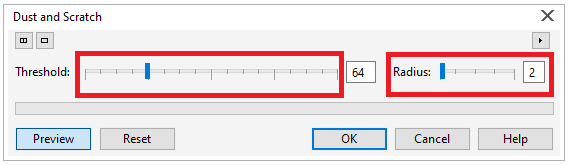
Removing scratch and dust marks from a bitmapWe can improve the representation of the bitmap quickly by removing scratch and dust marks. The scratch and dust filter works if we eliminate the contrast among pixels that overtakes any contrast threshold we set. To remove scratch and dust marks from a bitmap1. Press Effects > Correction > Dust and scratch. 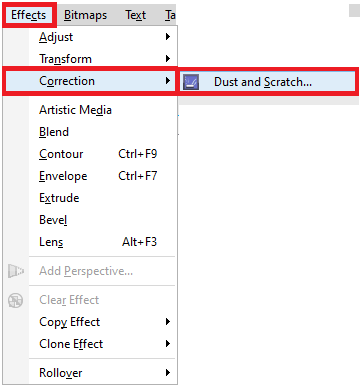
2. After that move from the below sliders:
Using special effectsWe can use several kinds of special effects on the bitmaps, like artistic effects and 3D (three-dimensional). To use any special effect1. Choose any bitmap. 2. Select Bitmap, select any special effect we wish and then press an effect. 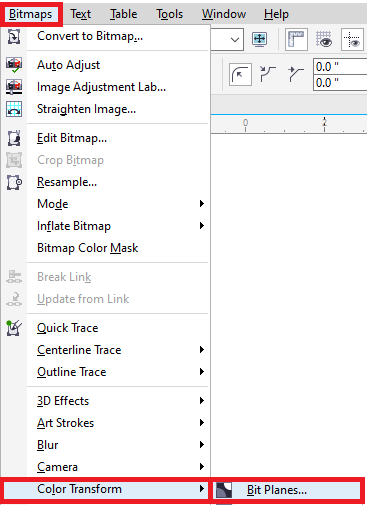
3. Maintain the settings of special effects. 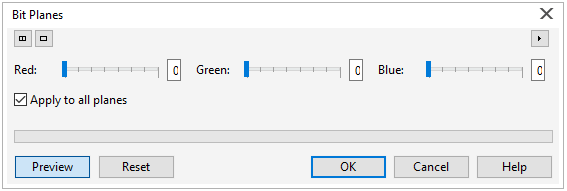
To insert any plug-in filter1. Press Tools > Options. 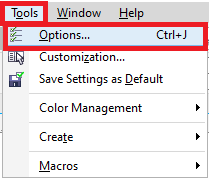
2. Double-click on the Workspace, and press Plug-ins from the list of categories. 3. Press Add. 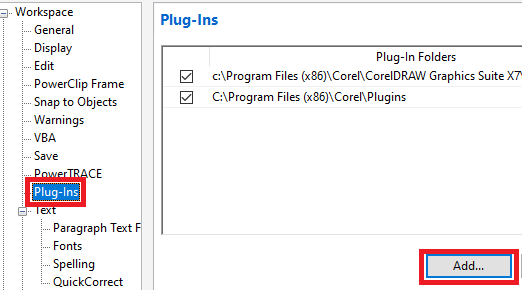
4. Select any folder including the plug-in. 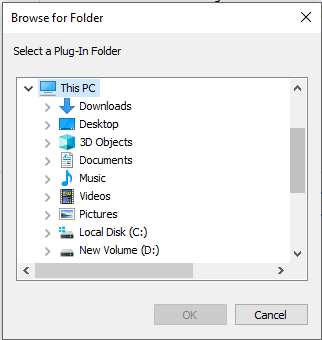
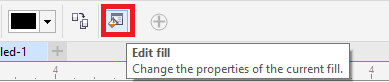
Bitmap colorsCorelDRAW allows us to modify colors in various monochrome images. It also allows us to use Postscript halftone screens for optimizing black-and-white and color bitmaps to print, mask colors, and show and hide colors. The monochrome bitmaps contain two colors, white and black. We can replace white and black with color over the color palette. Also, color masking enables us to modify chosen colors without changing other colors within an image. We can save the color mask of a bitmap to any file and then open this file for further usage. To apply the screen over the bitmap1. Choose the bitmap with the help of the Pick 2. Select the Interactive fill button from the toolbox. 3. Click on the Uniform fill button over the property bar, and press the Edit fill 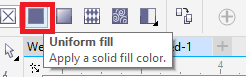
4. Press on the Palettes 5. From the list box of Palette, select the fixed palette. 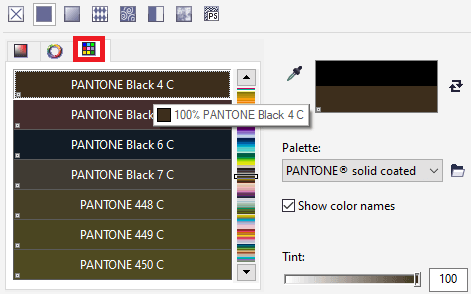
6. Press Options, and press Postscript options. 
7. Select any option inside the list of Type for setting the line type or dot shape. 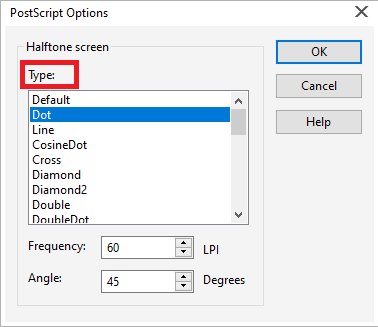
8. Type the value inside the Frequency box for settings the lines or dots number that illustrate in every screen inch. 9. Type the value inside the Angle box for setting the lines or dots that illustrate over the screen. 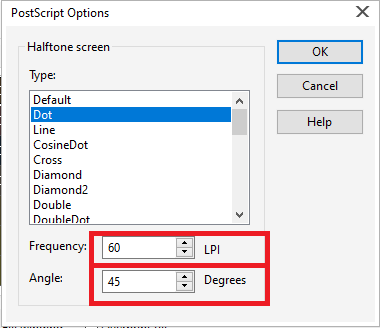
To display or hide any color in the bitmap1. Choose the bitmap with the help of the Pick 
2. Press Bitmap > Bitmap color mask. 
3. Select from the below options:
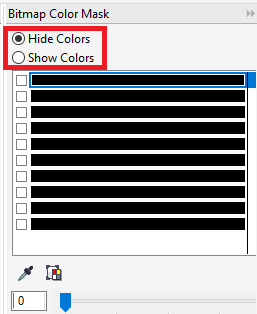
4. Select a checkbox that is near to the channel which we wish to display or hide. 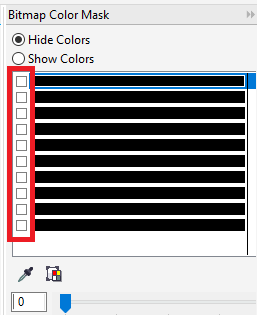
5. Move the slider, i.e., Tolerance for setting the color tolerance for any color. 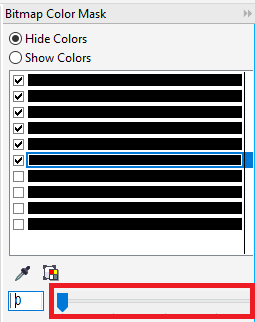
6. Press the Color selector 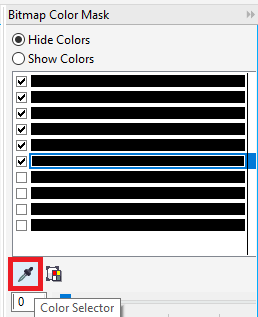
7. Press any color that we wish to display or hide. 8. Press Apply. 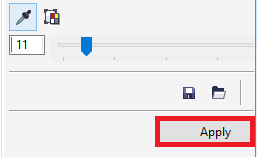
To enable the bitmap color mask1. Press Bitmap > Bitmap color mask. 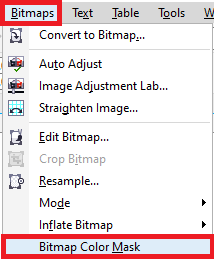
2. Press the Open mask 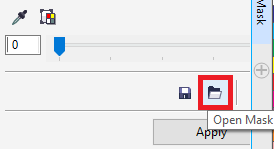
3. Select any folder where the file of the color mask is stored. 4. After that double-click on the file. 
Image adjustment lab usageAn image adjustment lab allows us to correct the tone and color of most images easily and quickly. It consists of manual and automatic controls, which can be managed in the logical order for image correction. It is efficient to retouch or crop an image's area before starting the tone and color correction. To correct tone and color in an image adjustment lab1. Press Bitmaps > Image Adjustment Lab. 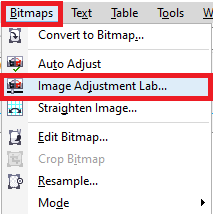
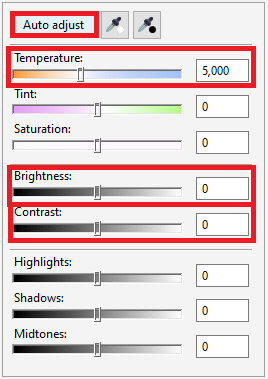
2. Press Auto adjust. 3. Implement from the below tasks:
Adjusting the tone and colorCorelDRAW allows us to adjust the tone and color of a bitmap. We could replace the colors and also adjust the intensity, lightness, and brightness of the colors. We can also adjust the tone and color of a bitmap automatically with the help of a command, i.e., Auto Adjust. To adjust the tone and color automatically1. Choose the bitmap. 2. Press Bitmaps > Auto adjust. 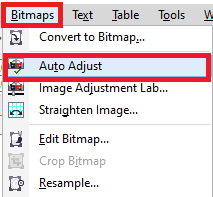
To adjust the tone and color with the adjustment filter1. Choose the bitmap. 2. Press Effects > Adjust, and press the adjustment filter. 3. Describe the settings we wish. 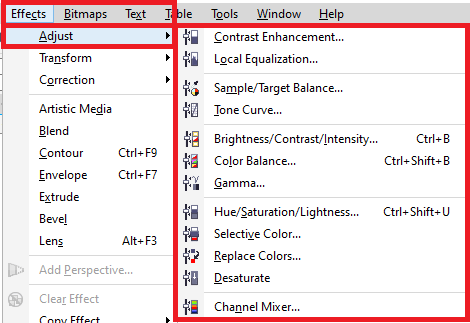
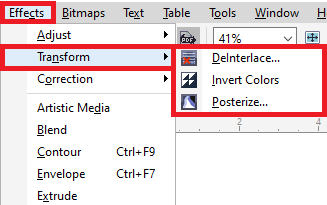
Transforming tone and colorWe could transform the tone and color of any image to generate any special effect. We can create an image that appears like any photographic negative and flatten an image's appearance. For transforming the tone and color of a picture, we can apply the below effects:
To transform tone and color1. Choose the bitmap. 2. Press Effects > Transform, and select from the below options:
Next TopicWorking with various Colors
|
 For Videos Join Our Youtube Channel: Join Now
Feedback
- Send your Feedback to [email protected]
Help Others, Please Share


