
HTML Basics TagIntroductionThe HTML tags are special keywords by which we can specify the format and appearance of any website. In HTML, the tags are bounded in < and >. All the tag starts with an open angular bracket(<) and ends with a closed angular bracket(>). Some of the tags end with a forward slash before the name of the tags. We can also place the HTML tags inside another tag. Why do We Need to Open and Close HTML Tags?It is very important that all the tags must be open and closed. It tells the web browser that when the piece of code begins and when the piece of code closes so that the browser can distinguish it from the other section of the webpage. When we miss any one of the closings tag, then it can result in an incompatibility for the browser. It can also result in the improper appearance of the webpage. When the developer troubleshoots the HTML program, then it shows the missing closing tag. Essential HTML TagsEvery HTML code has some essential tags. These are needed for the web browser to understand and display the webpage correctly. These also help the web browser to distinguish between normal text and HTML code. Four basic essential HTML tags are needed for the creation of the webpage. These are as follows.
Before talking about the above basic essential four tags, let's talk about the HTML document declaration, i.e., <!DOCTYPE>. <!DOCTYPE>In HTML, <!DOCTYPE> is not a tag; it is just an HTML document declaration. It shows the version of HTML that we are using in our program. All the HTML code must start with this declaration, and this is not case-sensitive. Syntax in HTML5: Or Now let's discuss the main essential tags briefly. 1. <html></html>With the help of this tag, we can define the document as a web page. We can also specify the beginning and end of HTML code with the help of these tags. All the tags of HTML are contained by this tag except <!doctype html>. All the tags of HTML are nested inside the <html></html> tags. Syntax: 2. <head></head>With the help of these tags, we can define the heading section of HTML code. It defines the information about the web browser, and this information is not displayed on the web page. It also contains all the information related to the web page. It also contains some tags like <title>, <meta>, <link>, etc. We can locate the <head> tag in between the <html> tag and <body> tags. Syntax: 3. <title></title>We can provide the title for the webpage with the help of this tag. We can define the <title> tag inside the <head> tag. After giving the title for the webpage, the name of the webpage appears on the tab or title bar in the browser window. Syntax: 4. <body></body>With the help of this tag, we can declare all the information and other visible content for the webpage. The <body> tags contain all the information like images, links, plain text, videos, etc. We can declare all other tags like <p> tag for paragraph, <strong> tag for bold text, <a> tag for images, <ol> tag for the ordered list, etc. Syntax: Basic HTML TagsThere are so many basic tags in the HTML apart from all the essential tags. In HTML, using all the basic tags, we can format the content, also adding the heading for the webpage, also align the content and perform more things on the webpage. Below is a list of some basic tags that are commonly used on every web page. 1. <h1></h1>With the help of this tag, we can define the heading for the HTML webpage. The content of the heading tags looks bigger and bold in comparison to normal content. There are six heading tags available on the webpage. These tags are h1, h2, h3, h4, h5, h6. The <h1> tags show the most important and most priority heading tag, and <h6> has the least priority. Syntax: Example 1: Output: 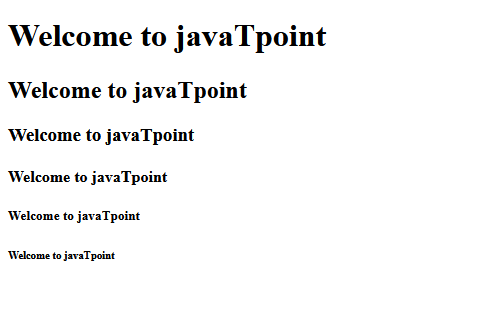
Explanation: In the above code, the content of <h1> tag is bolder in comparison to other content and has the most priority. 2. <p></p>With the help of this tag, we can define the paragraph on the webpage. When we use the <p> tag, the browser automatically adds a single space before and after the paragraph content. Syntax: Example 2: Output: 
3. <img>With the help of this tag, we can insert the image into the webpage. <img> tag has no closing tag. There are some important attributes available for the <img> tag.
Syntax: Example 3: Output: 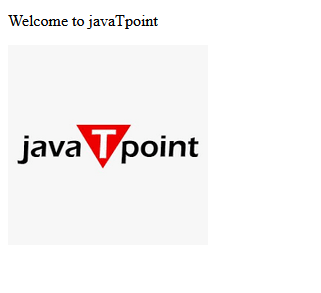
4. <a></a>With the help of this tag, we can link one page to another web page. The important attribute of <a> tag is the href attribute. With the help of this attribute, we can provide the destination address of the webpage in the form of a URL. With the help of <a> tag, we can also create hyperlinks to web pages, files, email addresses, segments on the same page, etc. Syntax: Example 4: Output: 
Explanation: In the above code, we create the hyperlink to the official website of javaTpoint. When the user clicks on this hyperlink, then it will be automatically redirected to the targeted webpage. 5. <B> </B>With the help of this tag, we can bold the specified part of the text. If we make any part of the text bold, then that part of the text becomes written in extra black color. Example 5: Output: 
Explanation: In the above code, we have taken a paragraph tag, and inside that <p> tag, we write some statements and implement the <b> tag in some of the text in the statement of <P> tag. 6. <BR>With the help of <br> tag, we can create a blank line while writing any paragraph. Using <br> tag while writing any paragraph increases the readability of the paragraph. Example 6: Output: 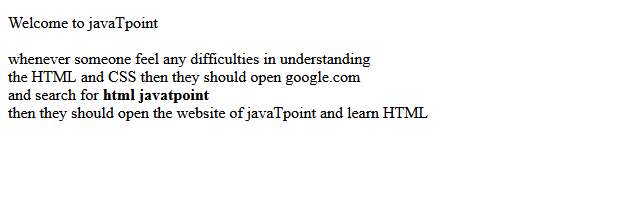
7. <DIV> </DIV>With the help of this tag, we can divide a separate area from the total area of the webpage. Inside that separate area, we can take different elements. It is mostly used to create the groped element. Example 7: Output: 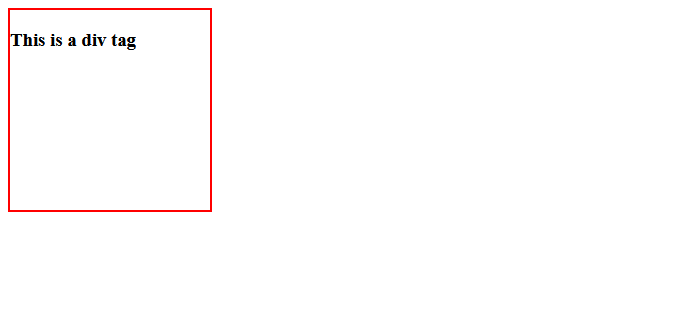
Explanation: In the above code, we have taken a <div> tag. For better visibility of the area of the <div> tag, we have applied some CSS-style properties. 8. <I> </I>With the help of this word, we can give emphasis to the particular portion of the word. That particular portion is written in italics word. Example 8: Output: 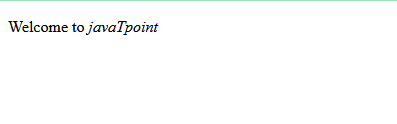
9. <LI> </LI>With the help of this tag, we can create an ordered list(<ol>) and an unordered list (<ul>) in the HTML. Syntax: 10. <OL> </OL>With the help of this tag, we can create the ordered list in HTML, which will be numbered automatically. It will be helpful when we add some extra item to the list; then, the counting starts automatically from where it stops. Example 9: Output: 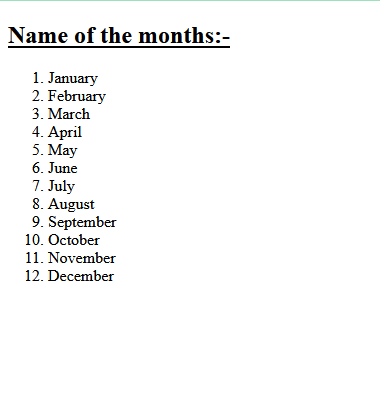
Explanation: In the above code, we have created an ordered list with the help of <ol> tag and listed the item with the help of <li> tag. In the output, all the items are numbered in a series ordered. 11. <UL> </UL>With the help of this tag, we can create the unordered list in HTML. It lists the item intended with a bullet. Example 10: Output: 
Next TopicHTML Code for Website
|
 For Videos Join Our Youtube Channel: Join Now
Feedback
- Send your Feedback to [email protected]
Help Others, Please Share


