Building a calculator is one of the first challenges to take when learning JavaScript. This tutorial covers the simplest method that can be used to create a simple calculator using HTML, CSS and JavaScript. We'll create a webpage with a calculator using for loops in this tutorial
Simple Introduction to HTML, CSS and JS:
HTML is the markup language used to structure a webpage.
CSS is the styling language used to design the layout and look of the elements of the webpage.
JS is the scripting language used to define the behavior and working of the elements in the webpage.
We can use eval() function. There is already a tutorial on that but eval() isn't recommended to use due to its security risks. The function eval() accepts an expression in the form of a string as input, evaluates it and returns the result.
For example:
eval("4*3+2") returns 14
However, using eval() is not recommended as it can lead to malicious attacks. As discussed above eval() can accept an expression in any form even large strings. If someone-a hacker or some mischievous user gives it an infinite value, it keeps executing slowing down the whole server trying to evaluate the expression rather than identifying the attack.
Hence, we'll not use the function and use just loops to build a simple calculator.
Idea:
The idea is to create a table. The first row of the table should be the display. The next rows must contain buttons of numbers, clear, Back space, equals to and operators.
On clicking numbers or operators, the value of the button must be displayed on the display.
On clicking on C, the display has to become empty.
On clicking B, the last element on the display must be deleted.
On clicking =, everything on the display must be solved and now the display has to show the result of the expression entered.
Hence, we need to write 4 functions in JavaScript for the functionalities of four types of buttons.
You can style the calculator anyway you want using CSS. For simplicity, we aren't using much styling features. We'll create the calculator in the same design as in the tutorial where we used eval() to create the calculator.
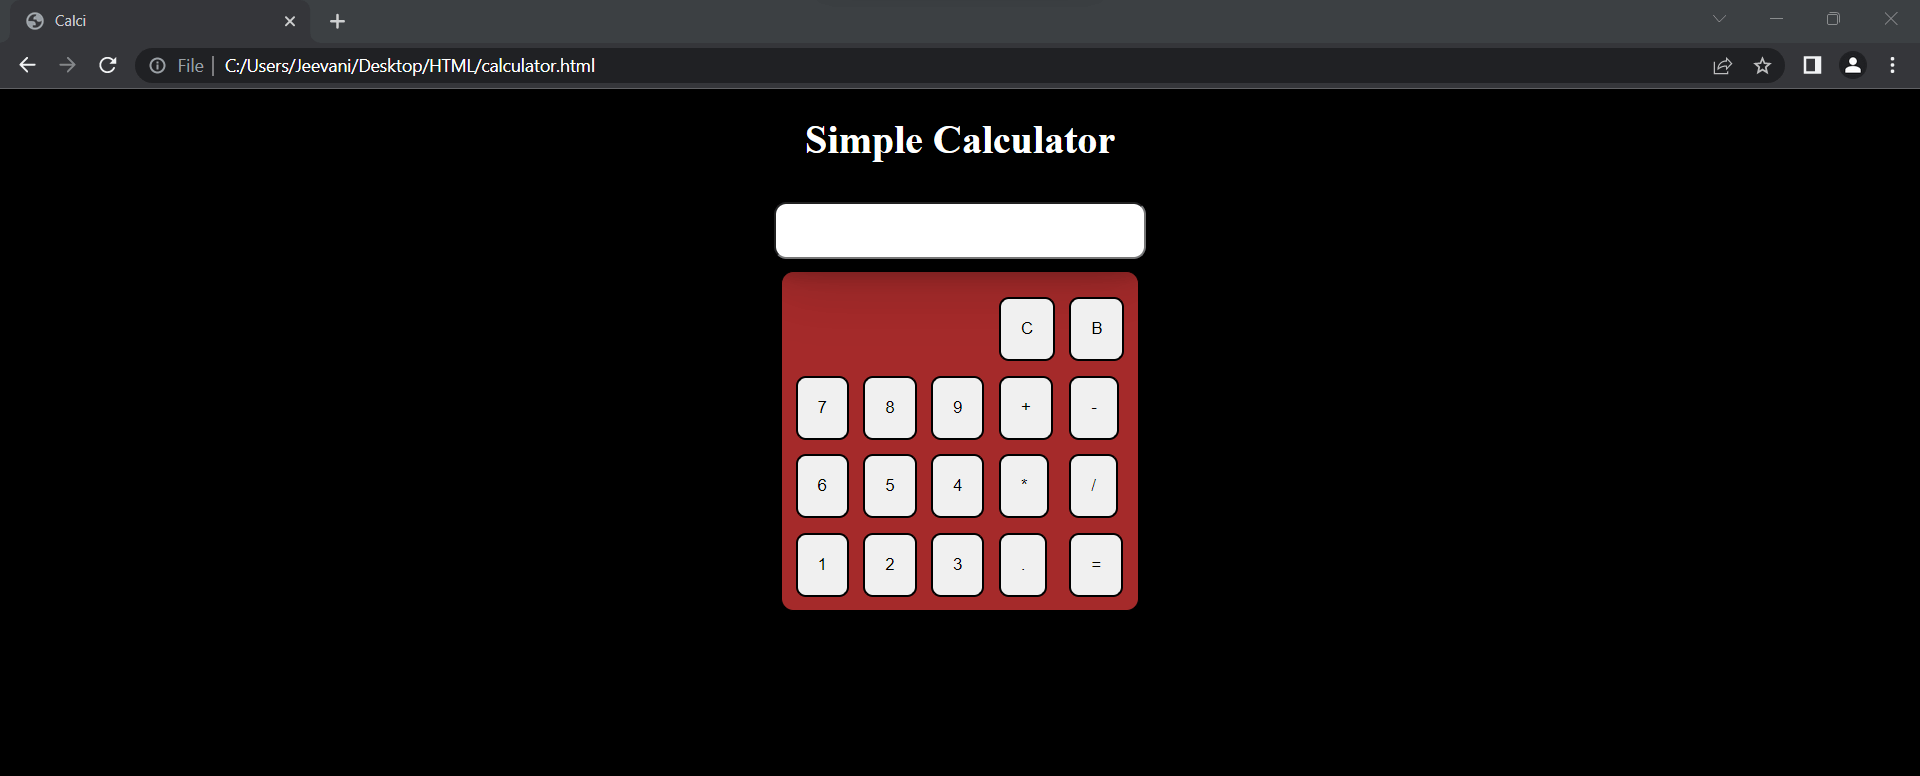
We'll make a calculator like this:
We used io to develop the code. You can use a text editor or any software you want.
The HTML part:
Create a new file with .html extension: calci.html
In the head, we've given the title as calci. The first tag in body is center, to place the heading and the calculator in the middle of the web page.
Then, we gave the main heading of the web page as "Simple Calculator".
We constructed a table, such that:
Every row consists of buttons to be pressed and on every button click, a function from js is called for the calculation.
Buttons in the first row: three empty columns, C and B. C is for clearing the display and B is for giving a back space.
Buttons in the second row: 7, 8, 9, empty column, +, and -.
Buttons in the third row: 6, 5, 4, empty column, *, and /.
Buttons in the fourth row: 1, 2, 3, empty column, decimal point and =.
We'll be using inline CSS and js in the head section with <style></style> and <script></script> tags.
The HTML part:
Code:
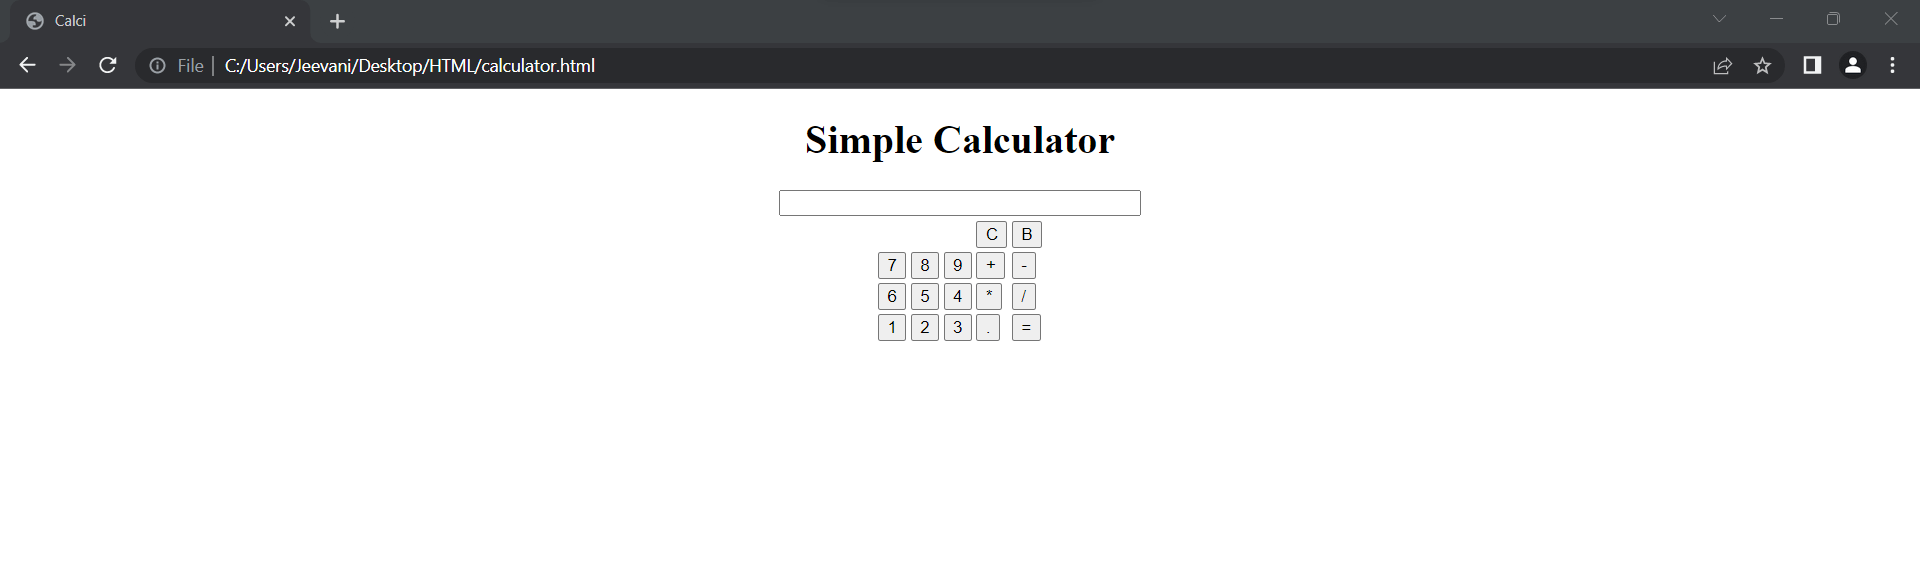
Output:
On pressing these buttons, nothing happens.
Before going to the styling part, we'll work on the functionality part:
Now, it is time to design the web page using CSS:
CSS Part:
Here is a table of all the CSS properties used with explanation:
Table styling:
Property
Explanation
table_layout: fixed
The layout of all the cells in the table remains fixed (Width of the columns) irrespective of the length of content inside.
border-spacing: 10px
Distance or space between the borders of cells. It applies only when border-collapse is set to separate. We can set both vertical and horizontal distances.
box-shadow
To attach a shadow to an element. We can add multiple shadows to a single element by separating them by a comma.
border-radius
To curve the edge of the element's corners. (To add rounded corners to an element). The greater the value, rounder the corner will be. We can give four values to four corners.
background-color
The color to the background of an element. We can give the name of the color or use hexadecimal codes.
border
One property for adding the width, style and color to the borders of an element.
Button:
Property
Explanation
padding
To create space between the element and the border around it. Using padding-top, padding-right, padding-bottom and padding-left, we can give spaces on each side of the element.
border-radius
To curve the edge of the element's corners. (To add rounded corners to an element). The greater the value, rounder the corner will be. We can give four values to four corners.
hover: background-color
Using element:hover, we can add a property to the element when user hovers (moves) the cursor on the element. Here, we are changing the background color.
color
Font color.
active: tranform
Using element:active, we can add a property to the element when user clicks on the element. Transform is used to add 2D effects to the elements. Here, we are using scale(). This function can resize the element and then back to the original size. We used this to get a button effect when pressed.
body: hover h1{}
When user hovers on the body, we can change the property of h1 using this syntax.
Output:
JavaScript Part
It is time to give the actual functionality to the calculator using JavaScript:
Observe the HTML code, we've called four functions fun(), C(), B() and res().
fun(a):
On clicking all the buttons of numbers and operators, we call fun () with the value of the number or operator as argument.
In the function, we need to print that value on the display input box, hence, we concatenate the argument to the value already in the input box.
C(): We'll simply reassign the value of the display input box to an empty string to clear the display.
B(): We'll get the whole string on the display and slice it deleting the last element and re-assign it to the display again.
res(): This function is activated on clicking =.
The whole functionality lies in res(). First, observe the code:
Output:
Mechanism:
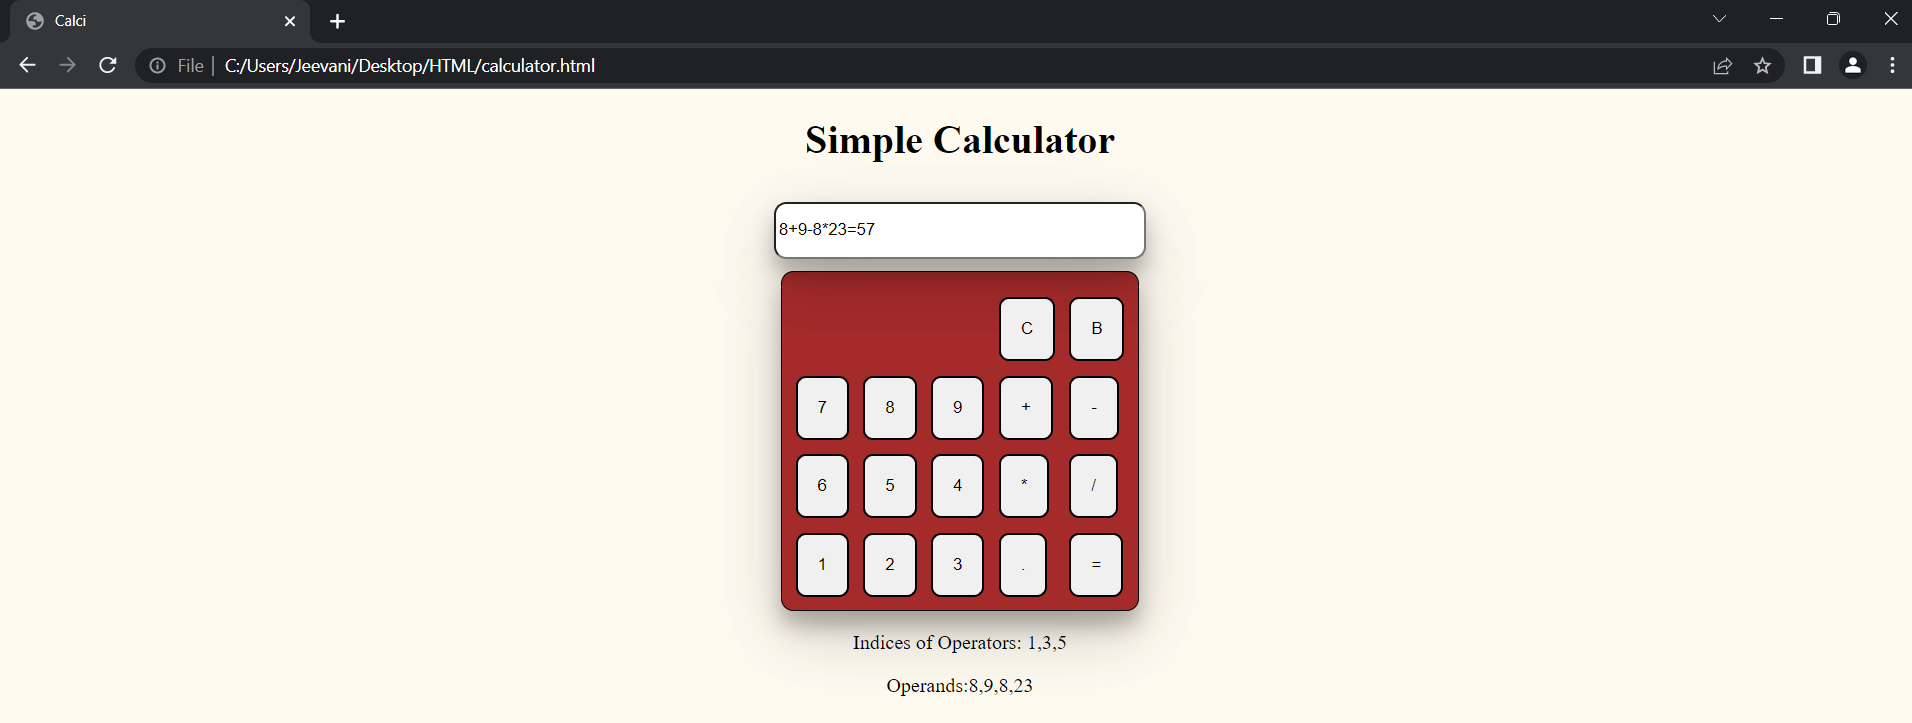
The expression typed on the display is stored in variable a.
Now, we created two arrays index[] and numbers[].
Using a for loop, we traverse the expression to store the indices of operators into the array index and printed them in the paragraph defined in HTML.
So, the array index[] consists of the indices of the operators in a.
Now, we need to separate the expression which is in the form of a string into numbers using operators.
We create another array res[].
Let us take an example to get it better: a = 8 + 9 - 8 * 23
Now, the array index[] = [1, 3, 5]
Suppose, the expression starts with a -, to handle that, we check if a[0] is - and if it is minus, we add a 0 to the expression at the start
For example: -8-9 -> 0-8-9
In the for loop, we traverse the expression to fill res[] with values or numbers in a using index[].
After getting the strings, we convert the values into floating numbers using parseFloat(). We print that in the next paragraph.
Now, according to the above example: a = 8 + 9 - 8 * 23
index = [1, 3, 5]
res = [8, 9, 8, 23]
See that the size of res = size of index - 1
We need to follow the mathematical rule BODMAS to solve any expression
If there is an expression like 3-2*5
3-10 = -7 should be the answer and not 1*5 = 5. Multiplication dominates subtraction
BODMAS: Brackets, Of, Division, Multiplication, Addition and Subtraction
There are no brackets in this calculator, so we just have to follow the four operators (Arithmetic - +, -, * and /)
Here, we used four for loops.
The idea is to traverse index[] and do the operations of operator at index[i] on res[j] and res[j+1]. To traverse index[], we use i and j for traversing res[].
splice() is used to manipulate res[] after solving the operations. It pulls all the values to the empty indices with every empty index.
The first for loop does all the divisions, the second does the multiplications, third-> addition and the last one does the subtractions.
In the above example: a = 8 + 9 - 8 * 23 In the second loop:
index = [1, 3, 5]
res = [8, 9, 8, 23]
a[index[2]] = *
res[1] = res[2]*res[3] = 8*23 = 184
res = [8, 9, 184]
In the third loop:
index = [1, 3, 5]
res = [8, 9, 184]
a[index[0]] = +
res[0] = res[0] + res[1] = 8 + 9 = 17
res = [17, 184]
In the fourth loop:
index = [1, 3, 5]
res = [17, 184]
a[res[1]] = 17 - 184 = -167 res = [-167]
Finally, we replace the expression on the display with the result.
Limitations:
This code can't handle (), consecutive operators and isn't very efficient in terms of using more number of loops. This is just one of the thoughts we get to make a calculator.
We can extend the code into handling these. Observe that in the example we took, there is no / in the expression, but the first loop is just traversed without any use. Hence, this isn't a very efficient approach.
We'll see the best approach in the next tutorial called the "Shunting yard algorithm" by Dijkstra.

 For Videos Join Our Youtube Channel: Join Now


