| |

GIMP Draw RectangleThe rectangles and boxes are a precious part of any image. It helps us to make quick fixes to a specific part or to draw a structure. The GIMP is a handy and most widely used tool for drawing and editing photos. However, making shapes likes arrows, circles, squares seem complicated until we don't know the proper way to draw. Apart from drawing, the rectangle select tool is used to cut, crop, edit, color fill, and many more tasks for a specific region of the image. It is a powerful built-in tool of GIMP. We have discussed how to draw a line, circle, and arrows in GIMP in the previous topic. In this topic, we will talk about how to draw rectangle, square, boxes and similar shapes. GIMP supports a direct tool called rectangle select tool to draw a rectangle and similar shapes. Drawing a rectangle is a straight forward process. Let's see how to draw different rectangular shapes in GIMP: How to Draw Rectangle, Square, and Boxes in GIMP?To Draw a rectangle or similar shapes in GIMP is a fundamental and straightforward task in GIMP. If you are familiar with GIMP's interface, then it is a straight forward process. Follow the below steps to draw a rectangle or make quick fixes to a specific part of the image. Step1: Create or Open an Image The very essential and first step is to create an image. We can create an image by selecting the New option from the file menu. We can also hit the CTRL+N keys to do the same. Other options are also available for creating and opening the image, such as open, open recent, create, etc. It will open a window asking the image properties. 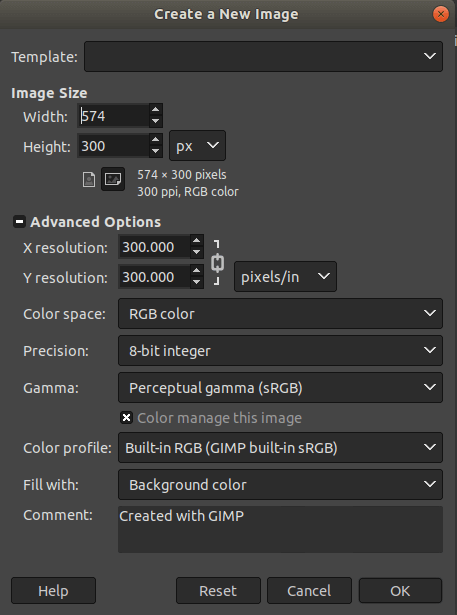
Define the image properties such as image size, fill, color profile and click OK to create a new image. It will create an image with specified properties. Step2: Select the Rectangle Select Tool Now, select the rectangle select tool from the Tools menu. To select this tool, navigate to Tools-> Selection Tools-> Rectangle Select menu or hit the R key. 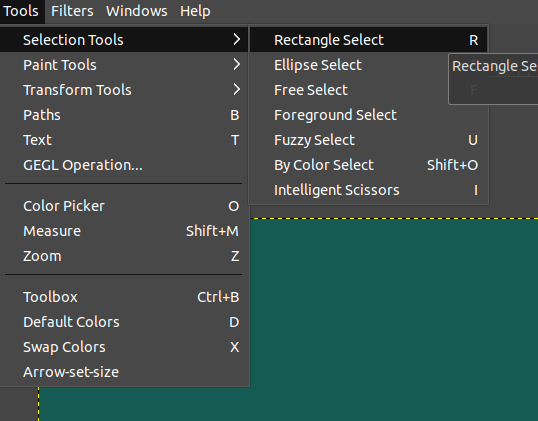
We can also do the same by selecting the below icon from the toolbox: 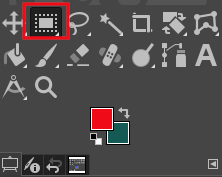
Step3: Draw the Shape After selecting the rectangle select tool, we can draw the shape on our image. To draw a shape, select a starting point on the image canvas and drag the mouse to the required size. It will look like as follows: 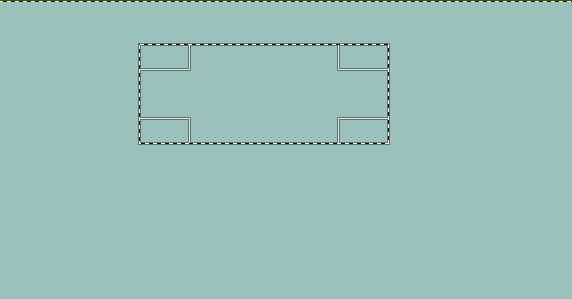
Similarly, we can draw and add other shapes by holding the SHIFT key. Step4: Stroke the Selection After making a rectangle selection, if we want to draw a shape, stroke the selection to clear its edges. And if we want to fix the selected region of the image, apply the filters and effects. To stroke, the selection, select the stroke selection option from the edit menu. It will open a window for specifying the outline width and other aspects: 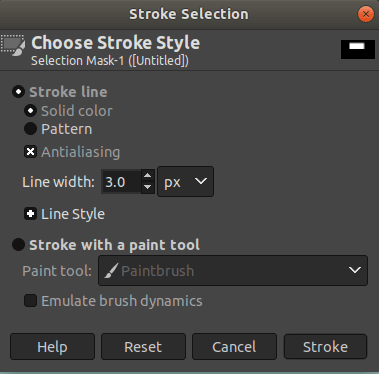
Set the values and click on the Stroke option. It will create an outline with the active background color: 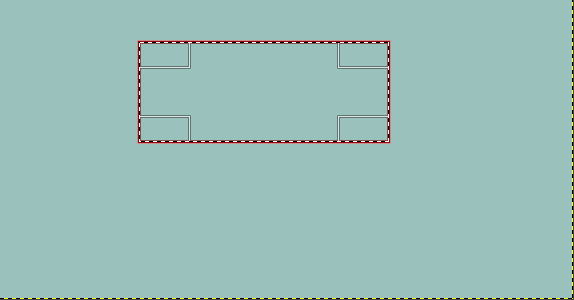
Step5: Fill the Background color or text Now, our box is ready; we can fill the background color or text or both in this box. It is not necessary to fill it. To fill the background color, select the color in the color tool given at the below of toolbox: 
After selecting a color, press the "CTRL+," and "CTRL+." keys to fill it with background and foreground color, respectively. It will fill the color to the active shape. It will look like as follows: 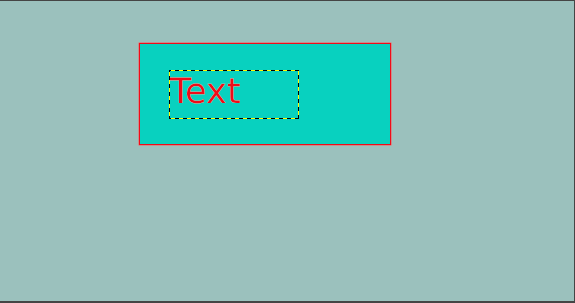
Similarly, we can create multiple shapes on the images and text color or fixes to them: 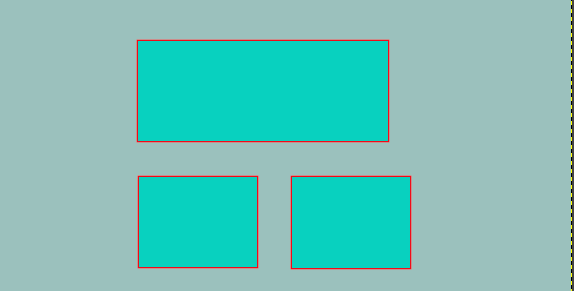
Apart from the drawing shapes, the rectangle select tool is widely used for quick fixes, a specific part of the image. We can select a rectangular region of the image and perform several editing effects and filters such as blur, spot removal, color change, cut, crop, copy, paste and many more. It is a handy and most frequently used tool in GIMP. Step6: Save the Image When we are done with our drawing or editing, we can save our work in different image formats by using the Export or Export As options from the file menu. It allows us to save the file in several image formats such as Jpg, Jpeg, Png, diff, etc.
Next TopicGIMP Draw Arrow
|
 For Videos Join Our Youtube Channel: Join Now
Feedback
- Send your Feedback to [email protected]
Help Others, Please Share


