| |

How to Resize Image in GIMPGIMP is an ideal tool to resize an image. We can easily enlarge and scale the images using GIMP. However, sometimes enlargement of the image can be lost the image quality. Enlargements can be done in GIMP; however, it is recommended to keep enlargements minimal for the better image quality. How to Enlarge an Image using GIMP?Step1: Open File With GIMP Open the file with GIMP by navigating File-> Open, select file. 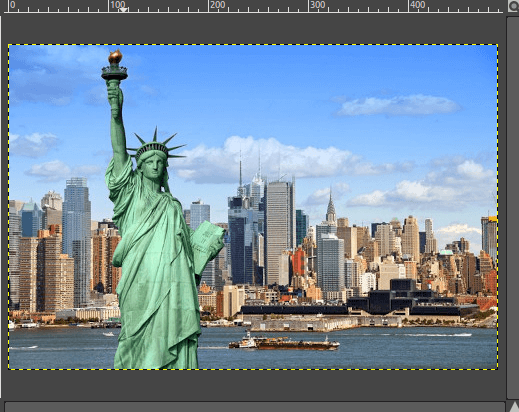
Step2: Select Scale option Now, to enlarge the size of the image, select the Scale option from the Image menu from the menu bar. Navigate to Image-> Scale; It will open a dialog window. 
Step3: Enter values Enter the values by which you want to enlarge the image. To see values in the inches, meters, points, and other parameters, select the px drop-down box. It will display all the available parameters. Step4: Select the interpolation method 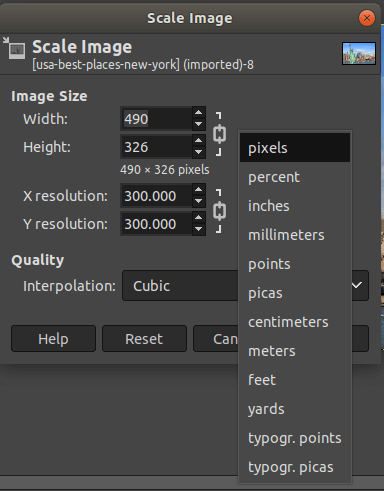
When we manipulate the size of the image GIMP creates new pixel information. This pixel information is created by using the interpolation method. There are following five types of interpolation options are available in GIMP:
Cubic: In this method, each pixel color is calculated as the average color of the eight closest pixels in the original image. It takes more time but gives the best result. It is also known as the bicubic method. Linear: In this method, each pixel color is calculated as the average color of the four closest pixels in the original image. In this method, sometimes you have to compromise with the image quality. Step5: Scale the Image We are all set to recreate our image using the given value. Now, click on the scale option to enlarge the image according to the given values. Step6: Save the image Save the image using the Export option in the desired image format. To save the image, Navigate to File->Export menu. How to Reduce the Size of the Image Using GIMP?Reducing the size of the image is also a straight forward process. It is slightly different than enlarging. We may require to reduce the size for the high-resolution files for web, email, or printing purposes. Follow the below steps to reduce the size of the image: Step1: Open File with GIMP Open the required file which you want to reduce by navigating the File-> Open menu. Step2: Select the scale option from the Image->Scale menu. Step3: Reduce the size of the image by height and width values as per your need. 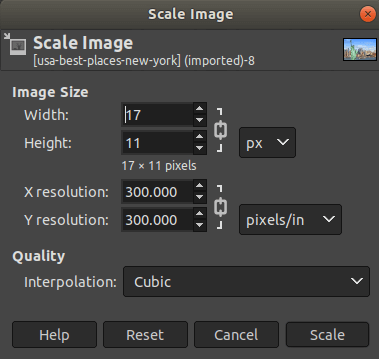
Step4: To select the value in different parameters such as inches, meter, etc., select it to form the px drop-down option: Step5: Select any of the interpolation methods. The recommended method is cubic, but you can choose a different method as per your need. Step6: We are all set to reduce our image size. Click on the Scale option to scale the image by the given values. Now, save the file in any of the required formats such as png, diff, etc. Step6: Save the image Save the image using the Export option in the desired image format. To save the image, Navigate to File->Export menu. Images for WebThe web images are works slightly different than the printed images. We may need to customize the format and size and resolution of the images. Hence, This tool becomes essential for web images. The pixel dimension is really mattered for the view of the image on a web page. The resolution affects the size of the image, but it does not much influence the view of the image.
Next TopicText in GIMP
|
 For Videos Join Our Youtube Channel: Join Now
Feedback
- Send your Feedback to [email protected]
Help Others, Please Share


