| |

Snake Game using PyGame in PythonIn the following tutorial, we will understand how to build a Snake Game using the PyGame library in the Python programming language. But before we get started, let us briefly understand what Snake Game is. A Brief Overview of the Snake GameSnake is a video game invented in the late 1970s in arcades. It became the typical pre-loaded game on Nokia phones in 1998. The main objective of the player is to control a long, thin creature, looking like a snake, which roams around on a bordered plane, catching the maximum number of fruits without hitting the wall or itself. The player is allowed to control the direction of the snake's head (UP, DOWN, LEFT, or RIGHT), and the body of the snake follows. Every time the snake collects a piece of food, its tail grows longer, increasing the game's difficulty. Learning to build a video game is interesting and fun learning. Creating a Snake game can be challenging while learning Python or the PyGame library. The Snake game is among the beginner-friendly projects that every novice programmer should accept as a challenge. Let us now briefly discuss about the Python's PyGame library Understanding the PyGame libraryThe PyGame library is a cross-platform set of Python modules utilized to develop video games. PyGame mainly comprises computer graphics and sound libraries designed to be utilized with the Python programming language. Pete Shinners officially wrote this library to replace PySDL. It is suitable to develop client-side applications that can be potentially wrapped in a standalone executable. How to install the PyGame library?The PyGame library can be installed using the PIP installer by typing the following command in a command prompt or terminal. Syntax: Once the installation is complete, we can verify whether the pygame library is installed properly or not by creating a new python program file and importing the pygame module. The following is the snippet of code illustrating the same. File: verify.py Now, let us save the file and run the following command in a command prompt or terminal. Syntax: The library has been installed successfully if the program does not return any importing error. In case any exception is raised, try reinstalling the library and consider checking their official documentation. Prerequisites of the ProjectNow that we have successfully installed the required library, let us briefly look into the project's prerequisites. The following are the modules that we required for the project:
Developing the Snake Game using PyGameOnce we have finalized the prerequisites of the project, we will start the development phase of the game. We have divided the development procedure of the Snake Game in Python into the stepwise approach. These steps are shown below: Step 1: First of all, we will import the required modules. Step 2: Secondly, we will define the necessary variables for the application Step 3: We will then initialize the pygame for the application Step 4: We will then initialize the sizes and positions of the game objects. Step 5: We will then define the necessary functions for the game to work. Step 6: At last, we will define the main function or game loop to run the application. Now we will understand the above steps in detail. Importing the required modulesWe will start by importing the necessary modules for the development of the game. We will import the pygame module along with the time and random module. Let us consider the following snippet of code demonstrating the same. File: snake.py Explanation: In the above snippet of code, we have imported the pygame module to develop the game. We have then imported the time module to manipulate the time. At last, we have imported the random module to generate the objects randomly in the game. Defining the necessary variables for the gameWe will now define some variables necessary for the game. These variables include the speed of the snake, the width and height of the screen, and some colors that we will use in the application. Let us consider the following snippet of code illustrating the same. File: snake.py Explanation: In the above snippet of code, we have defined a variable containing the speed of the snake. We have then defined the width and height of the window. At last, we have defined some colors like white, black, red, green, and blue using the Color() class of the pygame module. Initializing the pygame for the applicationWe will now initialize the pygame using the init() function and create the main window to display the working of the game using the pygame.display module. We will also set the frame rates of the game using the pygame.time module Let us consider the following snippet of code to understand the implementation of the same. File: snake.py Explanation: In the above snippet of code, we have used the init() function to initialize the pygame window. We have then used the set_mode() function of the pygame.display module to set the size of the screen. We have then used the set_caption() function of the pygame.display module to set the title of the application. At last, we have created an object of the Clock() class of the pygame.time module to set the refresh rate for the game. Initializing the sizes and positions of the game objectsWe will now add the objects to the game and set their sizes and positions. These objects include the snake and the fruit. We will start by setting the default position and size of the snake. We will also set the position of the fruits and their spawn flag to True. We will also set the default direction of the snake's head. Let us consider the following snippet of code illustrating the same. File: snake.py Explanation: In the above snippet of code, we have defined the default position of the snake. We have then defined the first four blocks of the snake body. We have then defined the position of the fruit and set the spawning_of_fruit variable to True. We have also set the initial direction of the snake towards RIGHT. Defining the necessary functions of the gameNow that we have covered the initial requirements of the game, it is time for us to define some required functions. We will define a function to display the player's score and a function to over the game. We will now see the implementation of these functions in detail. Function to display the score of the playerThe first function we define will allow us to display the player's score. Let us consider the following snippet of code illustrating the same. File: snake.py Explanation: In the above snippet of code, we have defined a variable storing the initialing value of the score, i.e., 0. We have then defined a function as display_score() that accepts multiple parameters like the selected text, font color, style, and size. Within this function, we have created a font object. We have then used the render() function to create a background surface that we will change whenever the score updates. We then created a rectangular object for the placement of the text. At last, we have used the blit() function to display the score on the main screen. Function to over the gameThe second function we define will display the final score and exit the application after the snake hits a wall or itself. Let us consider the following snippet of code illustrating the same. File: snake.py Explanation: In the above snippet of code, we have defined a function as game_over(). We have created a font object to display the scores within this function. We have also created text surfaces to render the scores. We then set the text's position in the middle of the playable area and used the blit() function to display the final scores on the main screen. We then used the flip() function to update the score by updating the surface. At last, we suspended the execution of the current threat for 2 seconds using the sleep() function of the time module and called the quit() function to close the application. Creating the Game Loop to run the applicationNow that we have fulfilled all the requirements to develop the game, it is time for us to create the main function or the game loop to run the application. This loop will render everything we have created and implement both functions accordingly. Let us consider the following snippet of code illustrating the implementation of the game loop. File: snake.py Explanation: In the above snippet of code, we have then set the game_run flag value to True and used the while loop to run the game. Within this loop, we have iterated through the list of events and checked if the player requested to quit the application and proceed the same and set the flag value to False. We have also validated if the key is responsible for the movement of the snake and created the special condition where the snake should not be allowed to move in the opposite direction instantaneously. We then looked for the collision between the snake and the fruit and incremented the score by 1, setting the new fruit to spawn. We then checked if the snake hit a wall and called the game_over() function for the same. We have also checked if the snake hit itself and called the game_over() function again. We have then displayed the scores with the help of the display_score() function. We then used the update() function to refresh the game screen and set the game's refresh rate to the snake's speed. At last, we have called the quit() function outside the while loop. We have now successfully implemented the code for the Snake game. We can now save the file and use the following command in a command shell or terminal to run the application. Syntax: But before we get to the output part; let us briefly see the complete project code of the "Snake game using PyGame". The Complete Project CodeWe will now see the complete snippet of code of the "Snake game using PyGame in Python" project. File: snake.py Output: Image 1: Output of the Snake Game using PyGame 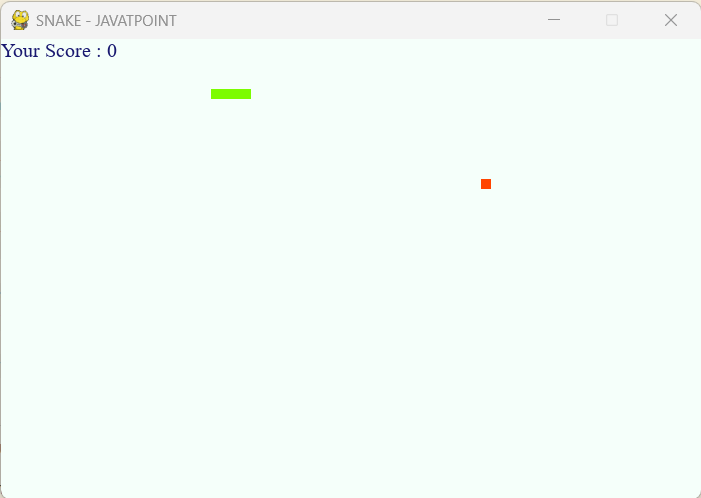
Image 2: Working of the Snake Game 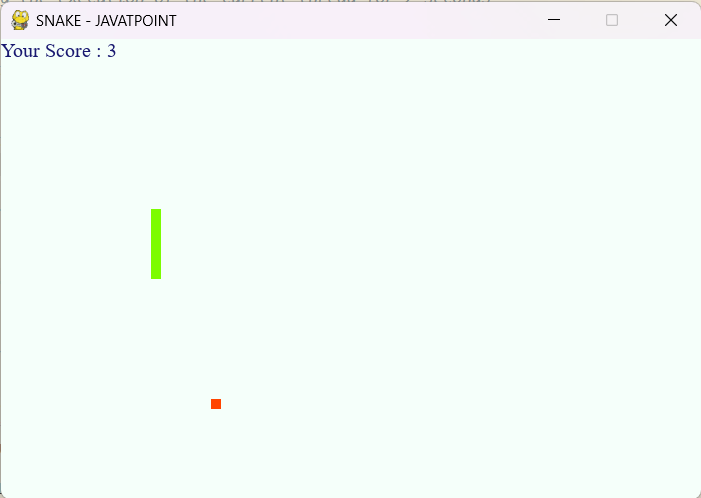
Image 3: Game Over 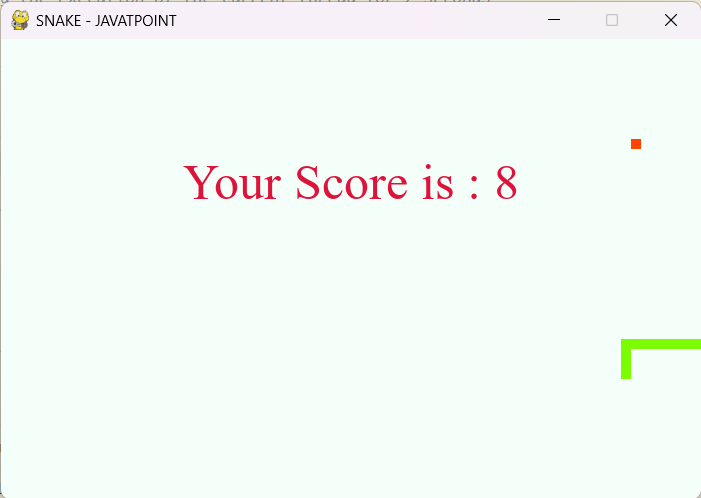
|
 For Videos Join Our Youtube Channel: Join Now
Feedback
- Send your Feedback to [email protected]
Help Others, Please Share


