Split View ControllerIn iOS applications, there are the requirements to split the screen into two sections and display a view controller on each side to show the application content. In this section of the tutorial, we will discuss the Split View Controller, which is an important part of an iOS application. The Split View Controller is a container View Controller that manages the master-detail interface by splitting the screen into two sections so that the user can interact with the master interface to get the detail in the detail view controller. For example, the settings app in IPad is shown in the master-detail interface, as shown in the following image. 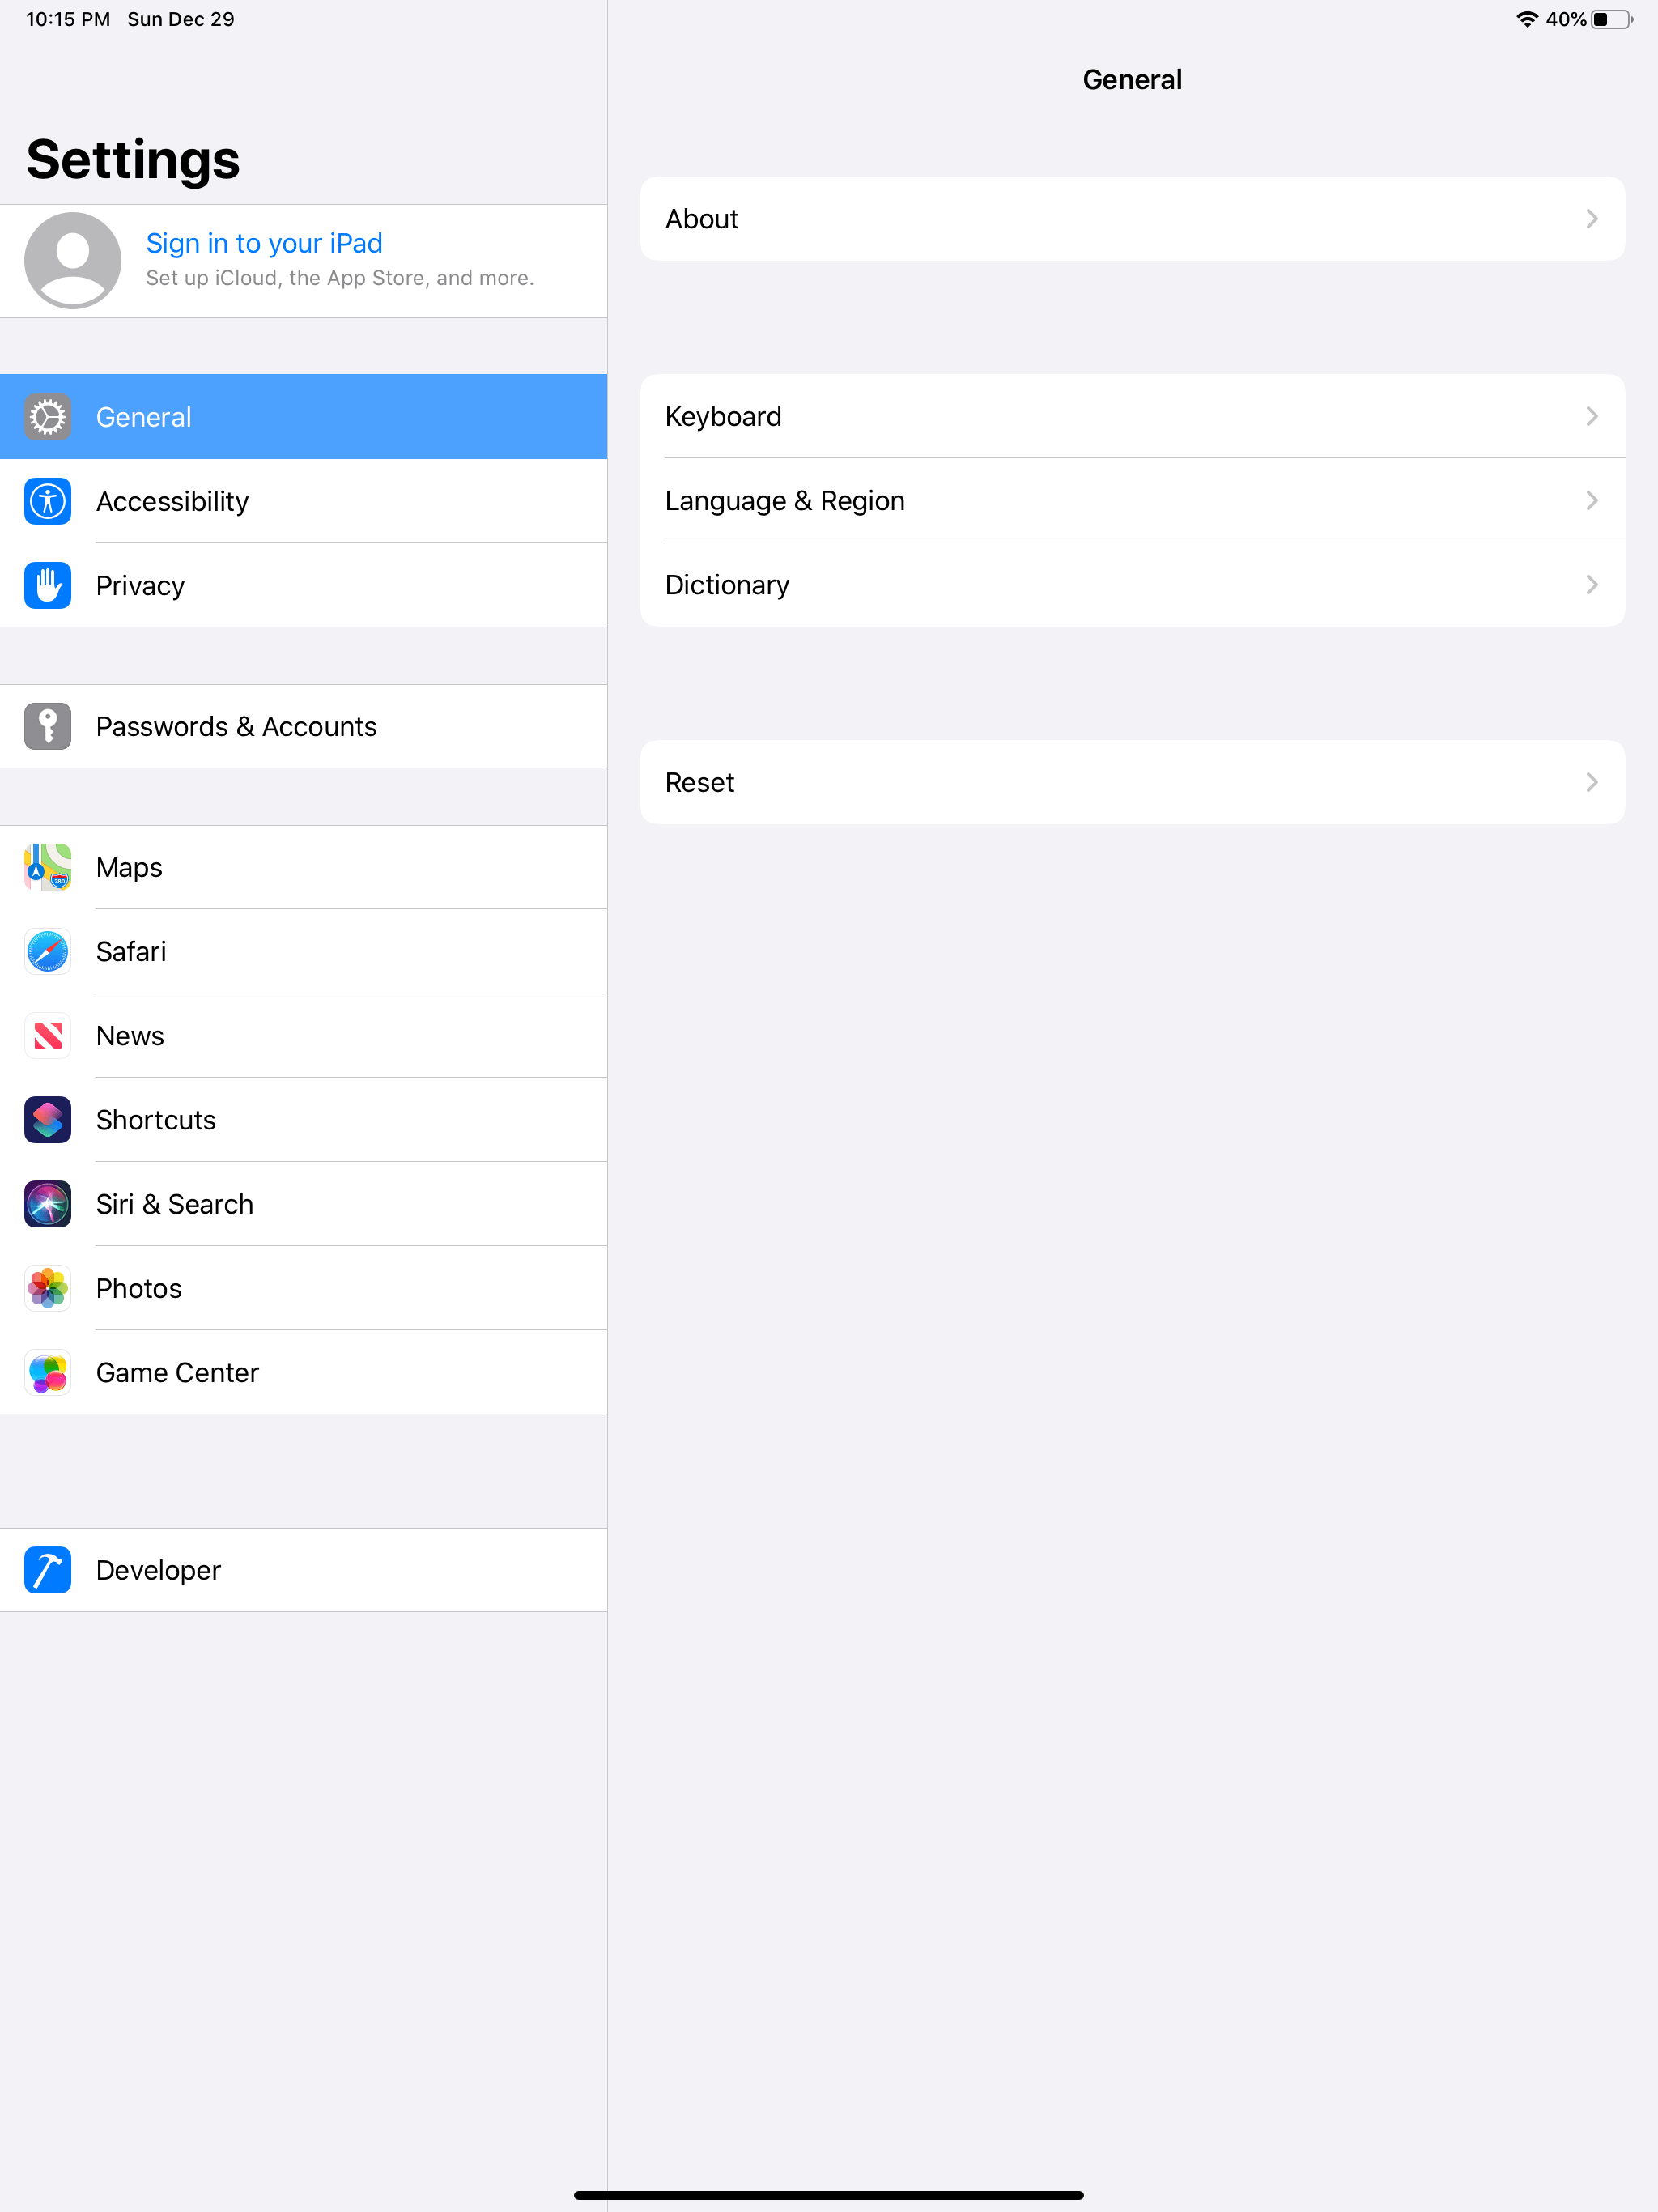
The Split View Controller is an instance of UISplitViewController, which inherits UIViewController. A Split View Controller manages two child view controllers in the master-detail interface. The changes in the master view controller drive changes to the detail view controller. Since iOS 8, this class is available for all iOS devices. In the previous versions, it was available for the iPad only. Adding Split View Controller to interfaceTo add Split View Controller to the interface, we need to search for it in the object library and drag the result to the storyboard. 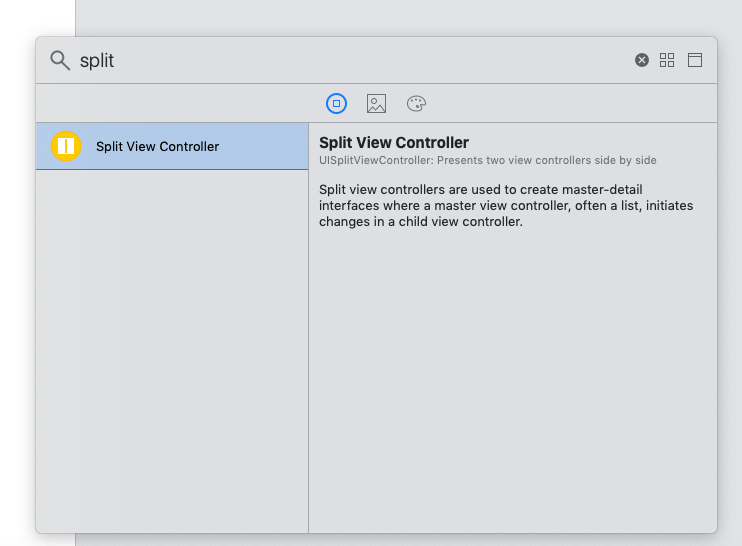
We need to make the split view controller as the root view controller in the iOS application we are building. It doesn't have a significant visual appearance in the application as it only manages the child view controllers, which are shown to the user. Configuring the appearance of Split View ControllerWe can set the display mode of a split view controller to configure its visual appearance. The preferredDisplayMode property of UISplitViewController can be set to configure the display mode. The possible values for display mode are given in the following table.
There are possibilities that the split view controller doesn't follow the display modes due to the space constraints. The split view controller can-not display the child view controllers side by side in the compact horizontal environment. UISplitViewController PropertiesThe UISplitViewController class contains the following properties to customize the split view behavior and manage the child view controllers.
UISplitViewController MethodsThe UISplitViewController class contains the following action methods to display the child view controllers.
ExampleIn this example, we will create an iOS application that implements the master-detail interface. Interface Builder To create the interface builder for the project, first, we need to add the Split view controller to the storyboard. For that purpose, search for a split view controller and drag the result to the storyboard. This will add a split view controller to the interface builder, as shown in the following image. 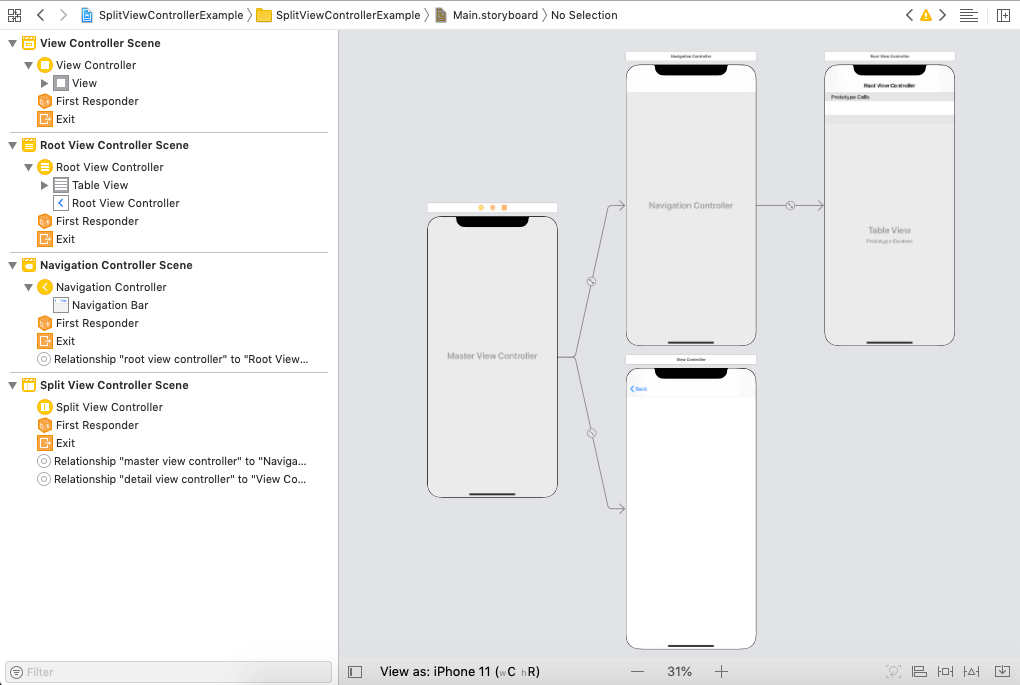
The above image contains a master view controller that is a table view controller and a UIViewController to implement a detail view controller. A table view controller will display the list of records where the detail of each record is displayed on the detail view controller. First, make the split view controller as the initial view controller. Let's start designing the storyboard. First, we will design a prototype table view cell by adding a label. We will also define the auto-layout rules for the label within the content view of the cell, as shown in the following image. 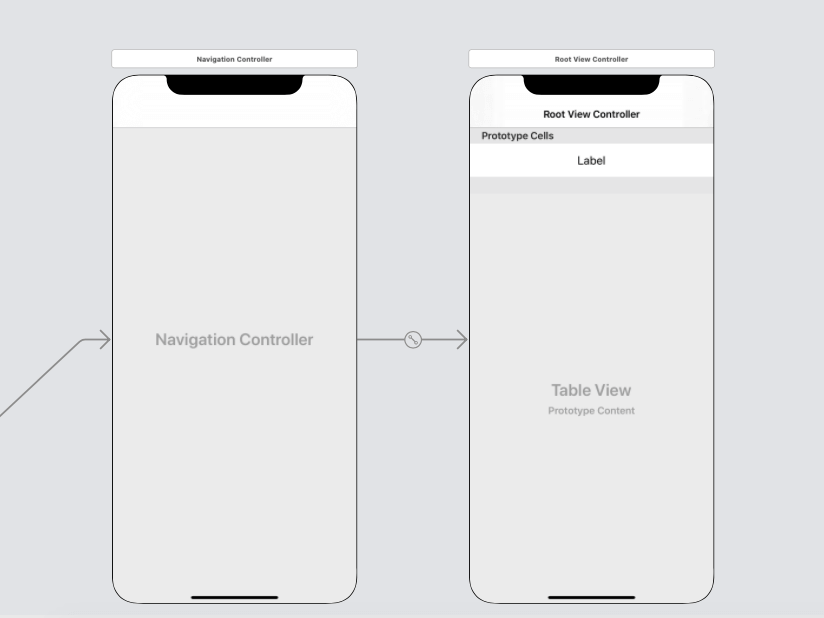
Now, we will design the detail view controller. We will add the label to the detail view controller to show the content. We will also define the auto-layout rules for the label within the detail view controller, as shown in the following image. 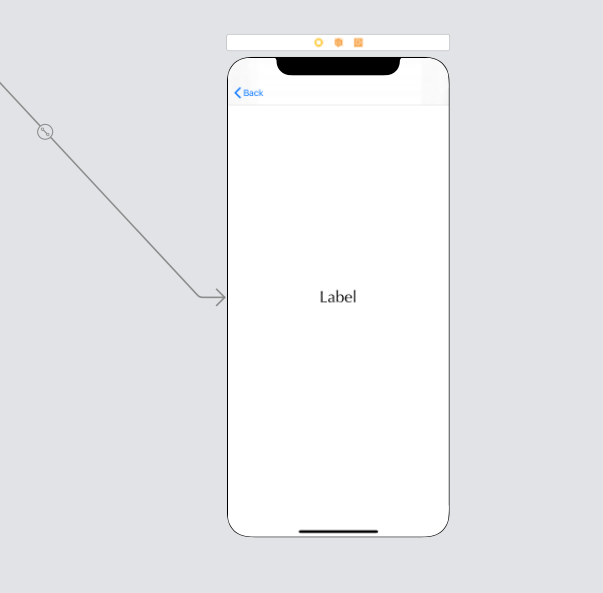
Now, we will create the subclass of UITableViewController and assign it to the master view controller. We will also create a subclass of UITableViewCell and assign it to the table view cell. Create the connection outlet for cell content label in the TableViewCell. Also, create the subclass of UIViewController to represent the Detail View Controller and connect the outlet of the label in this. TableViewCell.swift ViewController.swift TableViewController.swift Output: 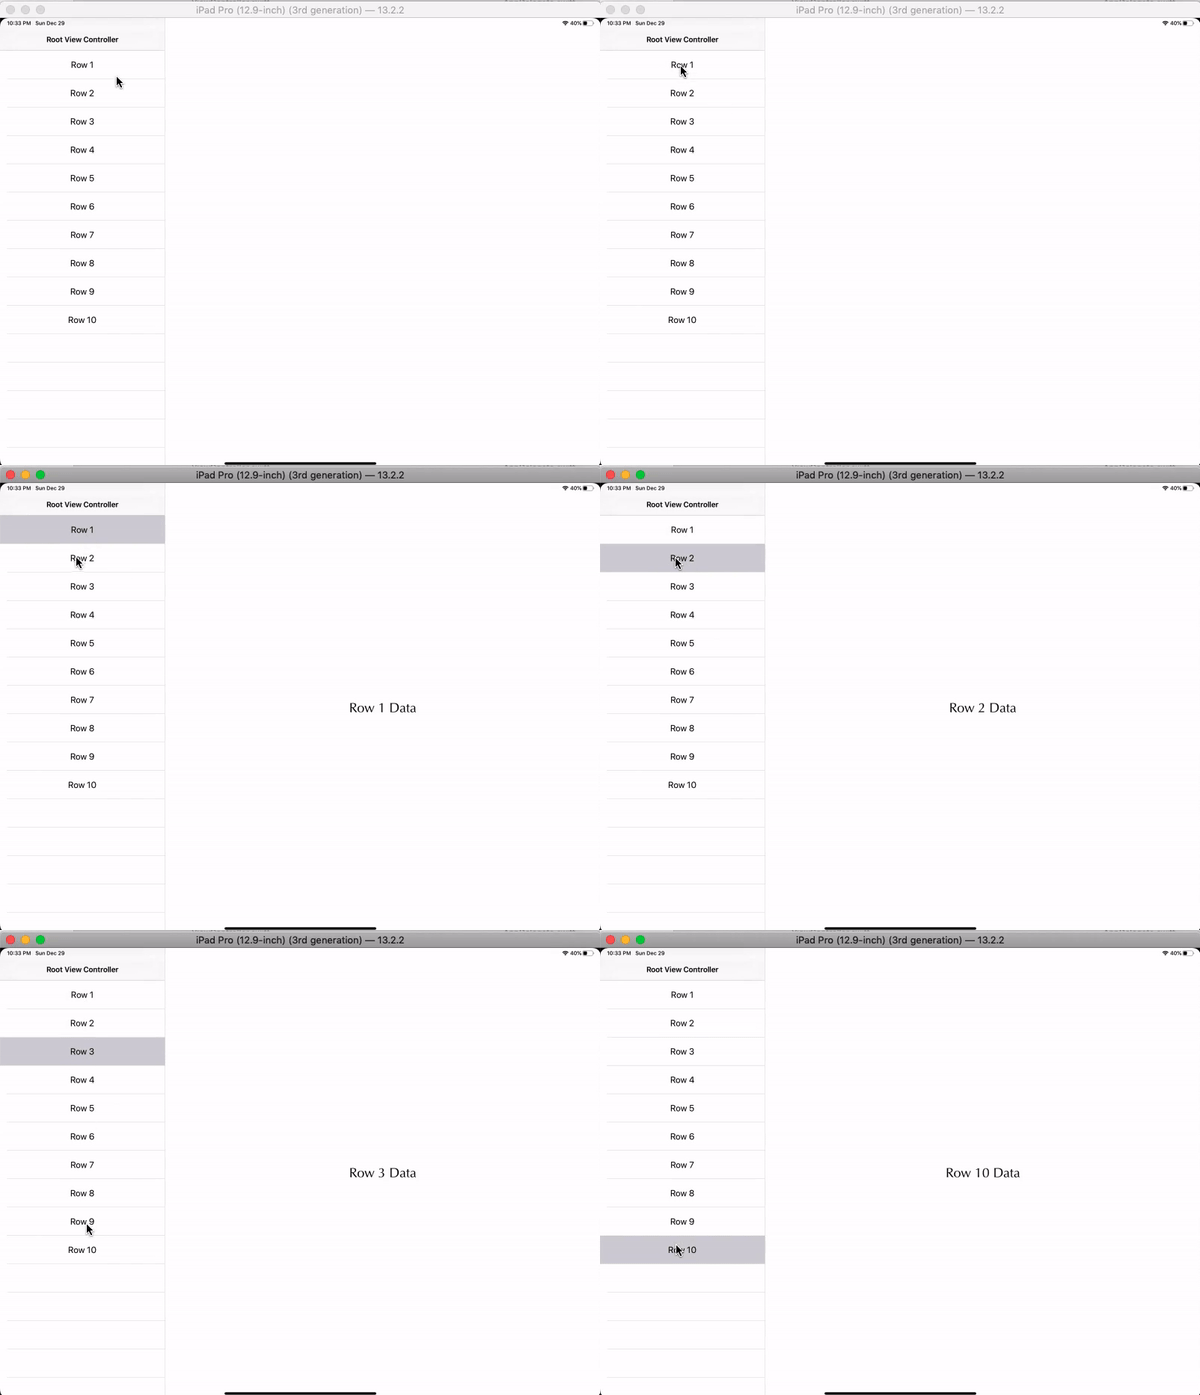
Next TopicTab Bar Controller
|
 For Videos Join Our Youtube Channel: Join Now
Feedback
- Send your Feedback to [email protected]
Help Others, Please Share


