Razorpay Integration in iOSRazorpay is one of the most used payment gateways, which provides a developer-friendly API and SDK for mobile operating systems like iOS and Android. We can use a debit card, credit card, net banking, UPI, and other wallets for the transactions on the Razorpay payment gateway. In this tutorial, we will discuss integrating Razorpay in iOS swift 5. we will use XCode 11 in this tutorial. We will create a demo application that uses Razorpay and pay some amount to test the integration. Prerequisites
Consider the following steps to integrate the Razorpay payment gateway in the iOS app. 1. Razorpay Account Setup We need to set up a Razorpay account to integrate it into our iOS app. For this, we need to navigate to https://dashboard.Razorpay.com/#/access/signup and provide the email and password to set up a new account. 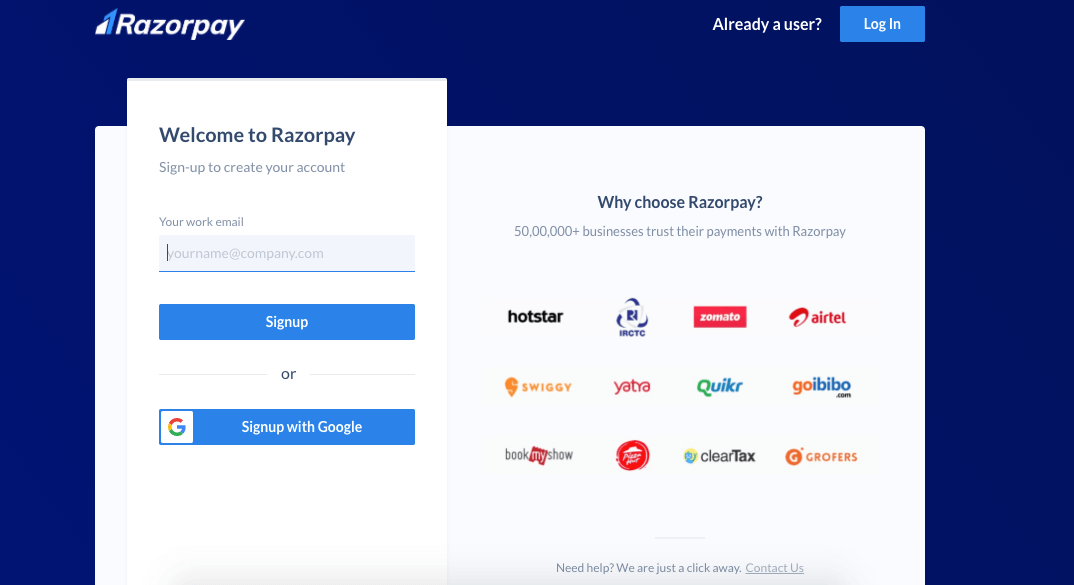
Once we are done creating the account on the Razorpay dashboard, we will see the following window, which opens the dashboard. 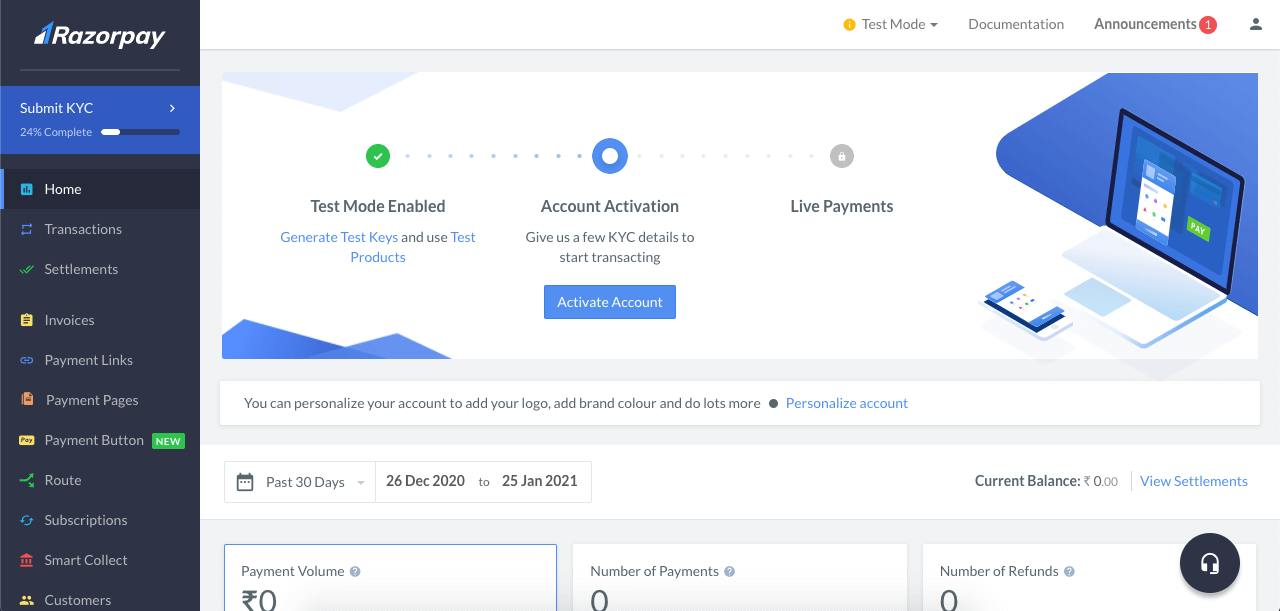
We will need to have an API key in test mode for the integration. To generate an API key Id, navigate to https://dashboard.razorpay.com/app/keysn and click on Generate Test Key as shown below. 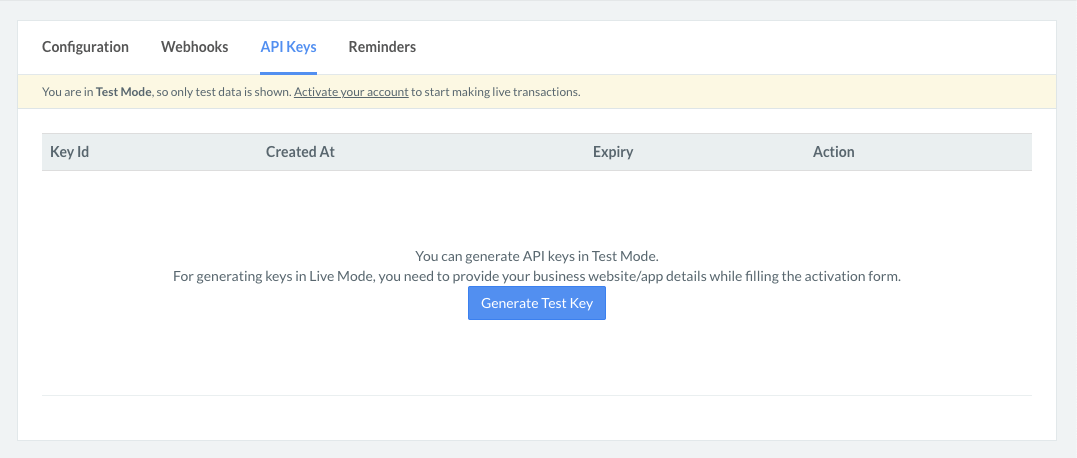
Once we generate the test key, we can download it as a CSV file on our system. We will use it later in this tutorial. 2. Create a demo project and add the Razorpay SDK We are done with the Razorpay account setup. Now, we need to create a new project and add the Razorpay SDK to our app. For this, open the XCode, create a new project, and provide the details like product name, Bundle Id, organization name, etc. 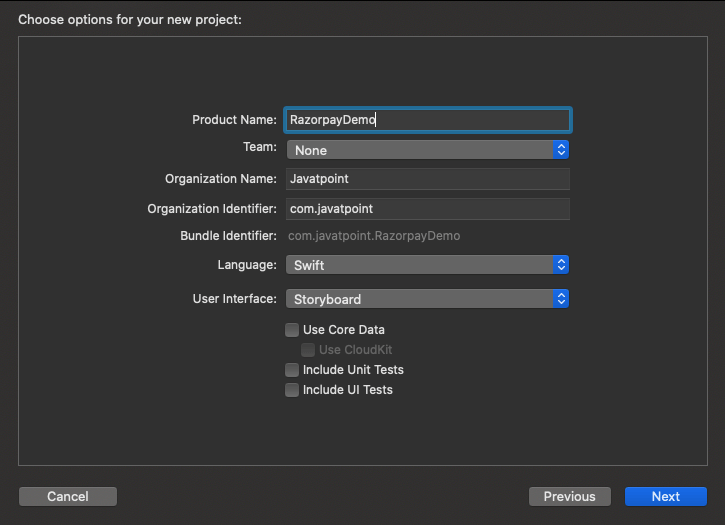
Now, open the terminal, and navigate to the project directory. To install the SDK using Cocoapods, run the following command to initialize the pod. Now add the following pod in the Podfile to install the Razorpay SDK. Once we are done with installing SDK, we need to close all the instances of XCode and open the .xcworkspace file, which contains the pods that are installed. 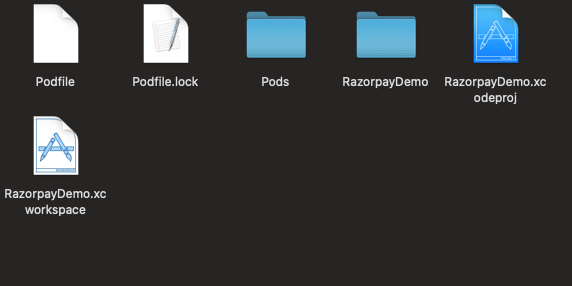
3. Code Implementation First, we will create a basic UI, as shown below. We will create an action outlet for Pay Now button to navigate the user to the Razorpay payment gateway. 
Create an action outlet for the pay now button in ViewController, as shown below. In ViewController.swift, import Razorpay and create an instance reference of type Razorpay. Now initialize the private variable razorpay with the API key that we have generated in the first step in the viewDidLoad() method of ViewController. Don't forget to replace API KEY with the actual public key generated on the Razorpay dashboard. As we have set the delegate to self, we need to conform the ViewController to RazorpayPaymentCompletionProtocol and add the delegate methods, which will be notified on the payment status change. The ViewController contains the following code once we add the delegate methods. Once the payment is successful, the onPaymentSuccess(_ payment_id: String) delegate method is notified. We can update the user in this method by showing an alert or any custom UI. In this app, we will show an alert once the payment is successful. Add the following code to onPaymentSuccess() method. If the payment gets failed, then the onPaymentError() delegate method is notified. We can show the custom UI or an alert method to update them about the error. However, Razorpay facilitates us to try again if the payment gets failed. In this app, we will show an alert to the user, as shown below. We need to implement the code in the action outlet of the pay now button, which triggers the Razorpay payment gateway. Inside, clickedPayNow() method create the variable of type [String:Any] which contains the payment description. After setting all the parameters for the payment gateway, we can call the open() method with options on razorpay, as shown below. Build and run the code, and we will get the Razorpay payment gateway integrated and working with the click of the Pay Now button. The complete code of ViewController.swift is given below.
Next TopicUIAlertController in Swift
|
 For Videos Join Our Youtube Channel: Join Now
Feedback
- Send your Feedback to [email protected]
Help Others, Please Share


