| |

How to change page orientation in Word documentPage Orientation refers to the direction in which a page is a print or display in the Word document. The page orientation is used when the content in your Word document requires pictures, graphs, spreadsheets, charts, and more. In Microsoft Word, the following two types of page orientation are available - 1. Portrait (Vertical) By default, Word document is portrait-oriented. 2. Landscape (horizontal) Landscape page orientation is used when the Word document contains images, illustrations, or charts. There are the following easiest and fastest methods that you can use on the Word document to change the page orientation - Method 1: Change Page Orientation using the Page Layout tabIt is much easier to change the page orientation in Word. Follow the below steps to change the page orientation in the Word document - Step 1: Open the Word document. Step 2: Go to the Page Layout tab on the Ribbon and click on the Orientation in the Page Setup group. 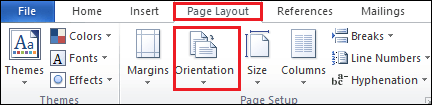
Step 3: A drop-down menu appears with the two options Portrait (For vertically) and Landscape (For horizontally). Select page orientation based on the requirement. Note: In our case, we are going to select Landscape.
The screenshot below shows that page orientation (Landscape) is applied to the Word document. Now, you can easily add large tables or diagrams in the document. 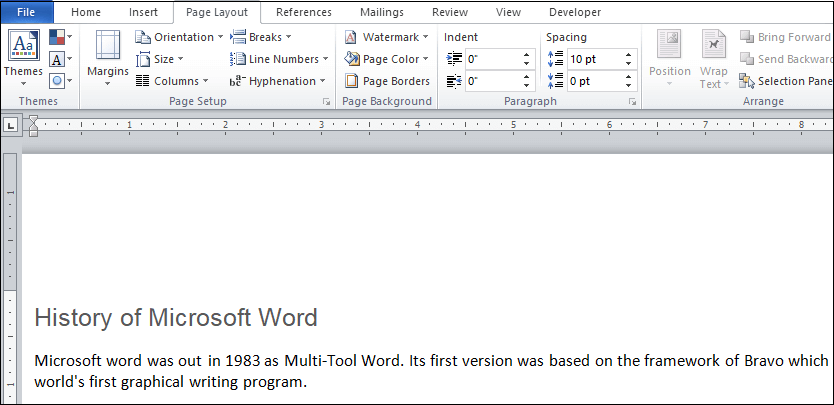
Method 2: Change default Page OrientationAs you know, the default Word document opens in portrait orientation mode, but most of the users want to use landscape page orientation, so you can change the default page orientation from portrait to landscape permanently. Follow the below instructions to change default Page Orientation permanently in Word document - 1. Open the new Word document or an existing Word document. 2. Go to the Page Layout tab on the Ribbon and click on the small arrow (Show the page Set up dialog box) in the Page Setup group. 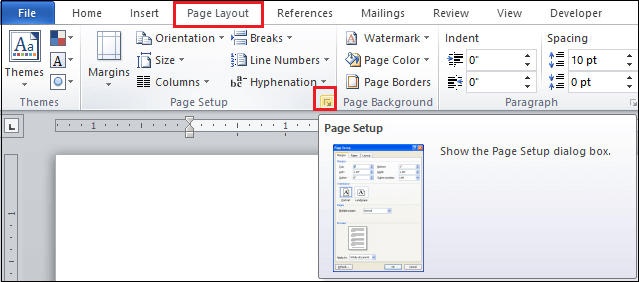
3. A page setup dialog box will appear on the screen. Select orientation as Landscape in the Orientation section and click on the Set As Default button at the bottom of the screen. 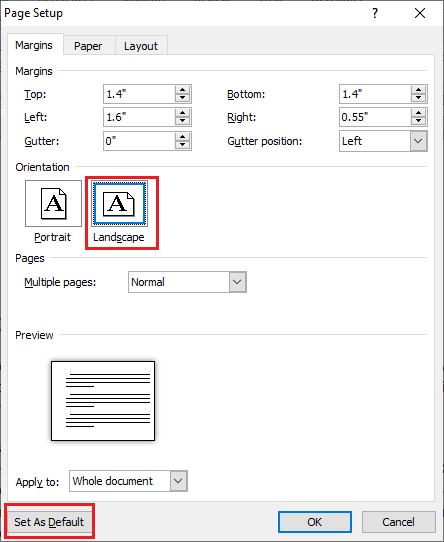
4. A Microsoft Word confirms prompt will appear on the screen in which click on the Yes button to confirm the changes. 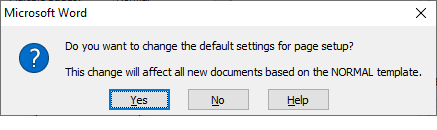
Now, you can see that your default page orientation is set as Landscape (horizontally). Note: You can also follow the same instruction to set the default orientation as a portrait.Method 3: Change the page orientation for a specific pageThis method is used when your Word document contains both Landscape and Portrait page orientation in a single document. There are the following steps to change the page orientation for a specific page - Step 1: Open the new Word document. Step 2: Go to the Page Layout tab on the Ribbon and click on the Breaks option in the Page Setup group. 
Step 3: A Page Breaks dialog box will appear on the screen in which click on the Next Page option in the Section Break section. Step 4: Once you click on the Next Page, this will automatically insert a section break in the document and start a new section for a new page. Step 5: Now, select page orientation as Landscape in the Orientation section. Step 6: Again, insert a section break for a new page. Now, go to the Page Layout tab on the Ribbon. Click on the drop-down associate with the Orientation and select Portrait from the drop-down menu. 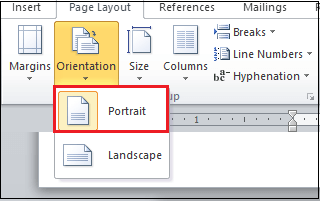
Now, you can see that both Portrait and Landscape page orientation applied to the Word document. Note: In our case, our Word document has a single Landscape page orientation, while the entire Word document has a portrait page orientation.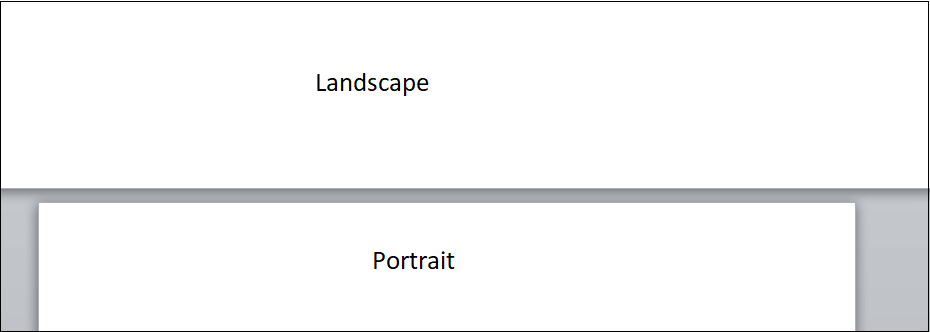
Note: Using the above steps, you can insert multiple section breaks and change the page orientation in the Word document.Method 4: Change page orientation using keyboard shortcut keysMicrosoft Word allows you to change page orientation in the fastest and easiest way using keyboard shortcut keys. The advantage of using this method is that it saves your time and avoids the use of a mouse while working in the document. To change page orientation using keyboard shortcut keys, follow the below steps - Step 1: Open the Word document. Step 2: Press the Alt+P key from the keyboard to move from the Home tab to the Page Layout tab. 
Step 3: Press the M key from the keyboard to open the Margins tab. 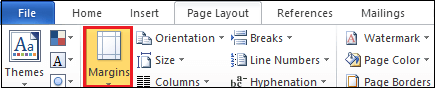
Step 4: Press the A key to open the Custom Margins. 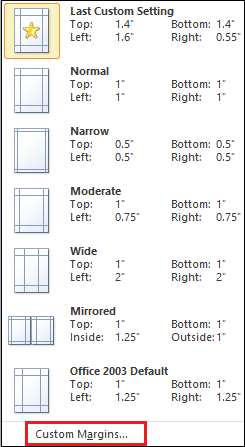
Step 5: A Page Setup dialog box will appear on the screen. Press the Alt + S key to select the Landscape orientation. 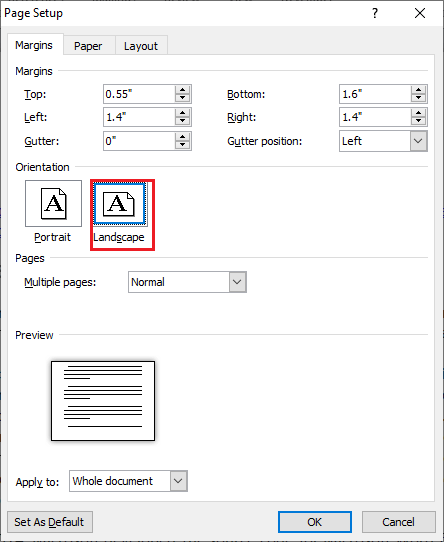
Step 6: Now, press the Alt+Y key to move the Apply to: option. Drop-down menus open in which choose the Whole document and press the Enter key to set the Whole document. Again press Enter to apply the setting in Word document. 
The Page Setup window will close and Landscape page orientation is applied to your Word document.
Next TopicHow to combine Word document
|
 For Videos Join Our Youtube Channel: Join Now
Feedback
- Send your Feedback to [email protected]
Help Others, Please Share


