| |

Arduino while loopThe while loop() is the conditional loop that continues to execute the code inside the parentheses until the specified condition becomes false. The while loop will never exit until the tested condition is changed or made to stop. The common use of a while loop in Arduino includes sensor testing, calibration (calibrating the input of sensor), variable increment, etc. The syntax is: where, condition: It specifies the boolean expression, which determines the condition to be true or false. For example, The above code inside the curly braces in while loop will execute continuously and repeatedly as long as the variable is less than 100. FlowchartThe flowchart is shown below: 
Code ExampleIn order to change the flow of the program, we need to change the specified condition inside the parentheses of while loop. The process is much like the if statement. Let's understand the concept of while loop with two examples. Example 1: Consider the below code: Output: The message inside the loop will be printed five times, as shown below: 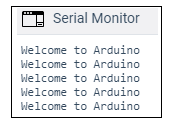
Let's look at the code. Explanation: At first, we have defined the variable a as 0, and initialized the serial monitor as usual (means Serial.begin()). The loop first checks the condition specified within the parentheses. At first, a =0. The condition is true (0 < 5). The code inside the curly braces will execute, and the message is printed. Now, the value of a is incremented (added 1 to a), and the loop executes again. Similarly, five times the condition remains true. When a =5, the condition becomes false, and the loop exits and drops. The code outside the loop is executed. Let's consider another example. Example 2: The code is similar to the above example. We will only add some statements outside the loop. Consider the below code: Output: 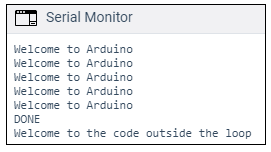
We can notice that as soon as the condition in the loop becomes false, the message specified outside the loop is printed. do...whileThe working of the do-while loop is similar to the while loop. The condition inside the do-while will execute at least once. It is because the condition is tested at the end of the loop instead of the beginning. The syntax is: where, condition: It specifies the boolean expression, which determines the condition to be true or false. For example, FlowchartThe flowchart is shown below: 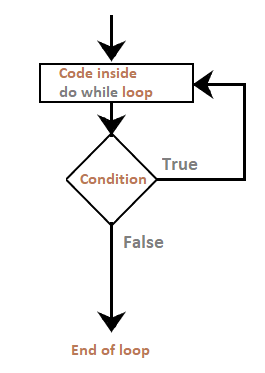
Code ExampleLet's understand the concept of the do-while loop with an example. Example 1: Consider the below code: Output: 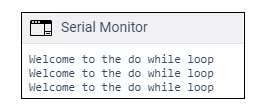
Next TopicArduino switch case
|
 For Videos Join Our Youtube Channel: Join Now
Feedback
- Send your Feedback to [email protected]
Help Others, Please Share


