| |

Worksheets in ExcelWhile working with Excel, often you come across terms worksheet, Rows, Columns and Cells. In this tutorial we will briefly understand these terms along with their fundamentals and the operation (create, copy, paste, delete, etc) performed in them. WorksheetA Worksheet is a single page containing a collection of cells where the user can store, update and manipulate the data. Worksheet is also called a spreadsheet. It is made up of rows, columns and cells. NOTE: An Excel workbook can contain several worksheets.
In Excel, individual data cells in a worksheet are defined and organized with the help of the vertical column and horizontal row that are combined to form a cell reference, unlike A1, B25, or R867. The specifications for Excel Worksheet current versions include:
Select a WorksheetWhenever you open an Excel workbook, by default, Excel will take you to the Sheet1 worksheet. As you can see in the below image, the name of the worksheet 'Sheet1' is displayed on its sheet tab at the bottom of the windowpane. Though you can rename it anytime, we will cover the steps down in this tutorial. 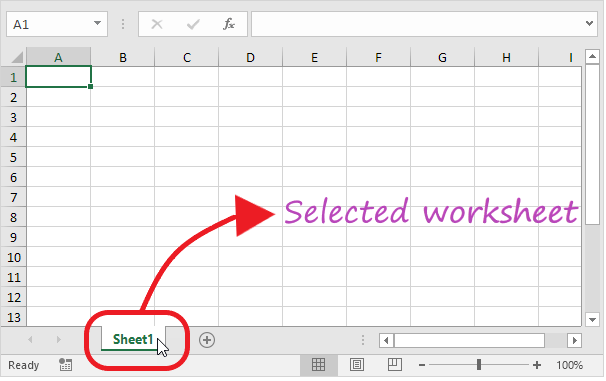
Insert a WorksheetExcel enables the user to insert multiple worksheets as per their requirement. To insert a new worksheet in excel, click on the plus (+) symbol located at the bottom of the windowpane. By default, the new worksheet will be named 'SheetN' where N represents an integer number 1,2,3,4,5,6,7,...., n. In the below example, we have added a new worksheet named Sheet2. 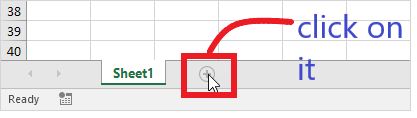
Output 
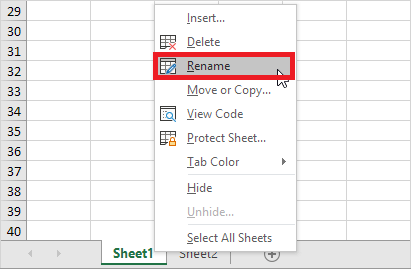
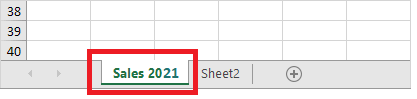
Rename a WorksheetTo rename your worksheet with a customized and appropriate name following the below steps.
Move a WorksheetExcel allows the user to move and locate their worksheet in any order. Click on your worksheet sheet tab and drag it to your preferred location. 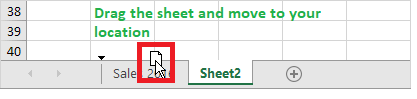
For instance, in the below example, we have dragged Sales 2021 before the 'Sheet 2' sheet tab. Output 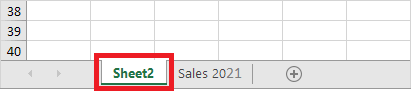
Delete a Worksheet Deleting a worksheet in excel is very simple, follow the below steps:
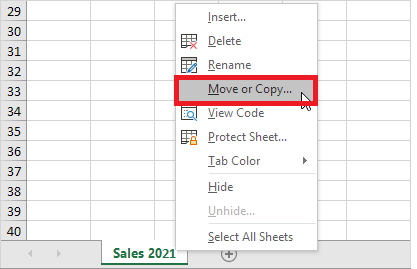
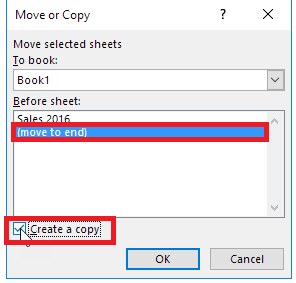
Copy a WorksheetWhile working many times, the Excel users require copying and pasting the data of one worksheet to another and making some changes. Excel provides easy steps to copy the data of one worksheet to another.
ROWS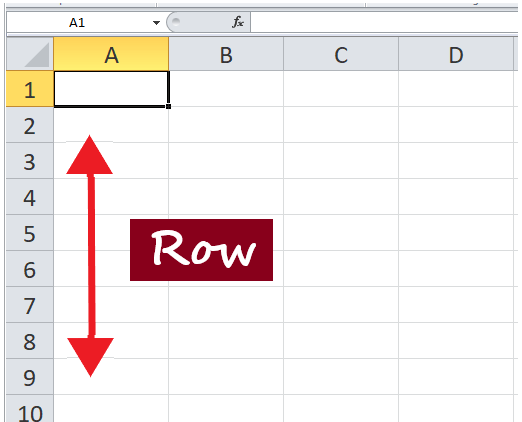
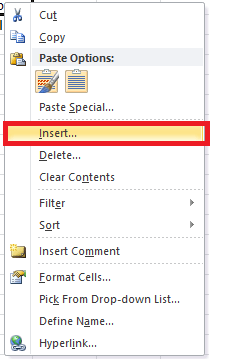
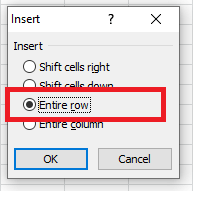
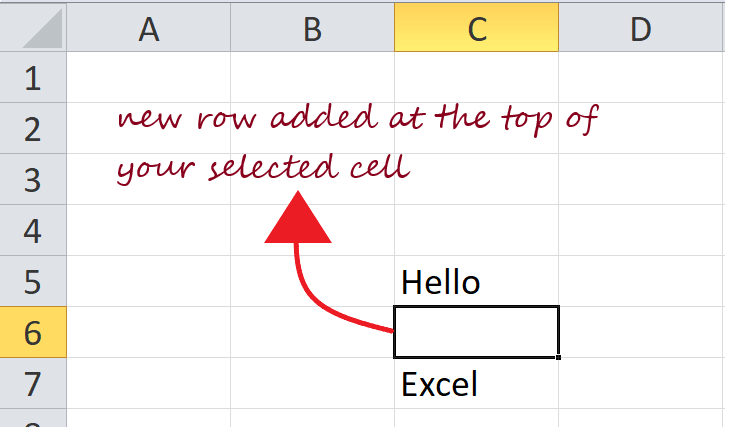
Rows run horizontally across the worksheet ranging from 1 to 1048576. A row is identified by the number on the left side of the row, from where the row originates. Insert a Row in ExcelMany Excel users often need to insert a row in the worksheet to organize or manipulate their data.
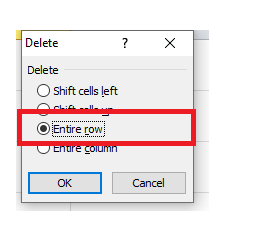
Delete a Row in ExcelWhile working with Excel users need to delete a row in the worksheet to organize or manipulate their data. It's a lot easier to delete a row in excel.
COLUMNS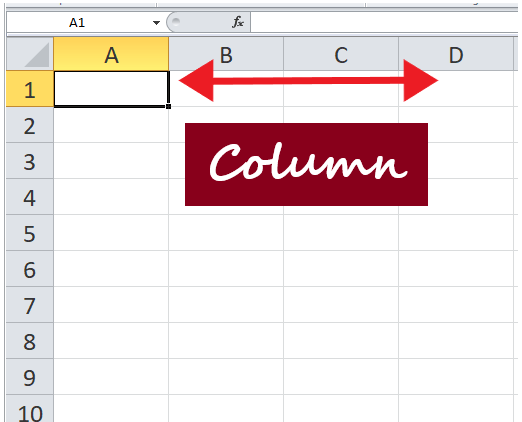
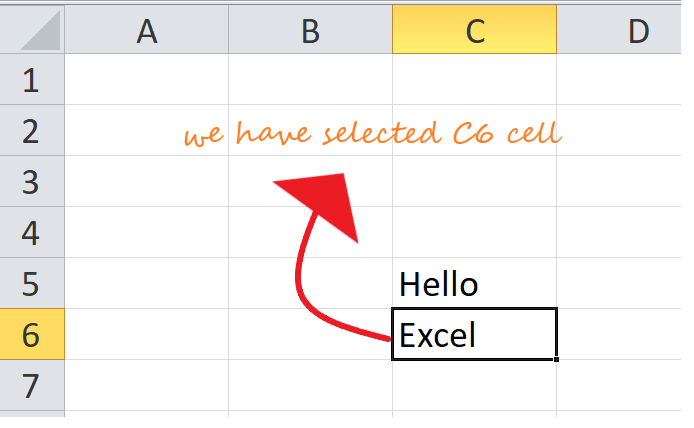
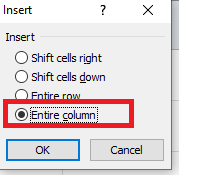
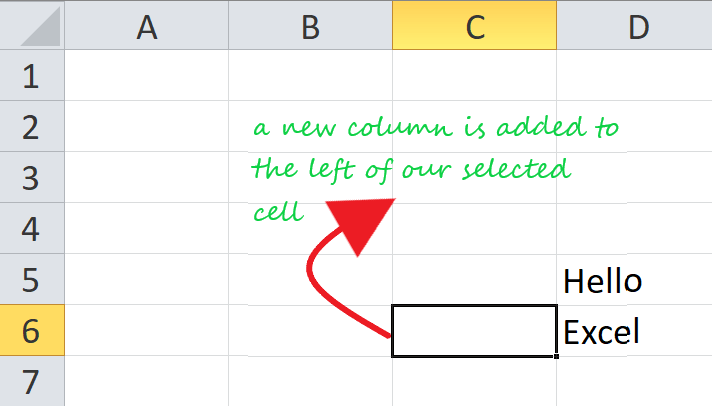
Columns run vertically downward across the worksheet ranging from A to XFD (in total 16384 columns). A column is identified by a column header on the top of the column, from where the column originates. Insert a Column in ExcelMany Excel users often need to insert a column in the worksheet to organize or manipulate their data.
CELLS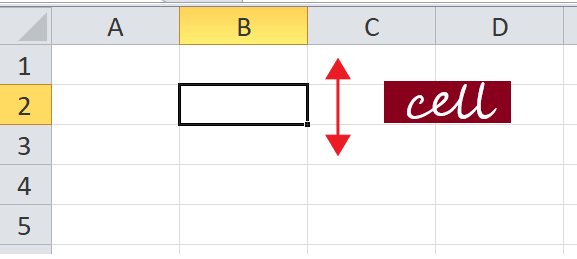
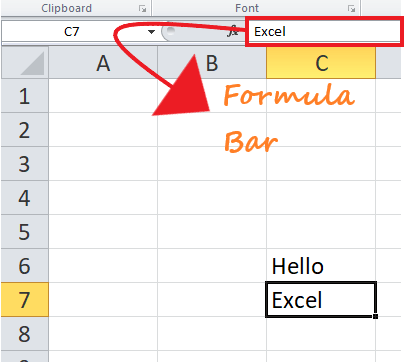
Cells are small rectangular boxes in the worksheet where we enter data. A cell is the intersection of a row and column. It is identified by row number and column header. In Excel, each cell is identified using a set of coordinates or positions, such as A1 (where A represents a column and 1 represents the row), B2, or M16. You can perform several operations with cells in Excel, unlike changing the font style, font size, background color, text alignment, format painter, wrap text, and conditional formatting. Excel provides the feature to select multiple cells at one time. A group of selected cells is collectively known as cell range. With cell range instead of a single cell address, the user refers to a cell range utilizing the cell addresses of the selected first and last cells, separated by a colon. For instance, a cell range covering B2, B3, B4, B5, B6, B7, B8, B9, and B10 would be addressed as B1:B10. Cell Range: B1: B10 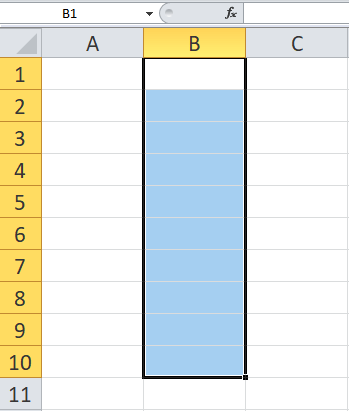
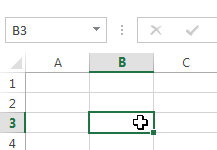
Now, as we have covered the basics, let's move towards the operation that could be applied to a cell.Select a cellTo perform any operation, i.e., to write, edit, delete, format, the user must first select a cell. Below given are the steps to select a cell in Excel:
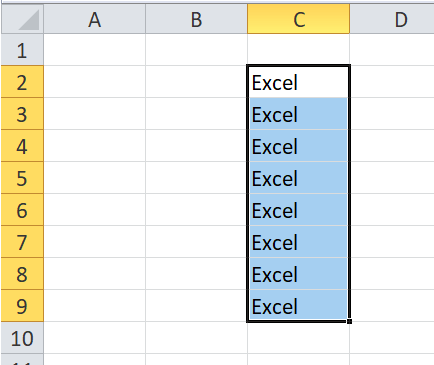
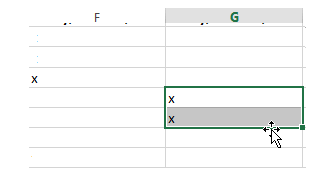
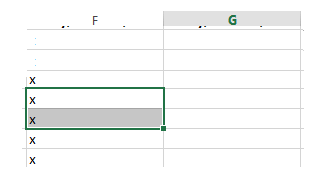
Select cell range
Cell contentAny data you enter in your Excel worksheet is stored in a cell. Each cell can hold various types of information, including string, numbers, formatting, formulas, and functions. 1. String (Text) Cells can hold string values, unlike alphabets, numbers, and dates. 2. Formatting properties Cells also include formatting properties that improve the appearance of your cell content. For instance, percentages can be displayed as 0.55 or 55%. You can make the cell content in Bold, Italics, change its font color, font size, or change its background color. 3. Formulas and functions Cells can include predefined or customized formulas and functions that are helpful in calculations. For example, SUM(A2:A5) will add the number stored in each cell and give you the output. Insert content to a cell
Delete cell content
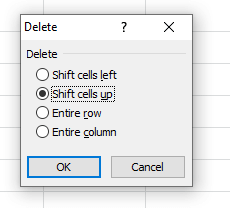
Note: Delete Key can delete the content of multiple cells at once, whereas the Backspace key only deletes the data of a single cell at a time.Delete cell(s)People often get confused between deleting the cell content and deleting the cell itself, but there is a significant difference. If you delete the content, the cell will remain, and only the content gets omitted, whereas if you delete the cell, the cells below shift up or are shifted left and replace the deleted cell.
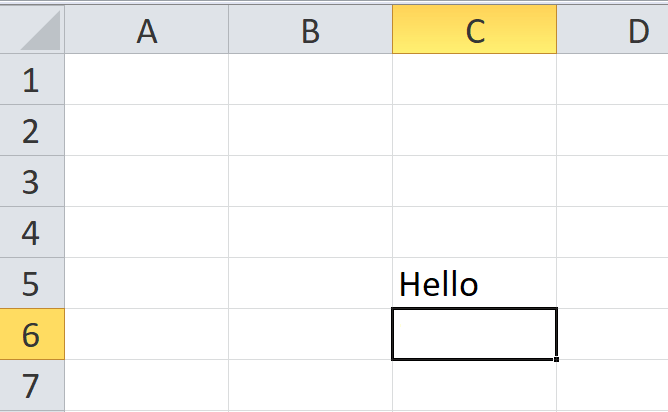
Drag and drop cellsInstead of copying and pasting the data, you can use the drag and drop option to move cell content from one cell to another.
Next TopicMoving across the worksheet in Excel
|


 For Videos Join Our Youtube Channel: Join Now
Feedback
- Send your Feedback to [email protected]
Help Others, Please Share


