| |

Page Orientation in ExcelPage OrientationThe way output is printed on the page is referred to as page orientation. The onscreen page breaks adjust automatically the new paper orientation whenever we change the page orientation. There are two kinds of page orientation options in MS Excel; Portrait and Landscape. Portrait orients the page vertically while Landscape orients the page horizontally. Worksheets with a lot of columns benefit from landscape mode, whereas worksheets with a lot of rows benefit from portrait mode. By default, Microsoft Excel prints worksheets in portrait orientation. Types of Page OrientationIn MS Excel, there are two types of page orientation:
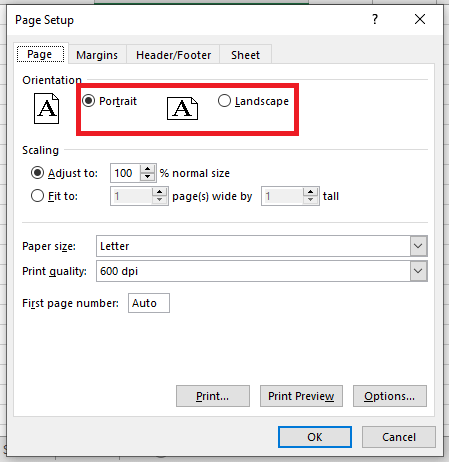
Portrait OrientationThe portrait page orientation is used to print tall pages. In portrait orientation, information is printed parallel to the page's short edge. Landscape OrientationLandscape page orientation is used to print wide pages. This type of orientation is beneficial if we have a wide range that doesn't fit on a vertically oriented page. Information is printed parallel to the long edge in landscape orientation. How to Change the Page Orientation in ExcelIf we want to change the page orientation in Excel, then we have to follow the following steps: 1. First, we have to select the worksheet or worksheets for which the orientation needs to be changed. Note: If we select the many worksheets, the [Group] option will appear in the title bar at the worksheet's top. If we need to cancel a selection of several worksheets in a workbook, we can click any unselected worksheet. If there is no unselected sheet visible, we have to right-click the tab of a selected sheet, and then we need to click on the option named Ungroup sheets.2. Next, on the Page Layout tab, which is in the Page Setup group, we will click on the Orientation option, and click on the Portrait or Landscape option. 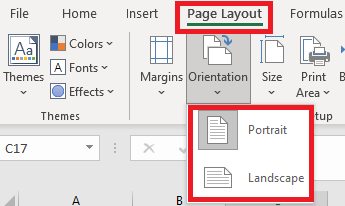
Notes:
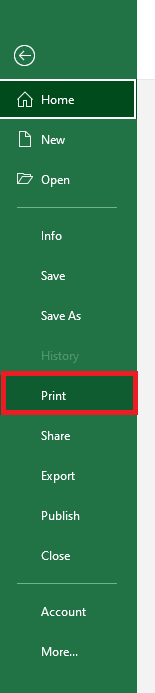
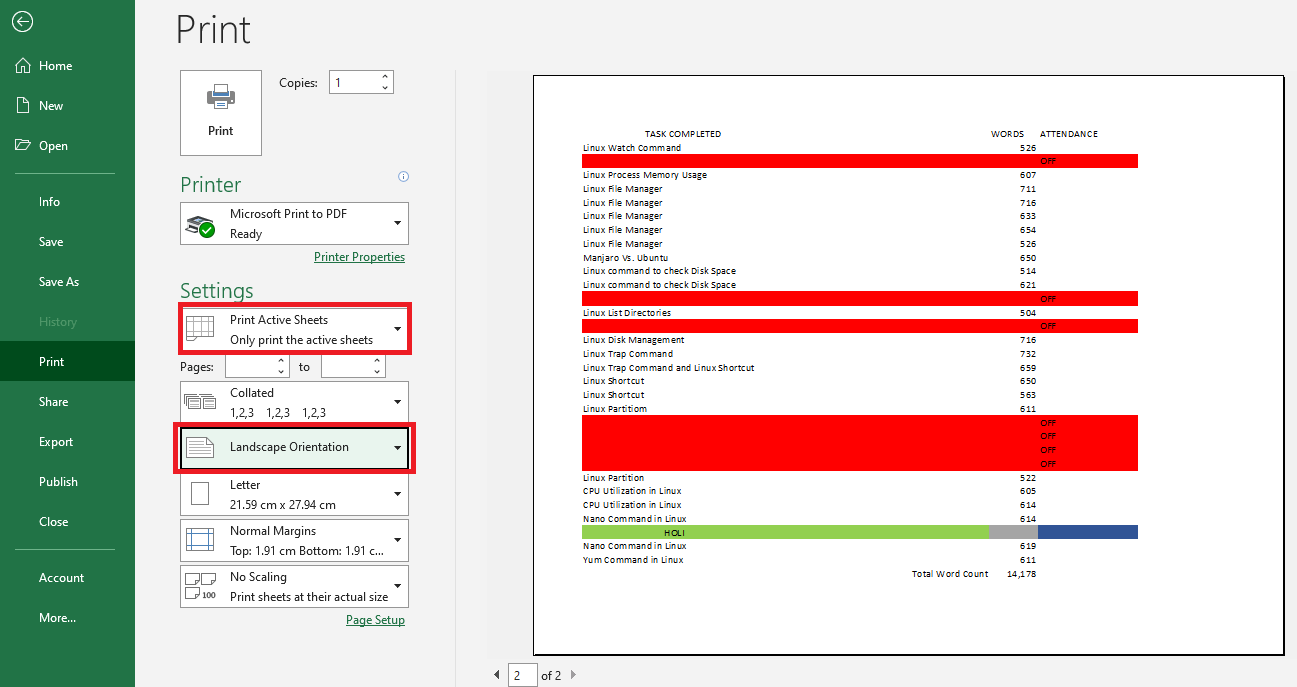
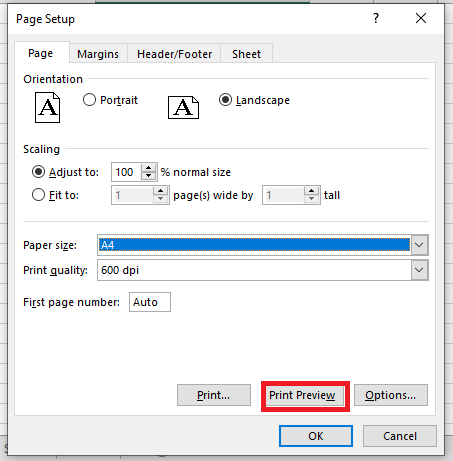
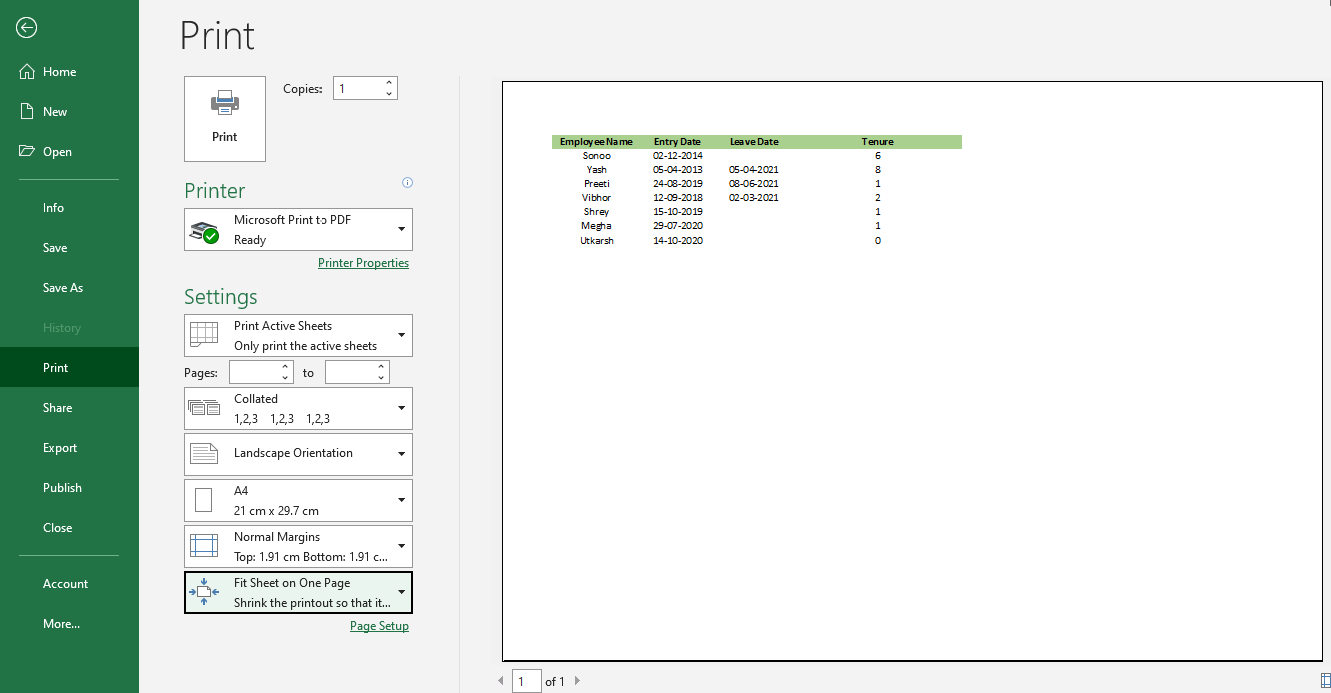
Change Page Orientation When we are Ready to PrintWe have to follow the following steps to change the page orientation when we are ready to print:
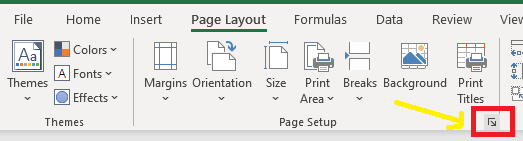
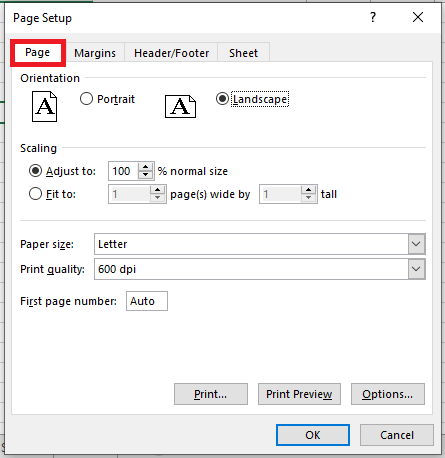
Change Page Orientation in Excel Using the Page Setup Launcher ToolAlthough the previous is rather simple, we'll also discuss another option for changing our page orientation. A dialogue ox launcher tool is used in this method. A dialogue box launcher () is a small icon that appears in a group. This tool acts as a shortcut to open dialog boxes or task panes about the appropriate group. In this manner, we get more related options. In order to modify the page orientation, we can use the Page Setup Launcher. The following are the steps that we have to follow to modify the page orientation:
Change the Orientation of Text in CellsThe following steps are used to change the orientation of text in cells: 1. First, we have to select cells which we want to change the text orientation in: 2. Then we have to click on the Orientation button under the Home tab and then choose any of the orientation styles in the drop-down list of the orientation button. 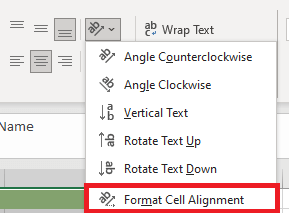
Note: Click the Format Cells Alignment item in the list to get more orientation styles in the Format Cells dialogue box.In order to modify the orientation of text in cells, go to the Orientation section, which is under the Alignment tab in the Format Cells dialogue box and drag the orientation pointer or enter the orientation degree. Look at the below screenshot: 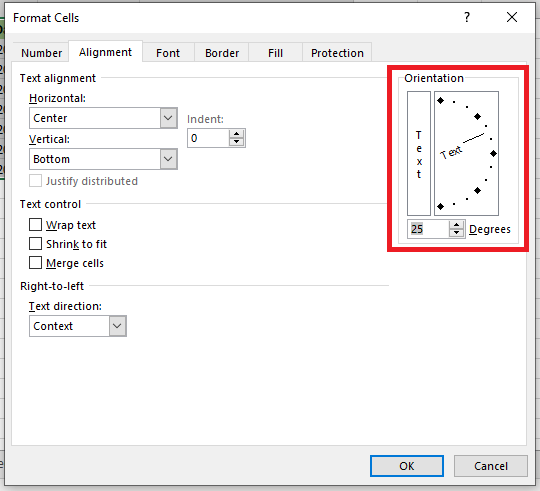
3. After applying the orientation styles, our data looks like this: 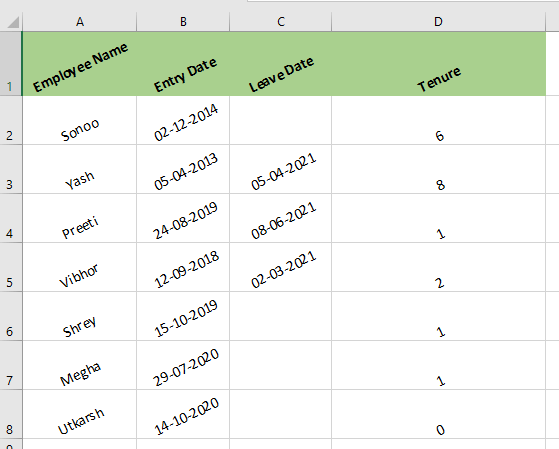
Next TopicArea Chart in Excel
|
 For Videos Join Our Youtube Channel: Join Now
Feedback
- Send your Feedback to [email protected]
Help Others, Please Share


