| |

How to repeat row and column headers on every page of Excel spreadsheetsPrinting large datasets in Excel is very common. Are you also printing your business data regularly? If yes, you also might be facing the same challenges. When you scroll up and down, you can easily see your row and column headers because the rows and columns are frozen. But as soon as you print the data, you can see the header only on the first page. And eventually, you run to the front page to check what type of data is present in each row or column. The tiresome tradition of turning the printouts back and forth will be entertained no more! In this tutorial, we will cover the permanent solution to repeat the row numbers and column letters on every page of Excel Spreadsheets.
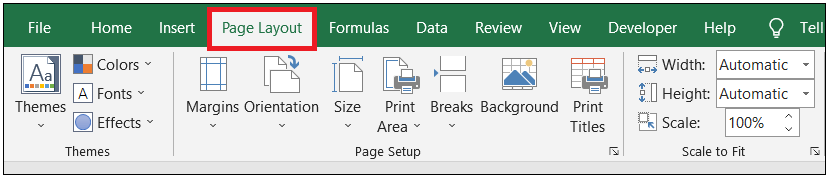
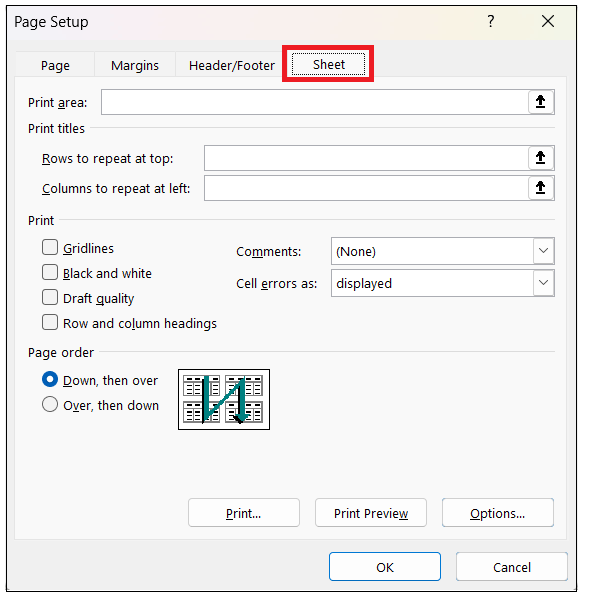
Let's get started! How to repeat Excel header rows on every printoutMany times your Excel data contains a large dataset, and you need to print it to show them to higher authorities. All you notice in the print preview section is that only the first Excel page contains the titles at the top. Don't worry! We can fix this for you. Following the below steps and modifying the Page Setup settings, you can easily repeat the row header at the top of every Excel page:
Note: If you want to select multiple rows, click on the first row, simultaneously hold the cursor, and drag it to the last row. Remember, you can only select contiguous rows.
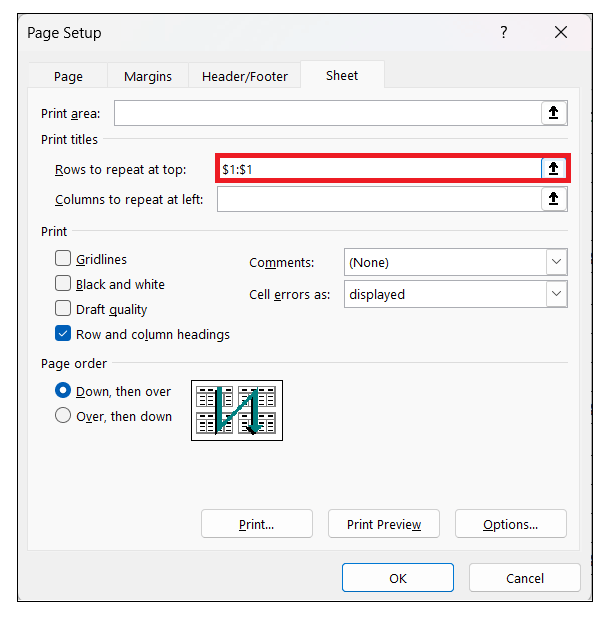
Note: However, to avaoid so few steps (6-9), you can directly enter the Excel range in the range box. While entering the reference, you should always remember to use absolute referencing with the dollar sign ($). For example, if we want to display the first row on every document, the reference range should be formatted as $1:$1.
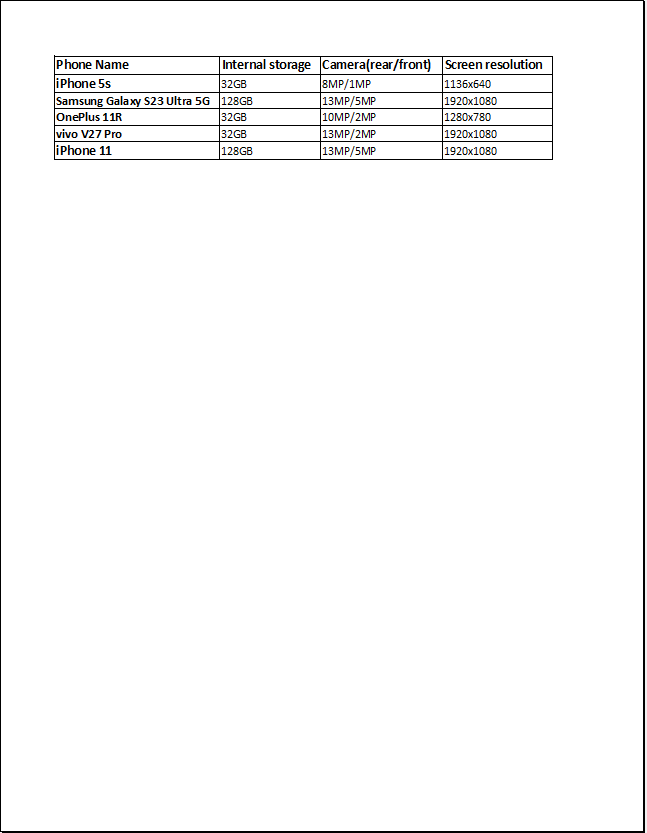
Refer to the below screenshot. 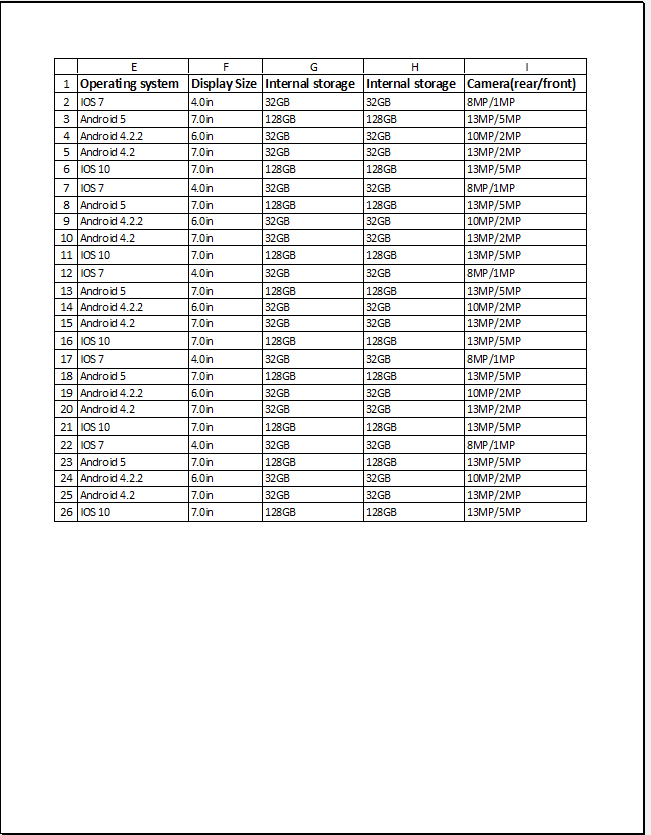
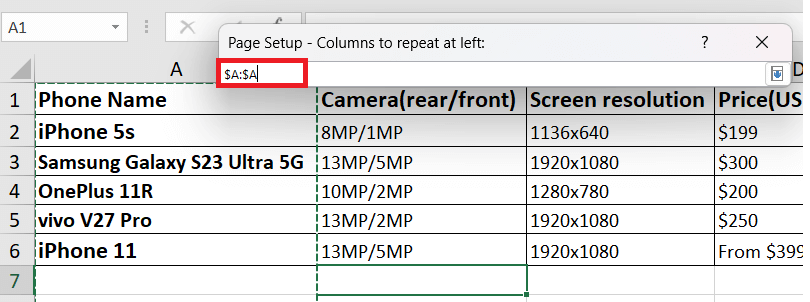
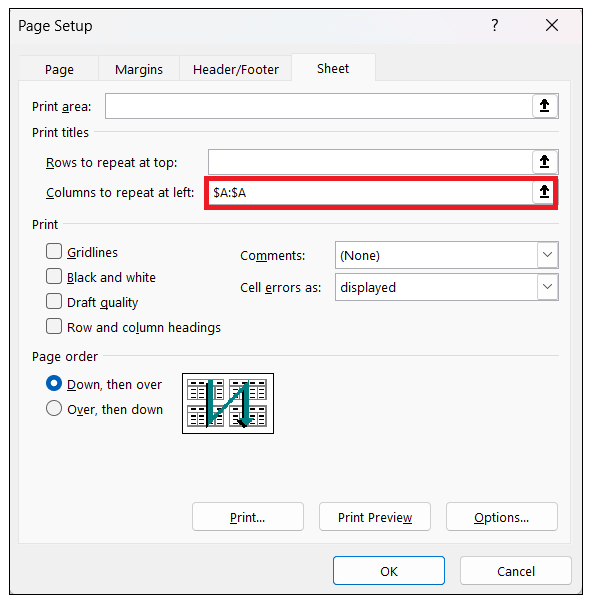
That's it! Some simple steps and you can print the column titles on every page. Time Saving right! Print a header column on every Excel pageWhen you have too many columns in your worksheet, you might be required to fix the header column on the left to increase the readability of your worksheet. Since the worksheet is too wide, you must print the column headers on every page. Following the below steps if you want to repeat the column titles at the left of every Excel page:
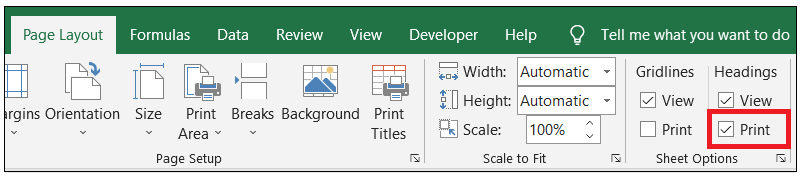
Now you don't have to turn the pages back and forth to find what the values in each row mean. Follow a few steps and make your life easy! Print row numbers and column lettersIn Excel, the columns are represented by letters (A, B, C, D), whereas the rows are represented by numbers (1,2,3,4). By default, Excel only prints the row or column headers on the first printed page and skips the column letters and row numbers. But if you desire to repeat the alphabet and numbers on every page of your printouts, follow the below steps:
NOTE: You can also select the letters and alphabets option from the Page Setup window opened; click on the Print option below the Row and column headings box in the Print section.
Refer to the following image. 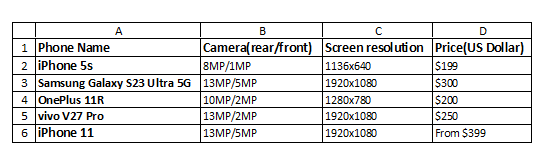
Hope the above view meet your expectations? :) Including row and column headers in your printouts enhances readability and facilitates a better understanding of printed data. Using the Print Titles can immensely simplify your Excel experience, as having row and column titles on each page prevent you from getting lost in the printouts. So what are you waiting for? Try it today and reap the benefits!
Next TopicExcel Multiply Formulas
|
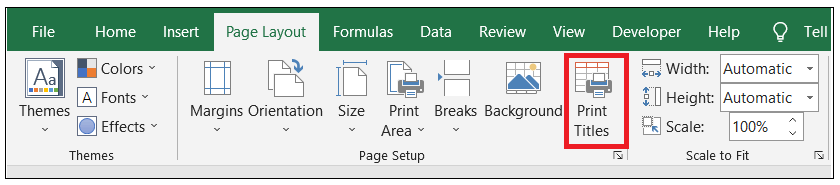
 that you will find towards the right of the Rows to repeat at top option.
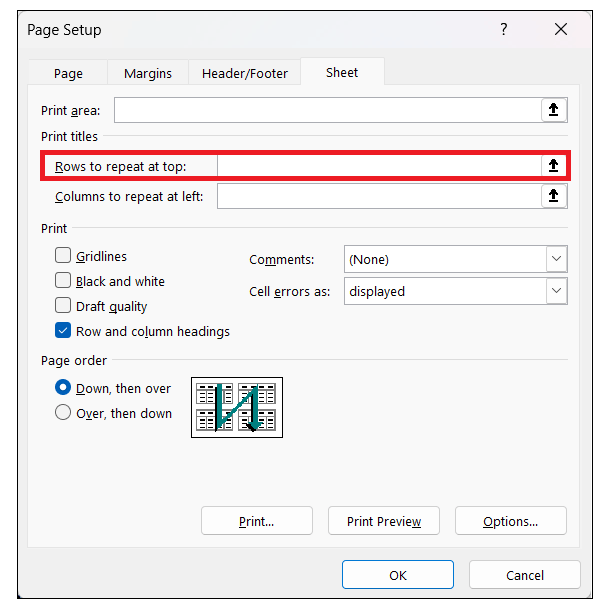


 that you will find towards the right of the Columns to repeat-at left option.
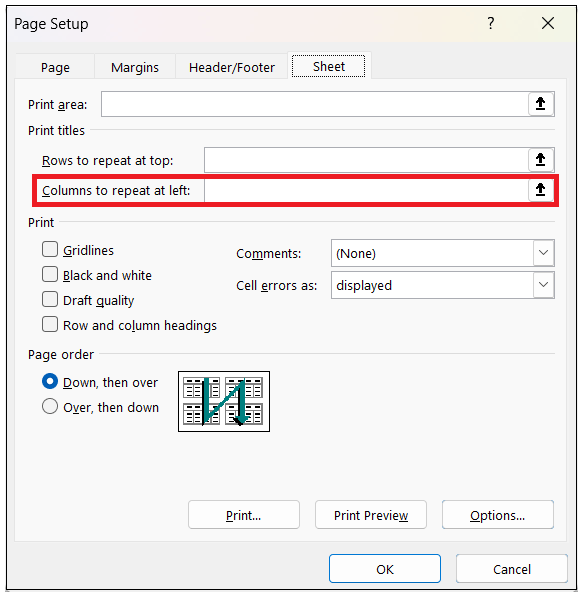

 For Videos Join Our Youtube Channel: Join Now
Feedback
- Send your Feedback to [email protected]
Help Others, Please Share


