| |

How to Change and Autofit Row Height in ExcelMicrosoft Excel spreadsheet is a combination of rows and columns. In Excel, a row is a horizontal series of cells numbered from 1 to the maximum number of columns in the worksheet. Rows are identified by numbers on the worksheet's left side. Each row in Excel has a specific height, which can be adjusted to accommodate the data in the cells. Conversely, a column is a vertical series of cells identified by letters that appear along the top of the worksheet, starting with column A and proceeding to the right. Each column in Excel has a specific width, which can also be adjusted as needed. Together, rows and columns form a grid of cells that make up an Excel worksheet. A row and column intersection is called a cell, which is identified by a unique combination of a letter and a number. Why to change and Autofit Row Height?Changing and Auto fitting row height in a spreadsheet can be useful in many situations:
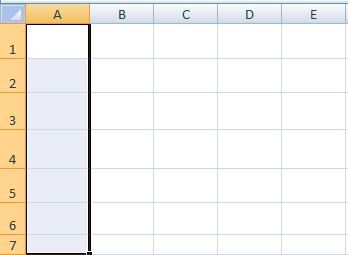
Overall, changing and Auto right row height is a simple but useful formatting tool that can help make your spreadsheet more readable, visually appealing, and efficient. Row Height in ExcelIn Excel, a row height refers to the vertical space occupied by a row in a worksheet. Each row has a default height of 15 points, equivalent to 20 pixels, on a standard 96 DPI screen. However, you can adjust the height of a row to make it larger or smaller depending on your needs. By default, the height of a row is determined by the tallest cell in that row. For example, if you have a row with several cells of varying heights, the row height will be adjusted automatically to fit the tallest cell. However, if you want to change the row height manually, you can select the row and use the Row Height dialogue box or drag the row boundary with your Mouse. It's important to note that adjusting the row height can impact the layout of your worksheet. If you make a row taller, you may need to adjust the height of adjacent rows to ensure that your data fits neatly within the worksheet. Additionally, increasing the row height can cause the data to appear more spread out while decreasing the row height can make the data appear more condensed. How to change the row height in Excel?Before changing the row height, one can check the current row height using the following Methods: Click any of the spreadsheet's cells and the boundary below the row heading. It displays the row height in boundary and pixels. 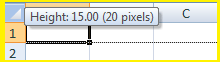
To change the current how height, the methods are explained as follows, 1. Changing the Row Height using the MouseTo change the row height in Excel using your Mouse, you can follow these steps:
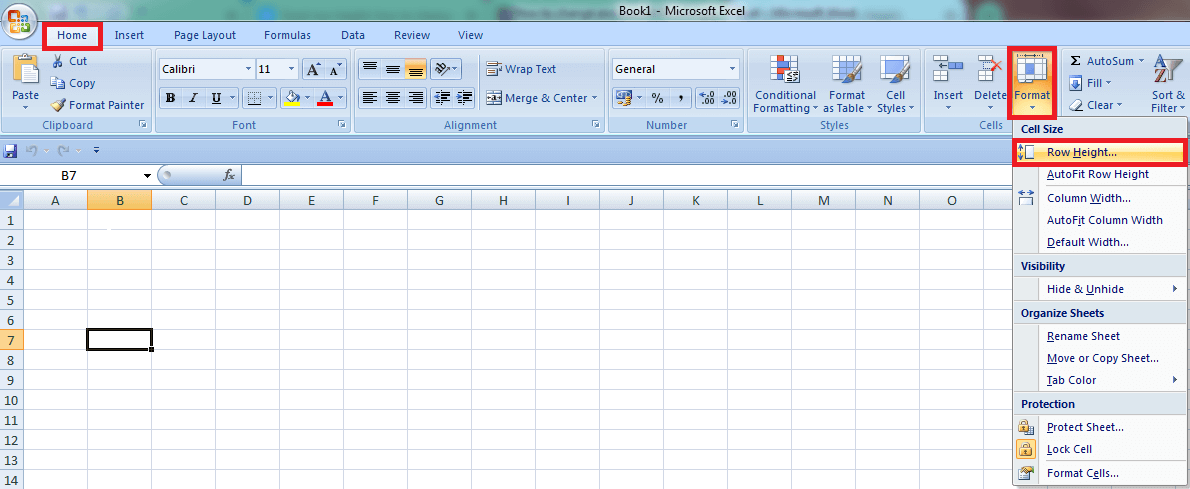
Note: When you change the row height using your Mouse, Excel will display a tooltip showing the current height of the row as you drag the boundary line. This can help you to adjust the row height more precisely. Also, keep in mind that if you have merged cells in a row, changing the row height may affect the appearance of the merged cells.2. Changing the row height numericallyBy default, the row's height is determined using the font size. One can change the row size numerically. To change the row height numerically in Excel, follow these steps:
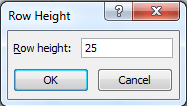
In the worksheet, the existing row height is 15, and the new row height is 25. 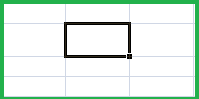
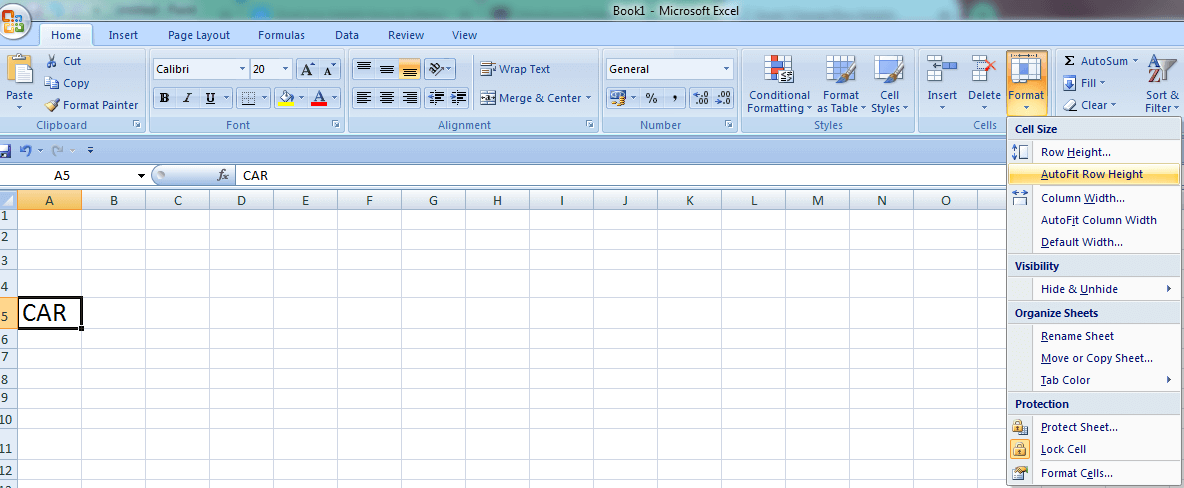
Here the selected row height is changed to 15 to 25 points. Similarly, one can change the desired row height following this method. What is called Autofit Row Height?"Autofit row height" is a feature in Excel that automatically adjusts the height of a row based on the content in the cells of that row. This feature ensures that all the text within a cell is visible without manually adjusting the row height. How to use the Autofit feature to change the Row Height?To use this feature,
Note: The "Autofit row height" feature can cause rows to become very tall if there is a large amount of text in a cell or multiple lines within a cell. You can always adjust the row height manually or use a combination of "Autofit row height" and manual adjustments to achieve the desired result.Parameters used for Measuring Row HeightIn Excel, there are several parameters you can use to measure row height: 1. Pixels: One pixel is the smallest unit of measurement on a computer screen. In Excel, the row height can be measured in pixels. This is useful if you want to set the row height to a specific number of pixels, especially if you're working on a project that requires precise sizing. 2. Points: Points are a unit of measurement commonly used in typography. In Excel, row height can also be measured in points. This is useful if you're working with text that needs a certain size for readability. 3. Inches: Excel also allows you to measure row height in inches. This is useful if you're creating a document that needs to be printed and you want to ensure that the rows are a specific size on paper. 4. Centimeters: Another unit of measurement you can use to measure row height in Excel is centimetres. This is useful if you're working in a country that uses the metric system and is more comfortable measuring things in centimetres. 5. Characters: In some cases, measuring row height in characters may be useful, especially if you're working with text that needs to be a specific size. In Excel, you can adjust the row height to fit a certain number of characters in a cell. However, this method is less precise than using other units of measurement. Changing the row height based on various ParametersBased on the data requirement, the parameter of the row height is changed. To change the parameters, the steps to be followed are, Step 1: Click the Page Layout option in the View Tab. 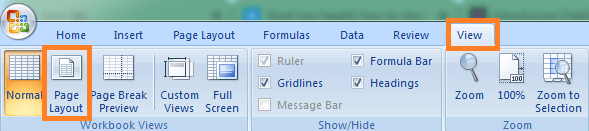
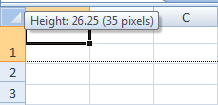
Step 2: Select one or more desired rows, and set the row height by dragging the boundary below the row heading. Here the default measurement is Inches. 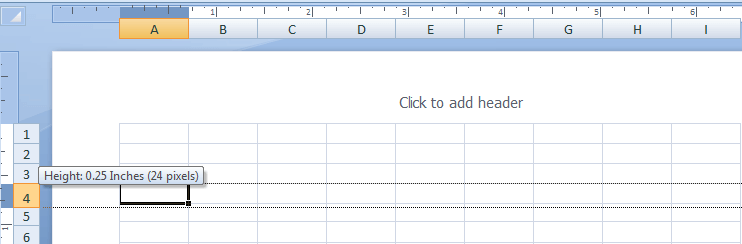
Step 3: Click the Excel options to change inches from desired parameters like inches or centimetres. 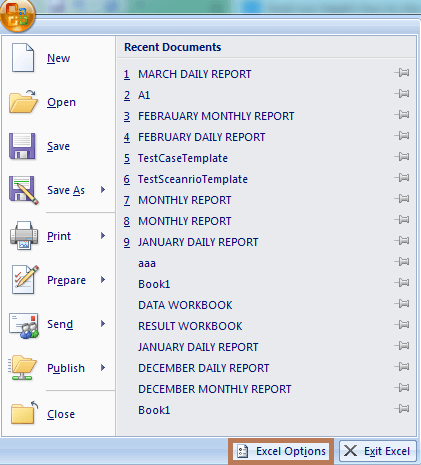
Step 4: The Excel options dialogue box will display, and choose the option "Advanced". 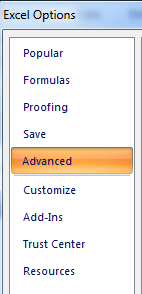
Step 5: Scroll down to the "Display" section. In the "Ruler Units", click the drop-down list and display several options. In that, choose the desired unit which is appropriate for the data. 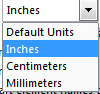
Step 6: Click Ok. The selected units will display in the worksheet while changing the row height. SummaryIn conclusion, changing and Auto fitting row height in Microsoft Excel are essential skills for formatting and presenting data in a clear and organized manner. By adjusting row height, you can accommodate the content of the cells and make your spreadsheet easier to read. You can either manually change the row height by selecting the row and adjusting its height or use the Autofit feature to automatically adjust the row height to fit the content of the cells. The process for changing and Auto fitting row height in Excel is straightforward and can be accessed through the Format Cells and Home tabs in the ribbon. |
 For Videos Join Our Youtube Channel: Join Now
Feedback
- Send your Feedback to [email protected]
Help Others, Please Share


