| |

How to create and use Excel data entry formPutting information in Excel is very common. Though the traditional approach to insert data is by using the cell-by-cell or row-by-row method. But in cases with higher data records, this process becomes time-consuming, monotonous and tedious. The best way to get is done is by using the special data entry form. In this tutorial we will cover the detailed information about Excel data entry form. Following are the topics:
Introduction to Excel data entry form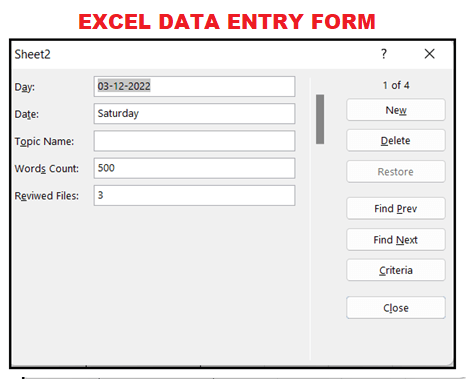
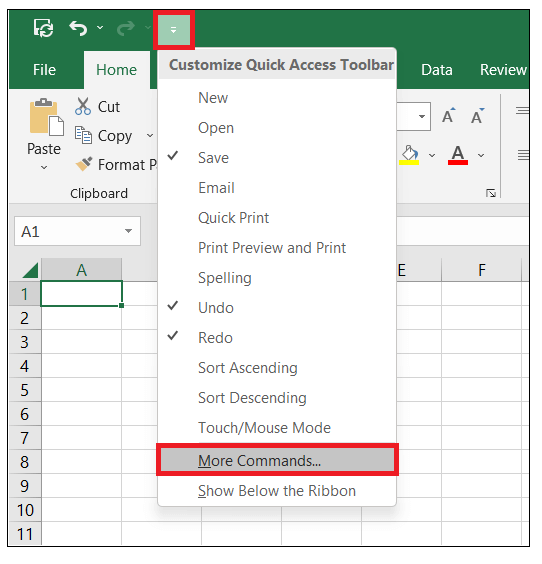
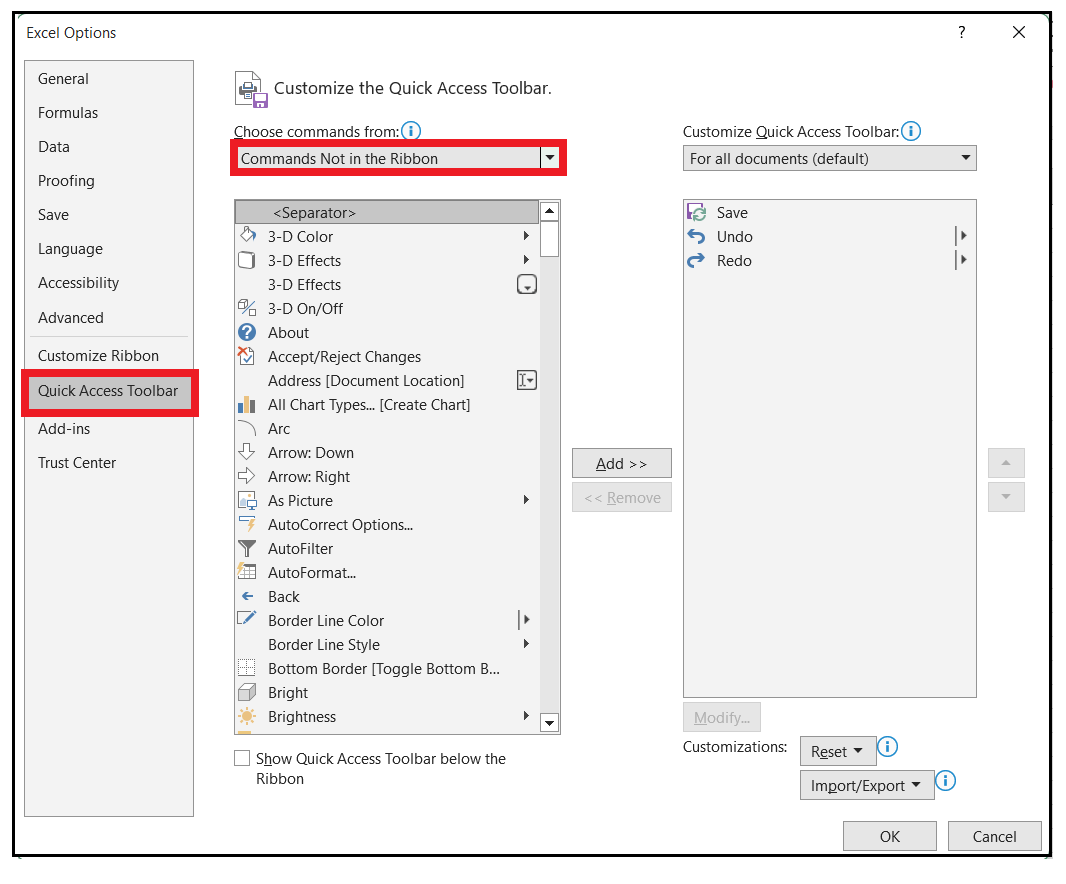
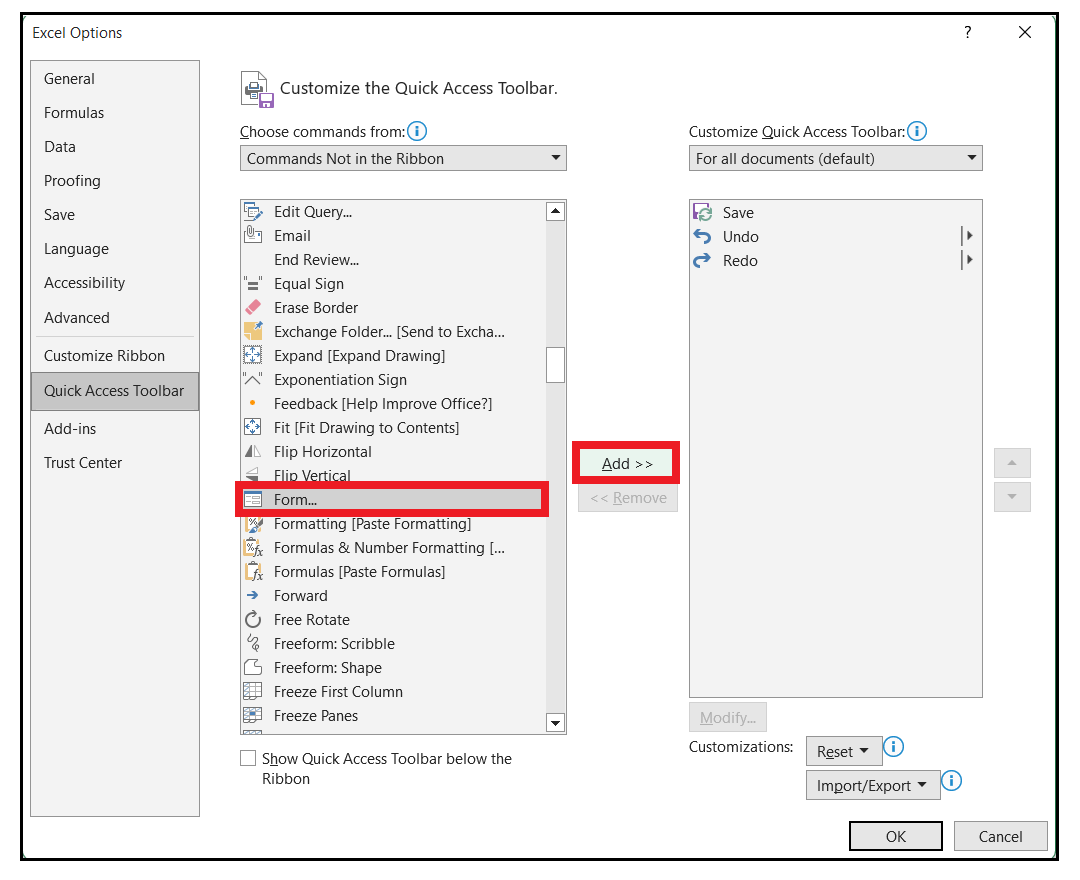
"Data entry form is an easy and convenient method for Microsoft users to enter data in a spreadsheet in the form of specific fields. It's a unique form widely used for entering data in your Excel worksheet table. It ultimately makes the entire process speedy and less error-prone, especially when working with a huge dataset." The old-school method to fill entries in an Excel table was directly typing data into cells. However, its approach is still valid for small datasets. But in cases of large data information, while using the traditional typing method, there is a possibility to enter the wrong data in the wrong field, or sometimes the users mix up the data within the allocated field. Scrolling data becomes challenging with a large dataset, and you might scroll up, down or right left and finally returns to the table's first cell. To ease input, you can ask Excel to show one table row in a handy form window. The form window not only helps to add new records but using this, you can also edit the existing ones. Data entry forms were introduced with Excel version 2007 and since then this feature is supported in all the upcoming versions including Excel 2010, Excel 2016, Excel 2019 and in Excel 365. But it is not available in Excel Online (Excel for the web). Steps to add the Excel Form tool to your worksheetBy default, the Form tool is available for all Excel versions. However, you need to add it first from the Quick Access Toolbar, as it is hidden. Following are the steps to quickly add the Form tool to the quick access ribbon Toolbar in your Excel worksheet:
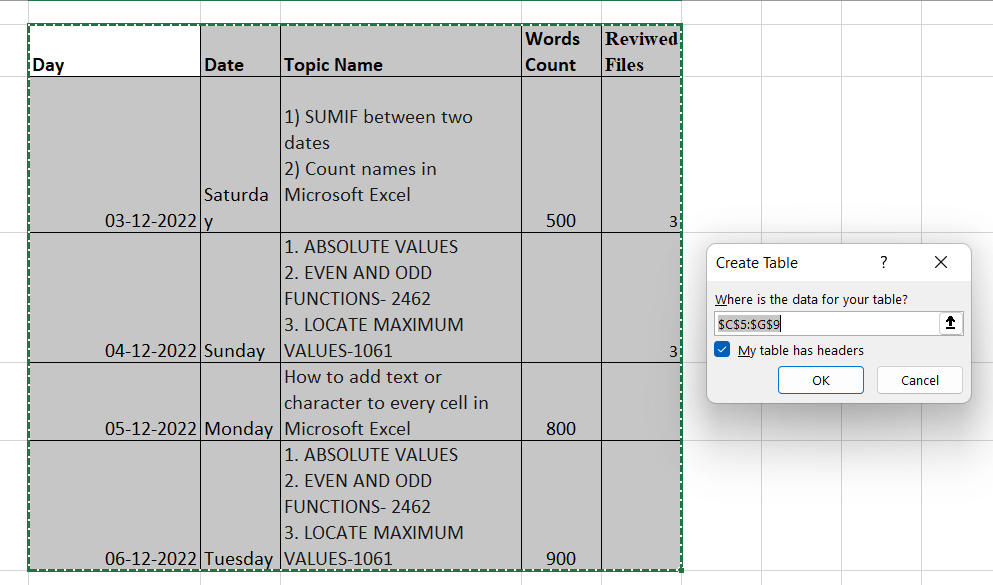
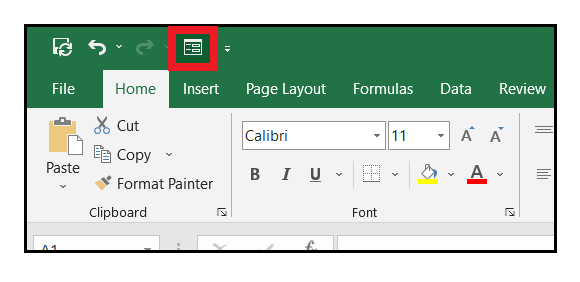
Believe me; you have already done the 50% of your work. The rest of the process will be quickly done using the form option. Create data entry form in Excel worksheetThe only thing to remember about Excel data Forms is it works only for the Excel table. Since we learnt how to add a form to your menu, let's explore the steps to create a form. All you need to do is to put your data in an Excel table and click the Form button to get the form. To add a data entry form to your Excel worksheet, perform the below steps:
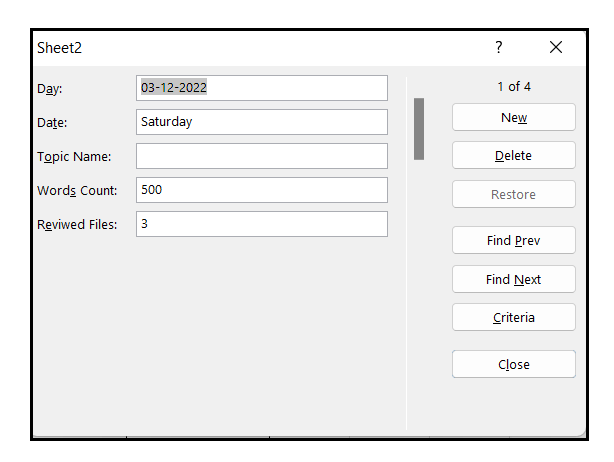
There are different buttons present in your form sheet. Each button has a specific role to perform. Below given is the explanation of each button:
Besides the above buttons, there are some navigation shortcuts that can help you to quickly get access of your form:
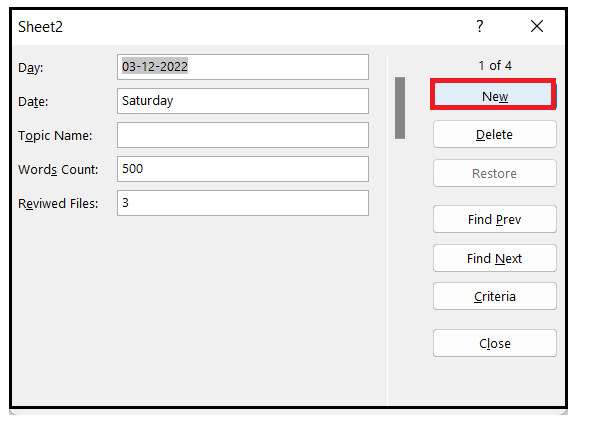
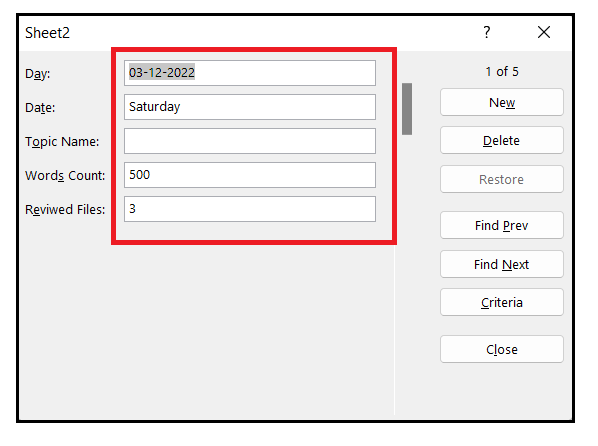
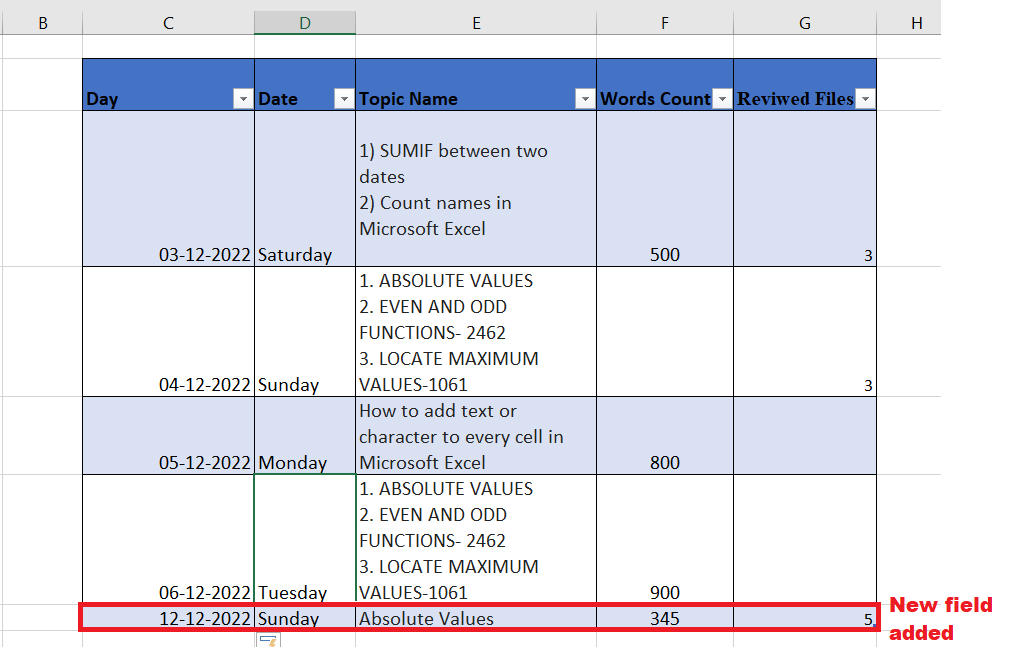
Steps add a new recordFollowing are the steps to quickly add a new record in your existing table using Excel forms:
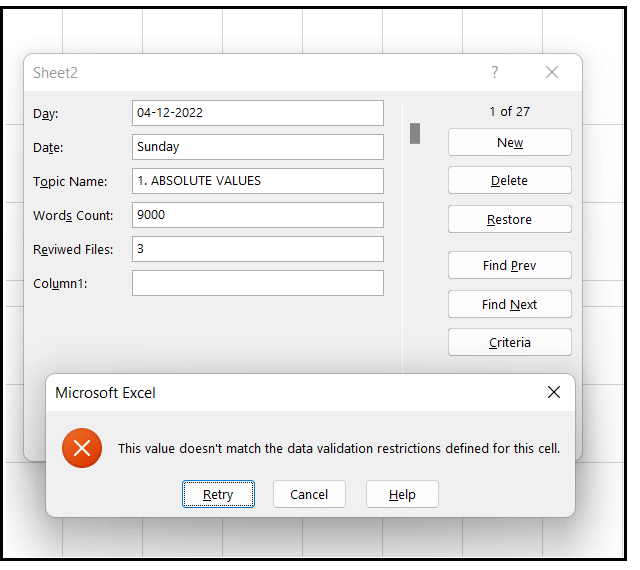
Steps to search for records in our databaseThe benefit of using Excel forms is that they quickly help us go through the existing records in our Excel table. It carries two navigation buttons, i.e., Find Prev and Find Next, to scroll within our records. If you want to look for some specific records in your table, in such cases, you can apply conditions in the Criteria button. 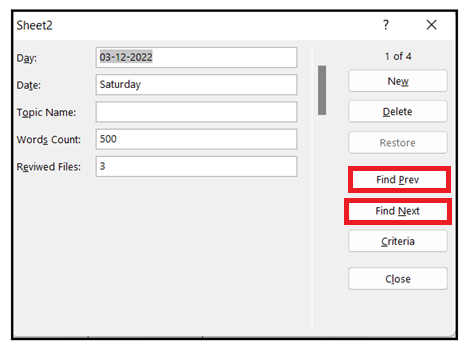
For example, to retrieve all the dates where the keywords where the word count was more than 500, all you need to do is to click on criteria and in words count section apply the criteria >=500 and click on Find Next. You will have the following output: 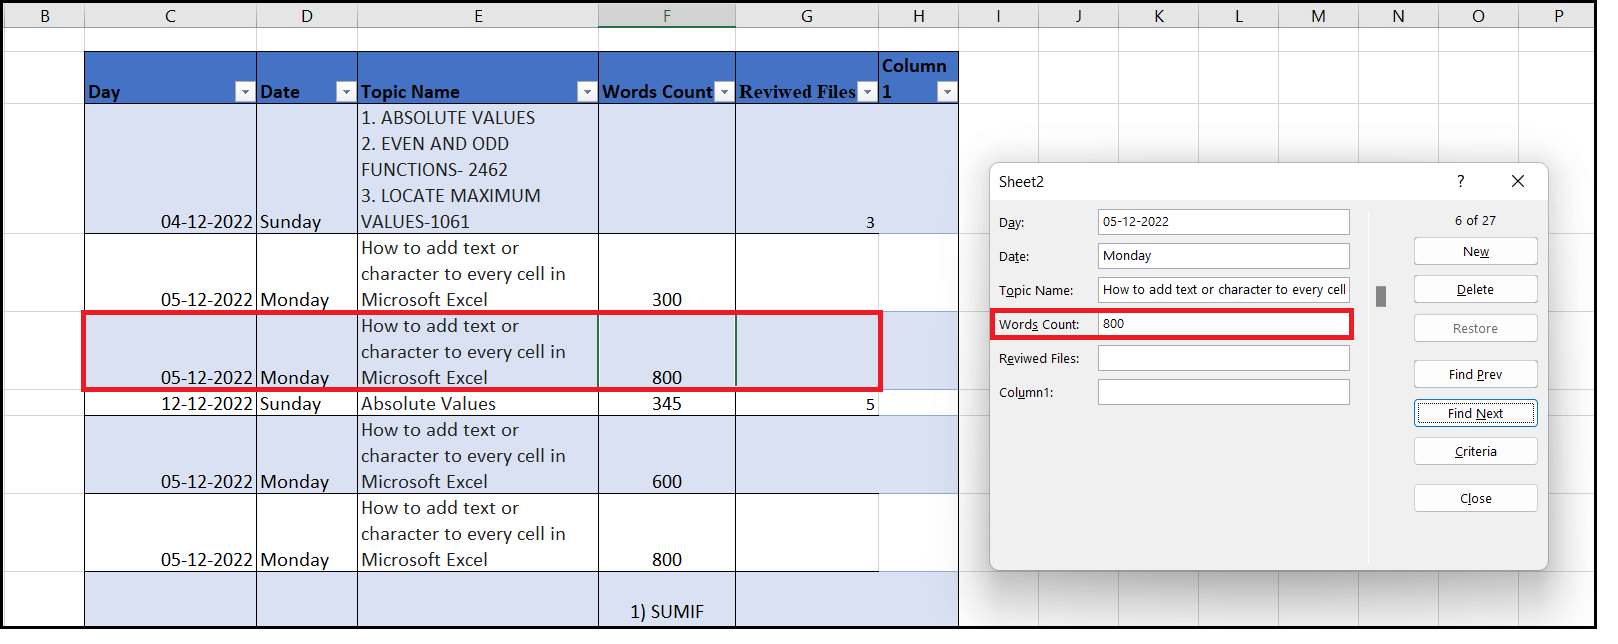
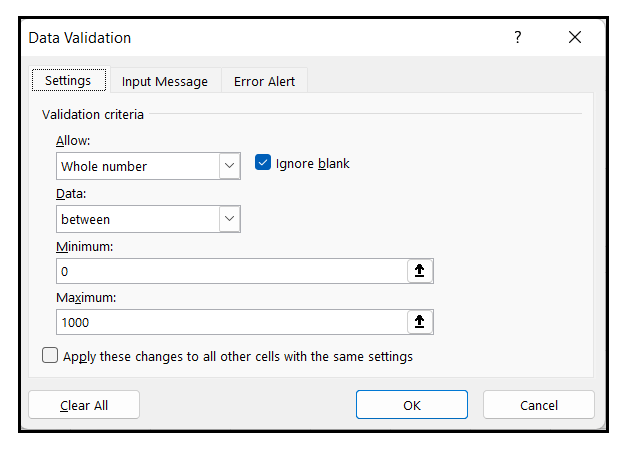
NOTE: If you are working on numbers or date values, you can use different logical operators (greater than (>), less than (<), equal to (=), not equal to (<>) ) to maximize your searching criteria.How to update and restore recordsYou can easily update or edit an existing record if the entry is outdated or contains wrong information. All you need to do is to fetch the record in your form by using the Criteria or navigation buttons, edit the fields and click on the Enter button to save the changes if your Excel table. NOTE: If you have typed something mistakenly in the records and haven't pressed the Enter key yet, you can click on the restore button to undo the changes. But if you have hit the Enter key and changes are updated in your table, click on the shortcut key Ctrl + Z to undo the changes.Using Data Validation with data entry formData Validation restricts users from entering only a limited set of data. It will throw a dialogue window if they enter anything else apart from the specified rules. Follow the below steps to apply data validation in your data entry form:
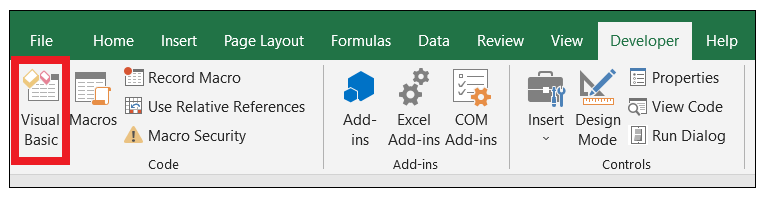
Wasn't that cool! You can actually validate your Data entry form. Data entry form using Excel VBAIf you are someone interested in coding and love to work on advanced Excel, you can also work on Excel VBA and create your form using macro. It also benefits when you create a table for someone else; your users may not know where to look for the Form button. Moreover, many people still don't know that something like that exists in Microsoft Excel. To put more focus on this feature, you can directly code it on VBA macro, and put a special button directly on the Excel worksheet to run that macro. Follow the below steps.
NOTE: Make sure that your worksheet has an existing table.Sub VBADataEntryForm() ActiveSheet.ShowDataForm End Sub However, the above code only works if either of these points are set true:
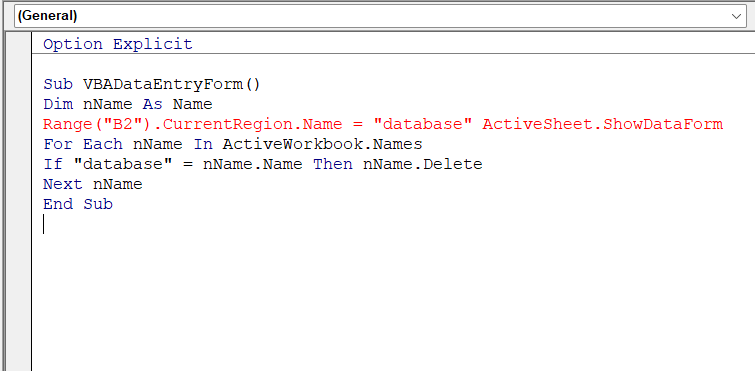
To prevent the above started limitations, we can implement the advanced version of the VBA code that doesn't limits that the table should begin with A1 and it dynamically takes the cell from where your table begins (in our case the cells is B4), gives the name "database" to the current region, opens the form, and then deletes the name: Code:
Sub VBADataEntryForm()
Dim nName As Name
Range("B2").CurrentRegion.Name = "database" ActiveSheet.ShowDataForm
For Each nName In ActiveWorkbook.Names
If "database" = nName.Name Then nName.Delete
Next nName
End Sub
Points to Remember
Data entry form in Excel not workingMany times while working with Excel data entry forms, it may not work correctly or can through unusual errors in your worksheet. Below-given are some of the common causes because of why it generally doesn't work correctly; along with it, we have added troubleshooting guidance that may help resolve the error. 1. Too many fields in the data form 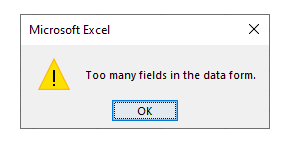
You may end up running into a data entry error if you attempt to create an Excel form for more than 32 table columns. Limit the number of columns in your Excel table to prevent this error. If your source data is big enough, try to break your big table into two or more empty tables. You can easily create individual tables for different sections of your data. 2. The table cannot be extended 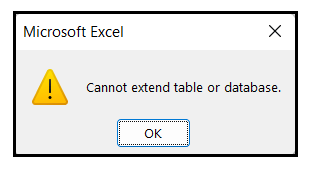
Sometimes you may try to add a new row in your data, but a window may pop up reflecting that the new row cannot be extended in your table. It commonly occurs when you already have data below your table, and adding a new record in your Excel table would override that existing data. To avoid this error in the Excel data entry form, always remove any data below your Excel table so that you can add new records to your table without any worry or error. Sometimes, you may see this error even if there is no data below your Excel table; it mainly occurs because of empty strings or non-printing characters. In such cases, use the Clear All command to clear the workspace. 3.Your cursor is not within the table range 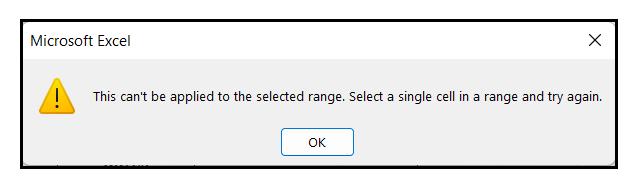
We may click the Form button without realising that we have not selected or pointed our cursor on a table range. In such cases, you may see the above error message. Excel table forms only work for tables or make sure to click any cell within your table range and then click on the Forms option. 4. There exists a named range "Database" in your worksheet In case you have inserted a range named "database" in your Excel worksheet, by default, the Entry form will always refer to that range, even if you open it for a table. The strange part is even if your "database" range is present on another sheet, the error will still occur. To fix the error, all you need to do is to rename the range.
Next TopicMAXIFS and MINIFS in Excel
|


 For Videos Join Our Youtube Channel: Join Now
Feedback
- Send your Feedback to [email protected]
Help Others, Please Share


