How to take Screenshot in Kali LinuxIn this tutorial, we will discuss how to take a screenshot in Kali Linux. In Kali Linux, there are some utilities which we can use to take a screenshot, and this tutorial, will make sure you're familiar with them. In this tutorial we will learn:
Kali's Built-in Screenshot UtilitiesWhen we download and install Kali, there are plenty of desktop environments to choose from. The primary GUI option is XFCE, although we can also choose KDE or GNOME. These distinct desktop environments have a built-in screenshot utility, so we already have one installed by default, regardless of which GUI we are using. They're all the same, but they work in various ways. For example, when we press the PrtSc (print screen) key in XFCE, a small window appears, offering us several options for dealing with the image we just captured: 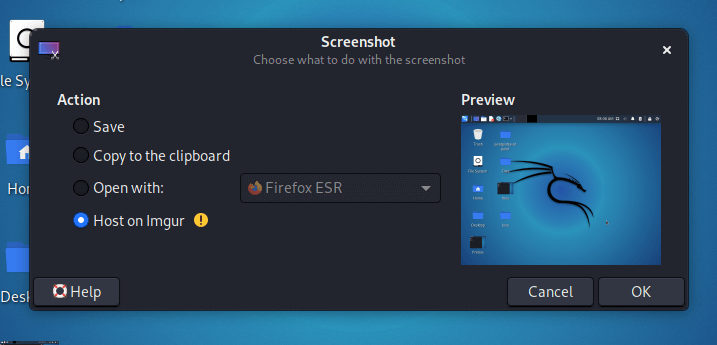
When we press the PrtSc key in GNOME, our screen flashes, and a camera shutter sound plays, but nothing happens. Our screenshot can be found in the Pictures folder in our home directory. 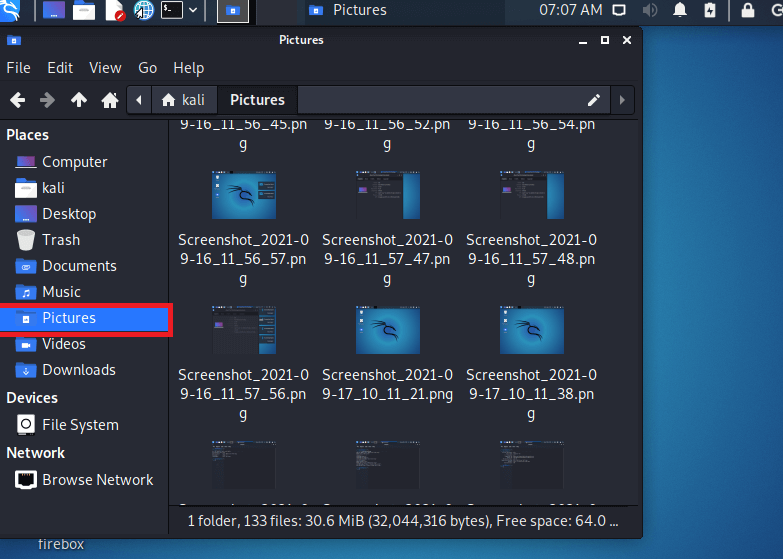
We can't cover every GUI here, but enough to mention that the built-in utility can be used by pressing PrtSc. By default, our whole desktop will be captured in the image. If we need to capture a particular window, we can bring that window to the foreground and press Alt + PrtSc. For more fine-grained control, simply open the Screenshot utility from our GUI's application launcher. 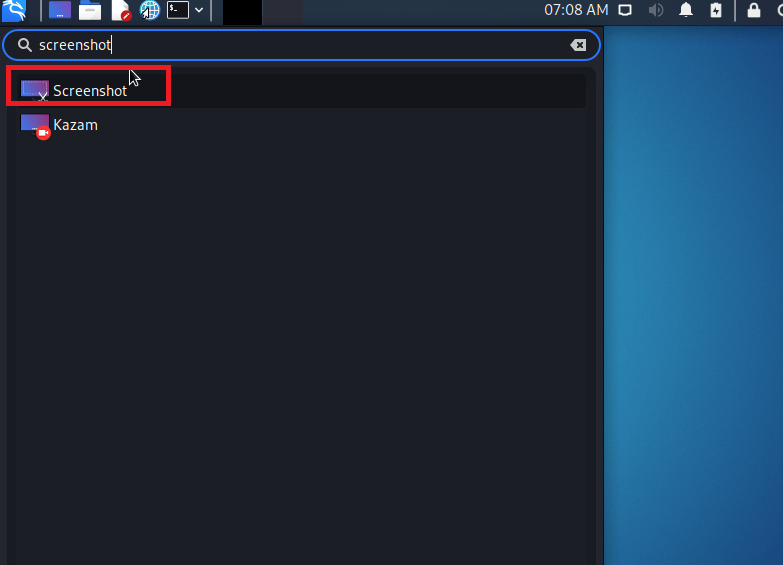
The built-in screenshot tool will usually permit us to select an area of the screen to capture and choose whether or not to capture the mouse pointer in the image. Some are more powerful and may contain extra features. 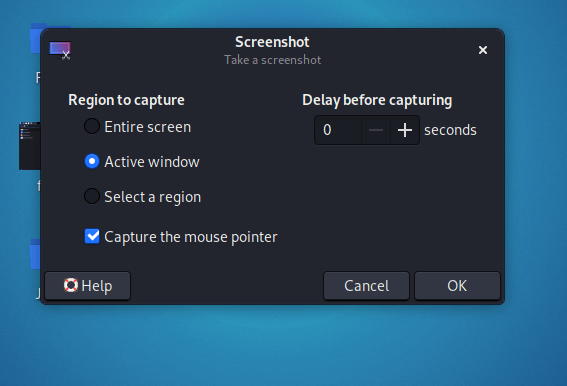
KazamKazam is another feasible alternative for screenshots, which comes pre-installed on Kali Linux. If in case it is not installed in our system, then we need to make sure it's up to date; in order to install/update it, we have to execute the following commands: Once it's been installed, we can open it in our GUI's application launcher. Kazam has the ability to record our screen, which is a major selling factor. We must ensure that "screenshot" is selected if we need to take an image, and "screencast" is selected if we need to record a video. 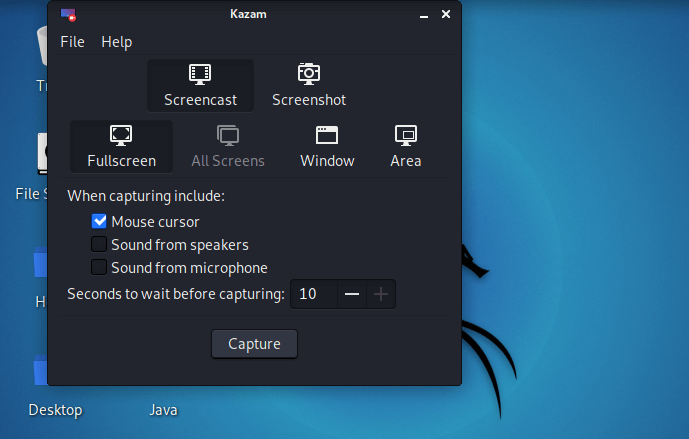
FlameshotThe above-mentioned default screenshot utilities are a little light in feature. Flameshot is an alternate tool to consider, particularly if we want to annotate our screenshots with arrows and have access to other useful features. We have to run the following commands in order to install Flameshot: 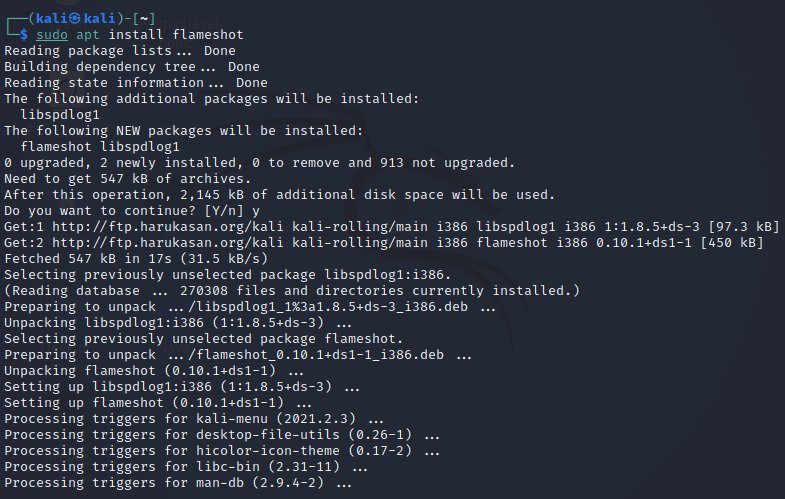
Flameshot can be found on the apps launcher once it has been installed. We may also run it from the terminal with the help of the following command: When Flameshot opens, simply follow the on-screen instructions. We can drag our mouse around and very easily resize the widow to capture exactly what we need to on our screen. We'll see a variety of tools for annotating or uploading our screenshots. But hold on! There's more! We can configure Flameshot's interface and other options inside the configuration menu: 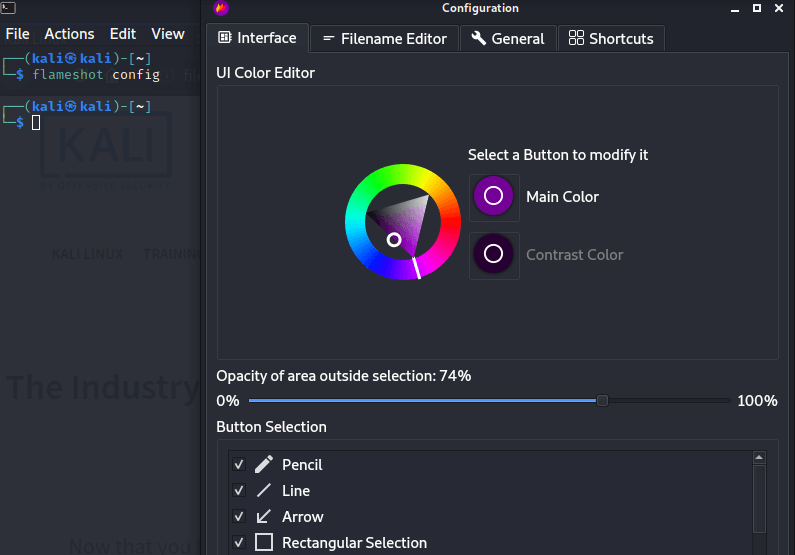
Flameshot comes with several command-line options as well. For a complete list of what it can accomplish, see the man page. 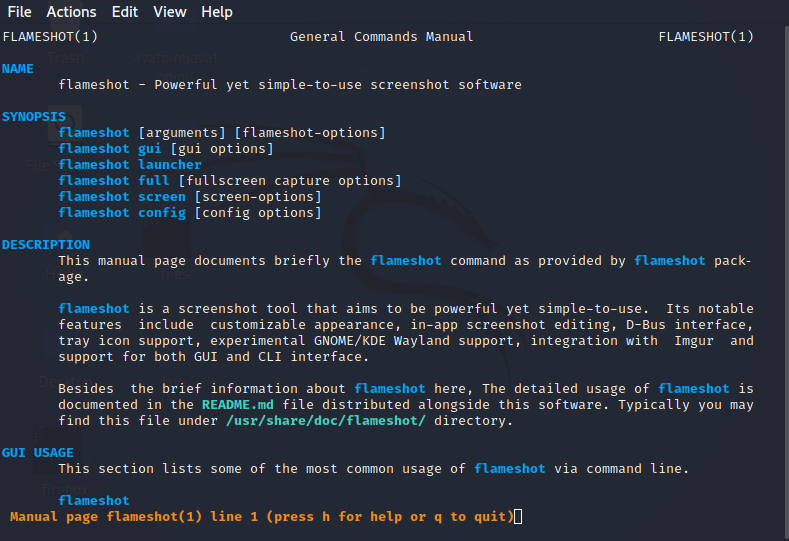
Shortcut Keys to Take Screenshot in Kali Linux
Next TopicHow to Update Kali Linux
|
 For Videos Join Our Youtube Channel: Join Now
Feedback
- Send your Feedback to [email protected]
Help Others, Please Share


