Making a Kali Bootable USB Drive (Windows)
One of the fastest methods for getting up and running with Kali Linux is to run it "live" from a USB drive. There are many versions of Kali Linux, but in this tutorial, I am going to use the full 64-bit version because my computer is a 64bit system. However, many other options are also available, like the kali Linux lite, Xfce, or KDE gui. You can use any of the kali distros as you like. So, without taking much time, let us see how to create a bootable USB Drive for Kali Linux using different tools.
Prerequisite
To make Kali bootable USB derivative, we will need some items, which are listed below:
- A verified copy of the appropriate ISO image of the latest Kali build image for the system you'll be running it on. You can download the ISO file of Kali Linux from the following link: https://www.kali.org/downloads/
-
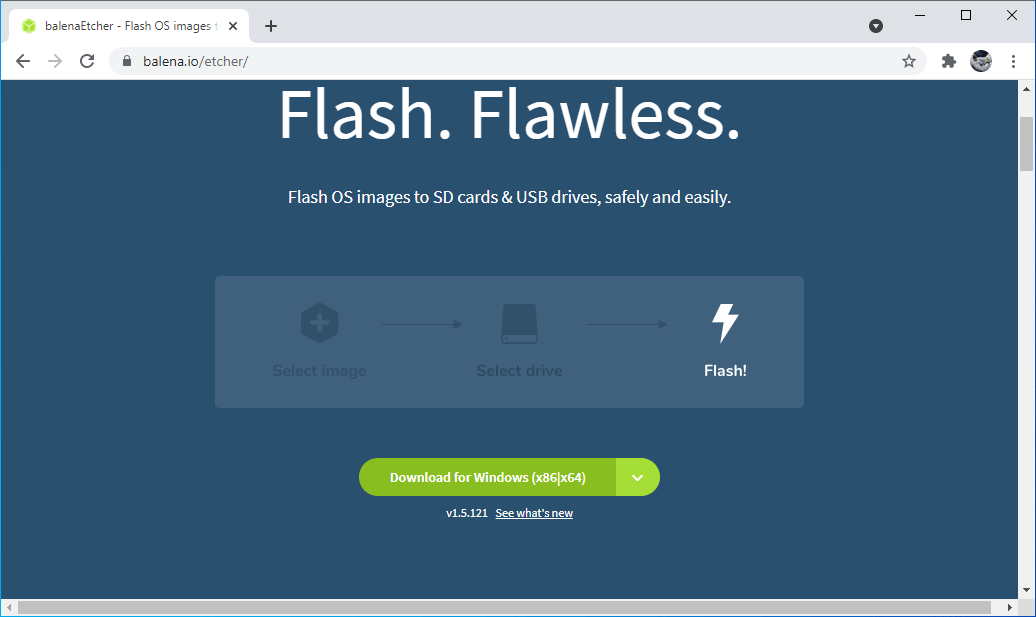
If you are a Windows user like me, you would know that Windows does not have a single tool that can be considered as best for imaging. So, I will recommend Etcher (installer or portable) as it is simpler to use, and of course, it is free. However, Rufus is another popular option with its advanced options. In case, Etcher does not work for you, consider the Rufus. You can download the etcher tool using the following link: https://www.balena.io/etcher/
- We will also need a USB drive of 8GB storage at least. However (Systems with a direct SD card slot can use an SD card with a similar capacity just like the USB Drive), the process flashing will still remain the same.
Method 1: Creating a Bootable Kali USB Drive on Windows (Etcher)
- Plug your USB drive into an available USB port on your Windows PC.
-
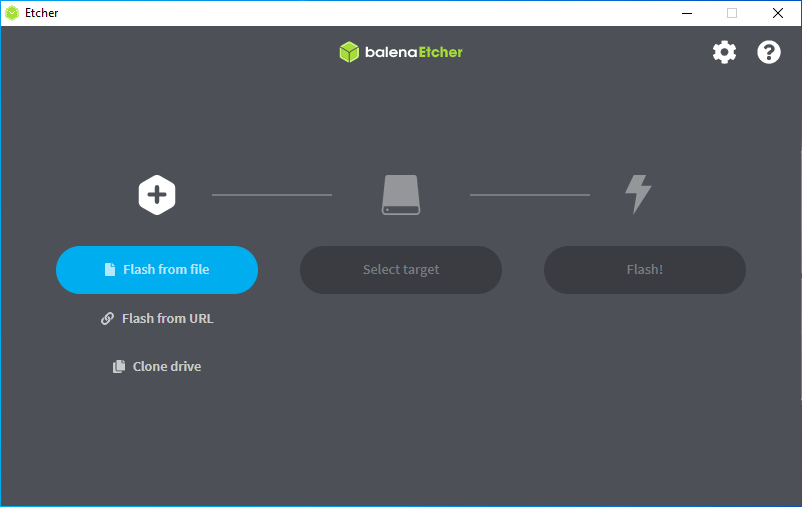
Open the Etcher by double-clicking on its icon.
-
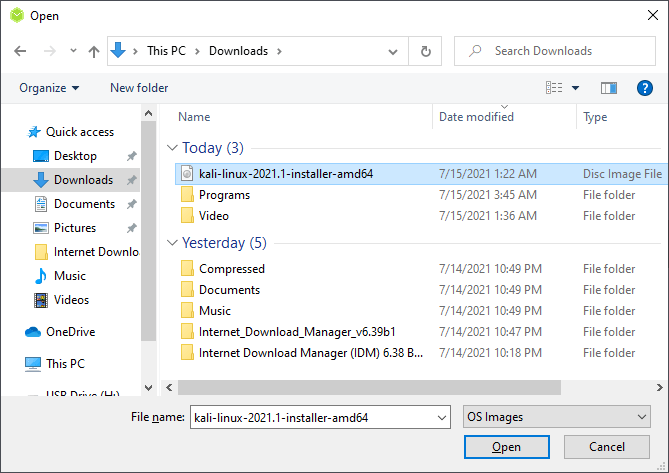
Now, click on the button labeled as "Flash from file" and locate the Kali Linux ISO file you want to flash.
-
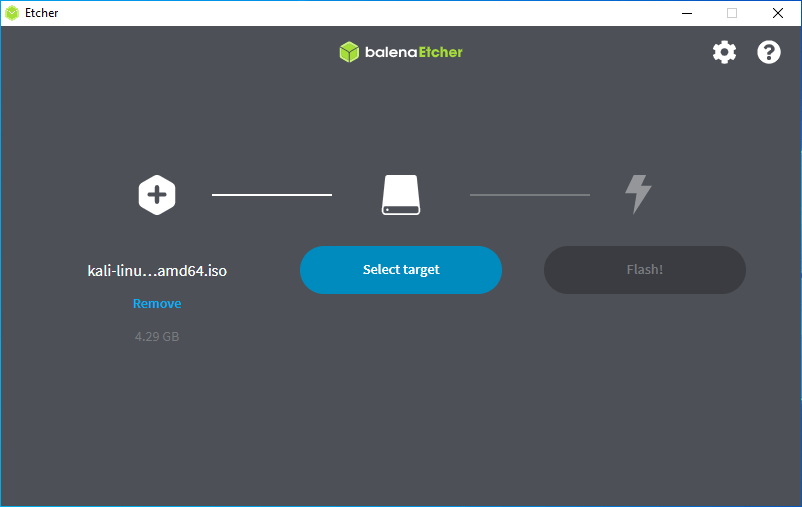
Now click on the button labeled as "Select target".
-
Here, check the list of options for the USB drive to select the desired derive and click on the "Select" button.
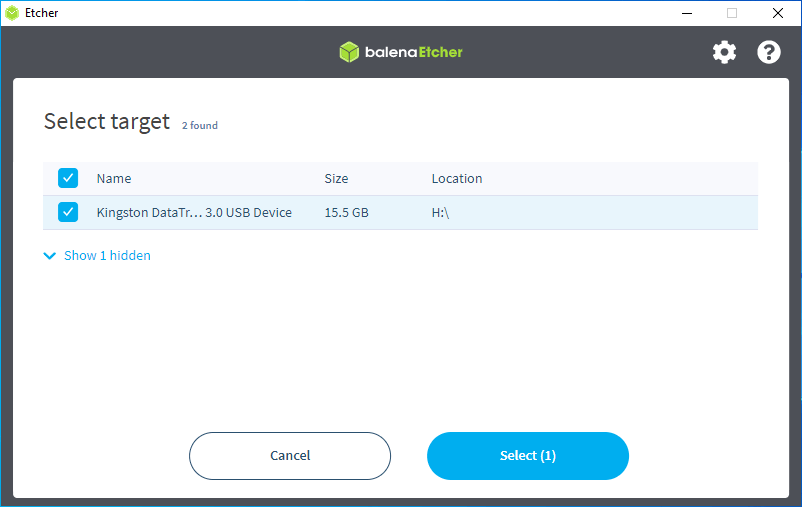
-
Now click on the "Flash" button.

-
After clicking on the " Flash!" button, you have to wait until the flashing process gets completed.
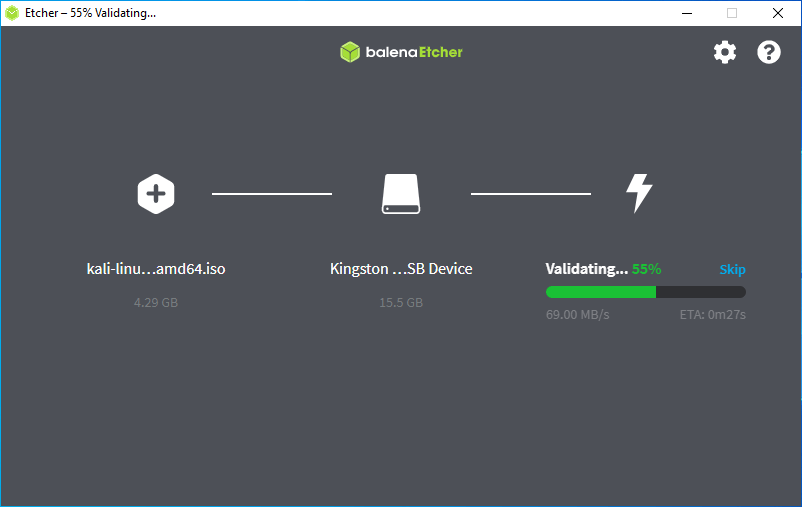
-
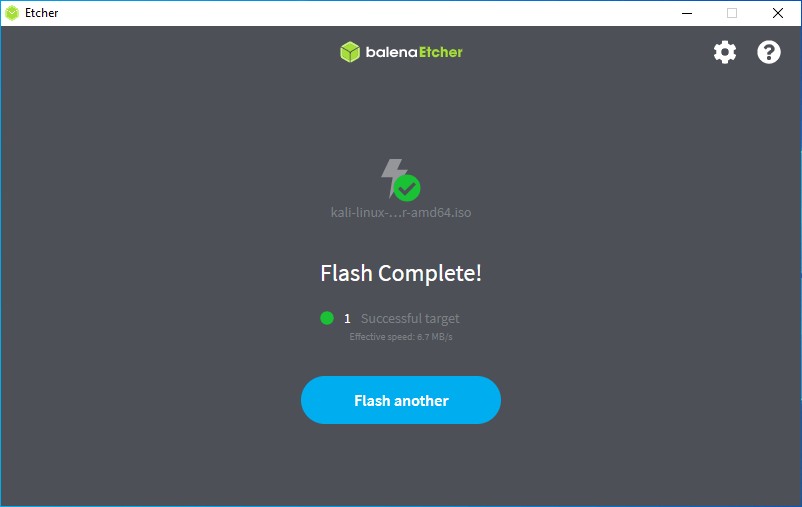
Once Etcher alerts you that the image has been flashed, you can safely remove the USB drive and proceed to boot into Kali with it.
Note: At the time of writing, Etcher usually uses MBR, which provides hardware compatibility for most systems.
Method 2: Kali Linux Bootable USB Drive (Using USB Installer)
Universal USB Installer
Universal USB Installer is a Live Linux USB Creator that allows us to choose from a selection of Linux Distributions to put on our USB Flash Drive. This Universal USB Installer is very easy to use.
All you have to do is simply choose a Live Linux Distribution, the ISO file, your Flash Drive and, click on the Install button. Once the flashing process gets completed, you should have a ready-to-run bootable USB Flash Drive with your selected operating system installed.
To understand it in more detail, you can consider the following given instructions given below:
- 1: First of download Universal USB Installer. Form the internet, or you can use the following given link to download this tool: https://www.pendrivelinux.com/universal-usb-installer-easy-as-1-2-3/
-
To install Universal USB Installer, double click on the downloaded file:
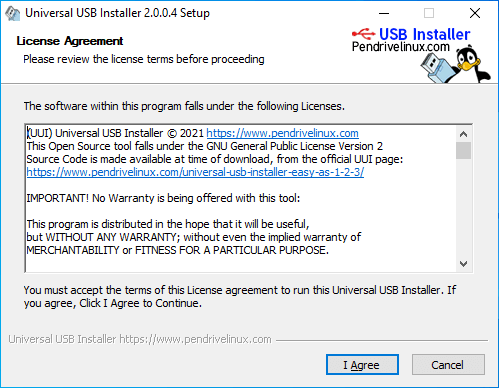
- Once the installation prompt gets opened, click on the Next button as shown in the above image.
-
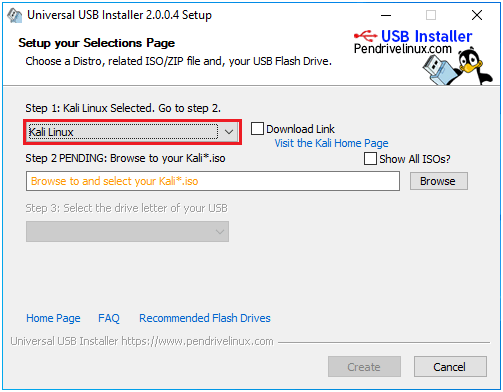
Now, click on the dropdown and search the type of operating system you want to select. In this case, I have chosen Kali Linux because I want to make a Kali bootable USB drive.
-
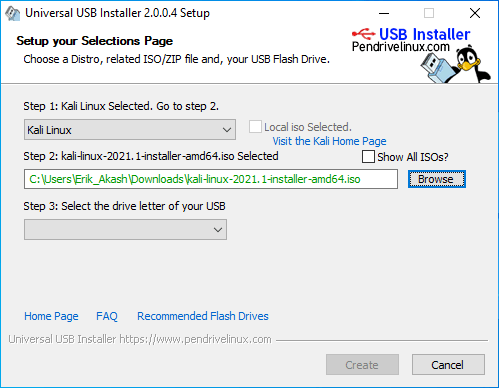
Next, click on the "Browse" button to locate and select the ISO file of the desired operating system as shown in the following given image:
-
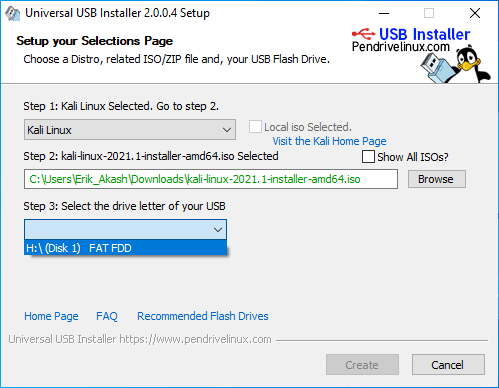
After selecting the ISO image file, click on the dropdown given under the "Select the drive letter of your USB".
-
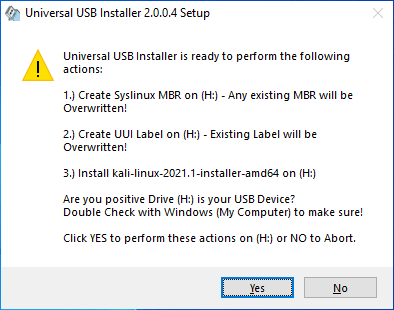
Now, click on the "Create" button. Once you click on the "Create" button, a prompt similar to the given will appear, which will ask your permission to perform certain operations. So to allow it, click on the "yes" button.
-
After click on the "Yes" button flashing process will start immediately, as shown below:
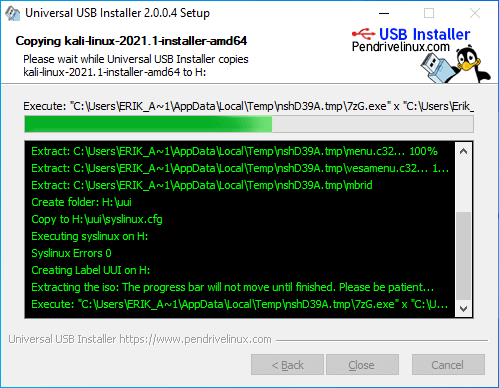
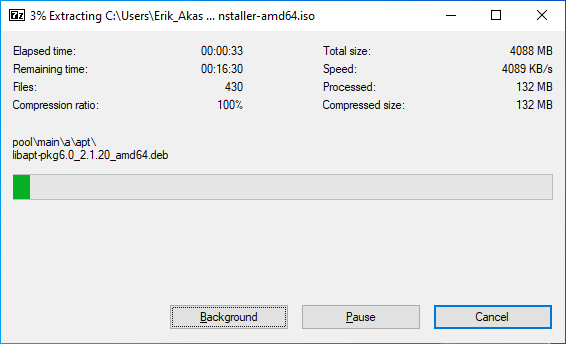
-
Once the Flashing process gets completed, click on the "Close" button your kali bootable USB derive ready to use.
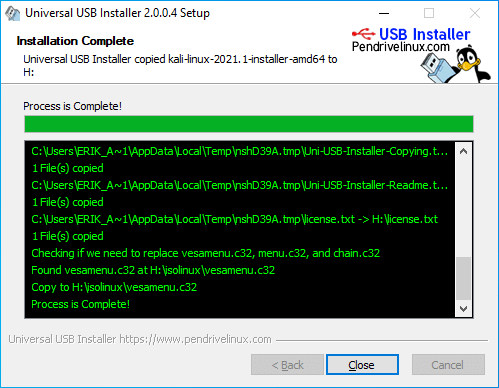
Here, we have successfully created Kali Linux Bootable USB Drive.
Advantages
The methods we have learned above have many advantages, some of which are as follows:
- Non-destructive - it makes no changes to the host system's hard drive or installed OS, and to go back to normal operations, all you need to simply remove the Kali Live USB drive and restart the system.
- Portable - you can carry Kali Linux in your pocket and have it running in minutes on an available system.
- Customizable - you can roll your own custom Kali Linux ISO image and put it onto a USB drive using the same procedures.
- Potentially persistent - with a bit of extra effort, you can configure your Kali Linux "live" USB drive to have persistent storage, so the data you collect is saved across reboots.
Conclusion
In this tutorial we have discussed two methods, and both were simple and easy methods that can help you to create bootable USB for Kali Linux. However, some other methods and tools also do exist that can also be used to create a Linux bootable drive.
|

 For Videos Join Our Youtube Channel: Join Now


