Rotate Command
The rotate command is used to rotate the object by an absolute angle. It turns objects through the specified point.
The specified point is the base point, and the rotation is performed from that point.
The rotation of objects can be performed by randomly dragging the cursor and also by the specified angle. Let's discuss the concept in detail.
Rotation by Dragging
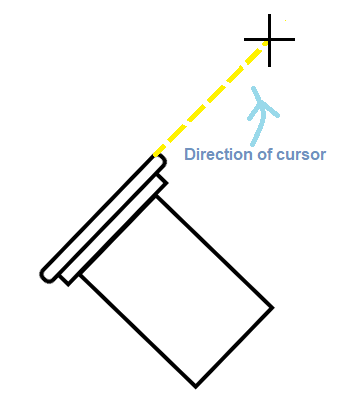
The dragging of the cursor will rotate the object in the corresponding direction of the cursor.
Let's understand with an example.
The object is shown in the below image:
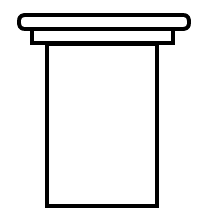
We will rotate the object by dragging the cursor.
The steps for such an example are given below:
- Select the rotate icon from the ribbon panel, as shown in the below image:

Or
Type ro or rotate in the command line or command prompt and press Enter.
- Select the object. Here, we will rotate the full object, so the whole object will be selected, as shown in the below image:
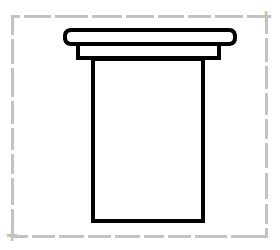
- Press Enter.
- Specify the base point on the figure. Here, the specified base point is shown in the below image:
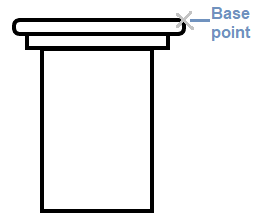
We can specify any base point on the figure.
- Drag the cursor clockwise to rotate the object, as shown in the below image:
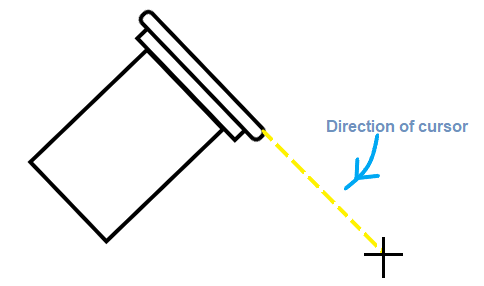
We can drag the cursor at the point according to the requirements.
- Drag the cursor counter-clockwise (or anti-clockwise) to rotate the object, as shown in the below image:
To copy and rotate the copied object
In AutoCAD, we can also rotate the copy of an object.
Let's understand by an example.
The steps for such an example are listed below:
- Select the rotate icon from the ribbon panel, as shown in the below image:

Or
Type ro or rotate in the command line or command prompt and press Enter.
- Select the object. Here, we will rotate the full object, so the whole object will be selected, as shown in the below image:
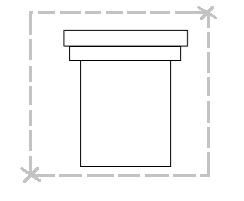
- Press Enter.
- Specify the base point on the figure. Here, the specified base point is shown in the below image:
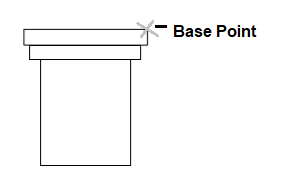
We can specify any base point on the figure.
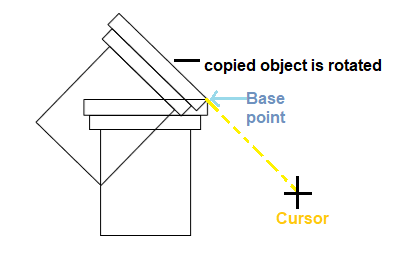
- Type C or Copy on the command line and press Enter.
- Drag the cursor and click on the point when the rotation is set.
The above process is shown in the below image:
Reference object
The reference point can be used in two ways.
- We can first specify the reference point of the object. The object will be rotated from the specified reference point.
- We can specify the first and second reference point of the object to adjust its position.
Let's understand by example.
Example: Rotation of object from the reference point.
The steps for such an example are listed below:
- Select the rotate icon from the ribbon panel, as shown in the below image:

Or
Type ro or rotate in the command line or command prompt and press Enter.
- Select the object.
- Press Enter.
- Specify the base point on the figure. Here, the specified base point is shown in the below image:
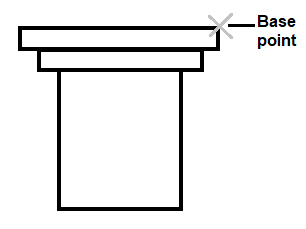
We can specify any base point on the figure.
- Type R or Reference on the command line and press Enter.
- Specify the reference angle. Here, we have specified the angle, 30.
The figure will now look like the below image:
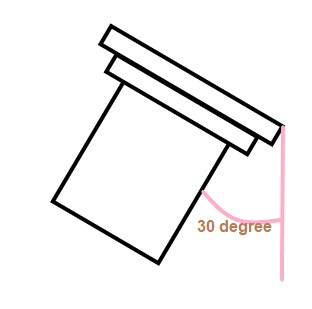
The reference angle is shown in the above image. It signifies that the reference angle is set by rotating the figure in the clockwise direction.
We can specify the reference angle according to the requirements.
- Press Enter.
- Now, specify the angle of rotation or points (first and second point). We can specify the two points for rotation instead of the angle.
Specify the angle of rotation. Here, we have specified the angle = 50 degrees.
The figure is shown in the below image:
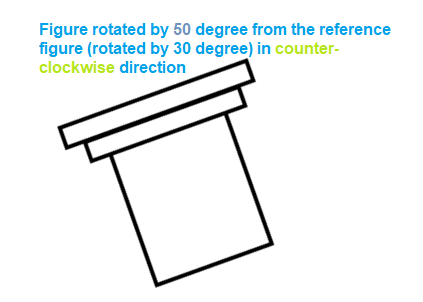
The angle of rotation will be measured 50 degrees from the reference point in the counter-clockwise direction.
The figure is now rotated from the reference point.
Rotation by Angle
The positive angle value will rotate the object in the counter-clockwise direction, while the negative angle value will rotate the object in a clockwise direction.
The angle degree can be specified from 0 to 360.
The angle value can also be specified in grads, radians, or surveyor bearings.
Let's understand with an example.
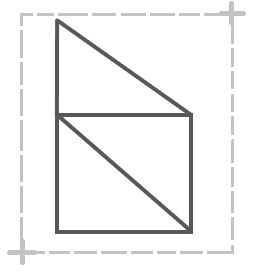
The object is shown in the below image:
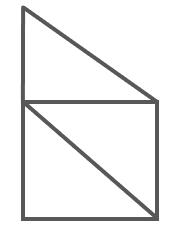
We will rotate the object by specifying the angle.
The steps for such an example are given below:
- Select the rotate icon from the ribbon panel, as shown in the below image:

Or
Type ro or rotate in the command line or command prompt and press Enter.
- Select the object. Here, we will rotate the full object, so the whole object will be selected, as shown in the below image:
- Press Enter.
- Specify the base point on the figure. Here, the specified base point is shown in the below image:
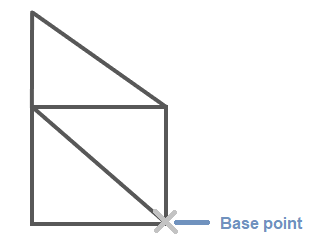
We can specify any base point on the figure.
- Type the angle of rotation.
- Press Enter.
The figure will be rotated according to the specified angle.
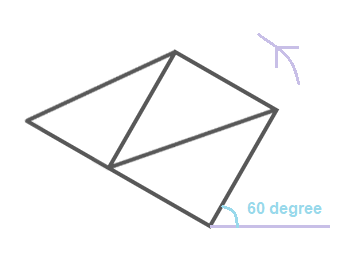
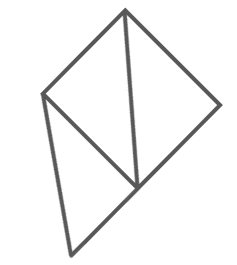
The image rotated at different angles is shown below:
a) 60
b) 135
c) -60
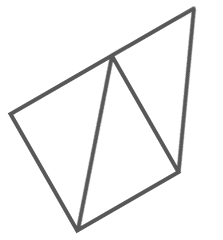
d) -75
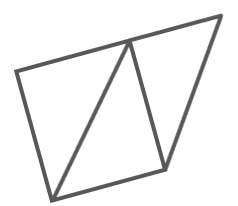
| 


 For Videos Join Our Youtube Channel: Join Now


