| |

How to setup AutoCAD for 3D?Before beginning with 3D, we are required to convert the 2D display to 3D in order to create 3D drawings. We can also switch between the options in the Custom model views and visual styles, which are discussed further. The steps to setup AutoCAD for 3D are listed below: 1. Open the AutoCAD software. 2. On the status bar (present at the bottom of the screen), click on the Workspace Switching button, as shown below: 
A drop-up list will appear, as shown below: 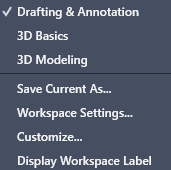
3. Click on the 3D Modeling option, as shown below: 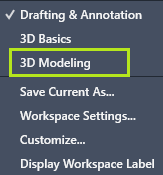
We can also select a 3D Basics option from the drop-up list. After that, 4. Change the Custom Model View to SE Isometric. It gives the 3D view of an object. The other options, such as top, front, etc., shows the TOP and FRONT view of that object. We can also change it to SW Isometric and can switch between other options accordingly. >It is shown below: 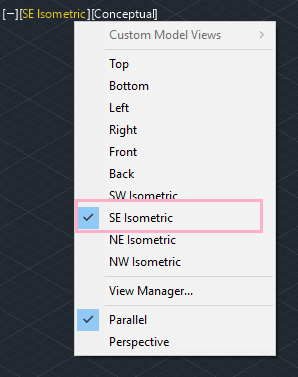
5. Change the Custom Visual Styles to Conceptual. It is shown below: 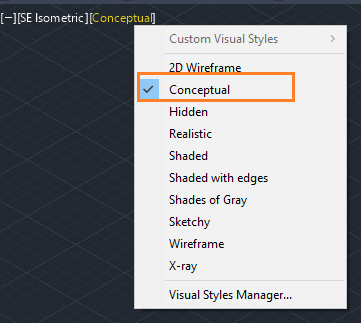
We can switch between different styles according to the requirements. For example, Wireframe displays the wired structure of the drawn 3D object or figure, while Shaded will display the figure as shaded. It is shown below: 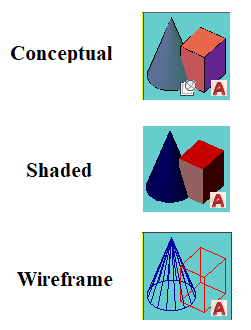
6. Activate the Ortho and Polar mode on the status bar. 7. Adjust the UCS All the above steps are necessary to implement before starting with 3D.
Next TopicAutoCAD Extrude
|
 For Videos Join Our Youtube Channel: Join Now
Feedback
- Send your Feedback to [email protected]
Help Others, Please Share


