Surface Blend and OffsetSurface BlendThe Blend command in AutoCAD 3D is used to create a blend surface between the two existing surfaces. Consider the below image: 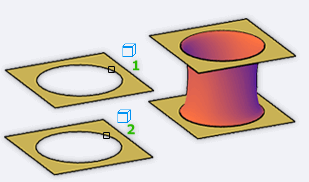
The above figure clearly explains the concept of Surface Blend in AutoCAD 3D. Let's understand with an example. Consider the below figure: 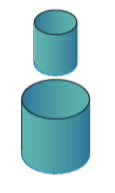
The figure consists of two surfaces created at a certain distance between them. The steps are listed below: 1. Type BLENDSRF or SURFBLEND on the command line or command prompt and press Enter. 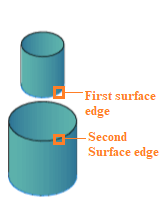
2. Select the first surface edge to blend. 3. Press Enter. 4. Select the second surface edge to blend, as shown below: For a square or rectangle surface, use the chain to select edges. 5. Press Enter. 6. Press Enter. The Blended area between two surfaces is shown below: 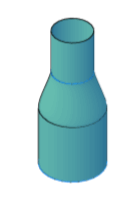
Bulge MagnitudeThe steps to create the Blend with specified Bulge Magnitude are listed below:
The figure will now appear as: 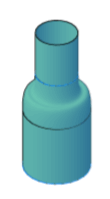
Surface OffsetThe Surface offset command in AutoCAD 3D is used to create a surface, which is parallel to the original surface at a specified distance. Consider the below image: 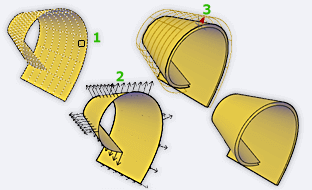
It clearly explains the concept of Surface Offset in AutoCAD 3D. Let's understand with an example. Consider the below figure: 
The steps are listed below:
The object will now appear as: 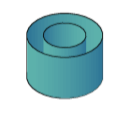
To create offset inside the object, we can flip the direction.
Next TopicAutoCAD Taper Face and Slice
|
 For Videos Join Our Youtube Channel: Join Now
Feedback
- Send your Feedback to [email protected]
Help Others, Please Share


