Random image generator in JavaScriptIn this chapter, you will learn how to generate random images on a webpage with the help of JavaScript. So, we will create different random image generator using JavaScript and HTML source code. Firstly, it requires an array to contain the URLs of images to be displayed on the webpage. The random image generator concept is mostly used for advertisement. The images you see on a website generating randomly, are already stored in a database or an array. These images display to the user within a regular time interval or change by a click. You can also provide the address of an image directly from the internet. We will discuss two different methods for the random image generator using JavaScript. See both approaches below: Approach 1In this approach, images will start displaying randomly on the webpage with a regular time interval by a single click on a button. We will use the setInterval() in-built function of JavaScript to set a timer between the images to display. In this example, we have used the original size of the image. You can also define the size for each image to display. Now, follow the steps below: Steps for random image generator
Convert these steps into actual implementation. Copy Code Test it NowOutput By executing this code, a web page will appear with a Generate Image button. When you click this button, images will start displaying on the webpage randomly. 
Click on the Generate Image button to display an image generated randomly. These images will change automatically in every few seconds, once you click on this Generate Image button. 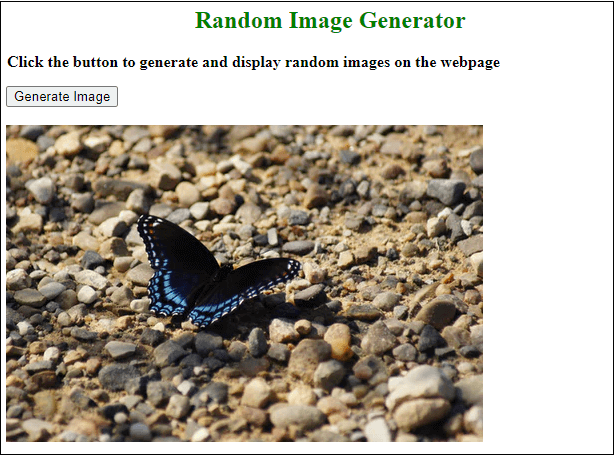
See the output below: 
"Remember that we have provide the image address in array from the internet. We have not downloaded or stored these images in our database". Example 2: Generate multiple random imagesIn this example, we will generate and display multiple random images at once when the user clicks on a button. We will create a button using the HTML code name Generate Image. These images will be stored in an array which is selected by the user. Each time when a user will click this Generate Image button, five random images in bulk will generate and display on the webpage. See the steps below, how this will be done:
Convert these steps into actual implementation and look at the code below: Copy Code Test it NowOutput By running the above code, you will get the response along with a Generate Image button. Initially, there will be no image. 
When you click this Generate Image button, five images selected randomly will display to you on the web. 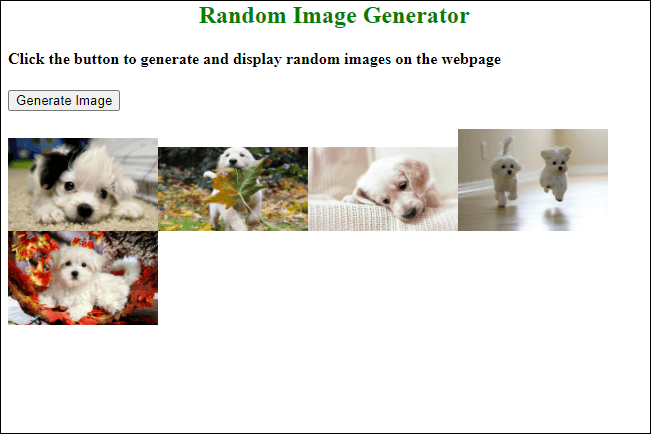
Again, click on the Generate Image button, five more images will display randomly again with the previous output. 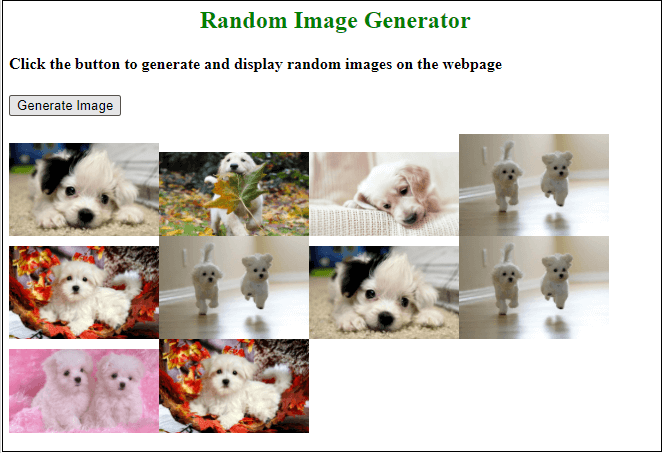
Approach 2In this approach, we will display the random images every time by clicking on a button. These images will not change automatically as in previous approach. In this example, we will also provide the size (height and width) for each image to display on the webpage. So, the images will be displayed in size specified by you in the JavaScript code. Steps for random image generator
Convert these steps into actual implementation and look at the code below: Copy Code Test it NowOutput By executing this code, a web page will appear with a Display Image button. Click this button to generate an image. 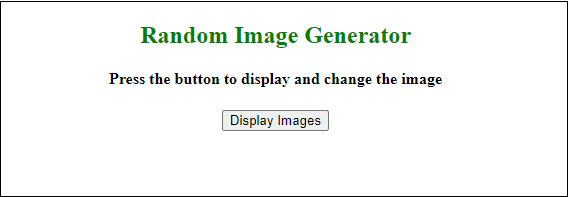
See an image is displayed randomly by clicking on the Display Images button. 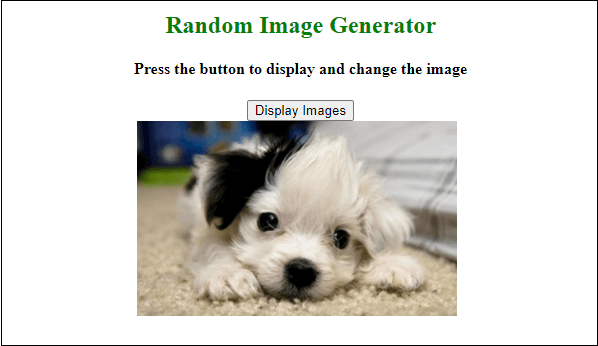
Every time when you click on this Display Images button, a new image will show you. 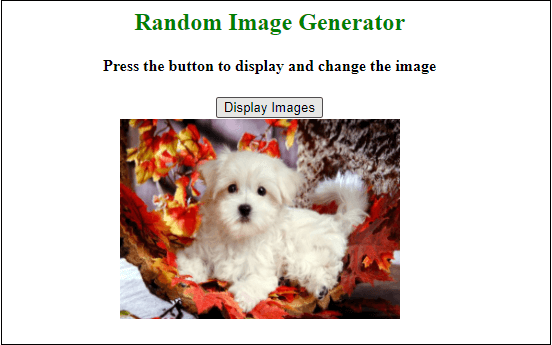
We will explain the above JavaScript code step by step for more easy understanding. Declare and initialize an array Declare an array and store the address, height, and width of the image to display on the web. Store the image URL, height, and width to another array index This code is used to store the image URL, height, and width of the image to another array index so that they can be accessed easily. Therefore, we will find the length of the initial array and transfer their element to another new array. Generate a Random Number This will generate a random number between 0 to the length of the array. Remove the previous image This code is used to remove the previous image from the web so that the new image can display. Display the image Finally, we have used this code to display the image after removing the previous image. |
 For Videos Join Our Youtube Channel: Join Now
Feedback
- Send your Feedback to [email protected]
Help Others, Please Share


