Generally, we create a table and a button in HTML and then we provide the functionality to the button using JavaScript. But, if we want to create a dynamic table, one that we can alter the number of rows on clicking a button? This tutorial showcases one method of doing this.
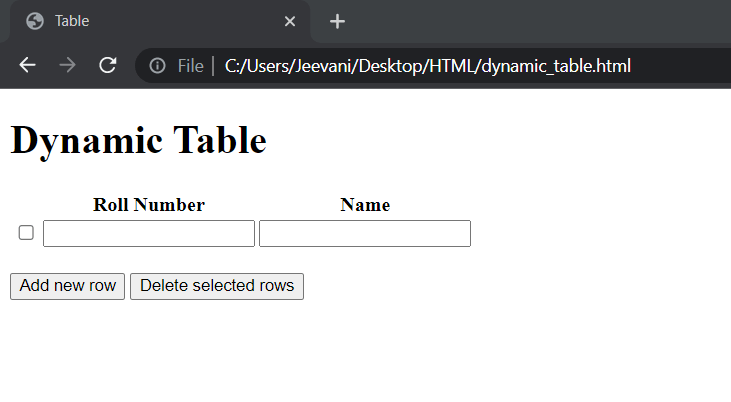
Goal: We are going to create a table and two buttons. The first column of the table will have checkboxes. The first button is to add rows and the second button is to delete the checked rows.
The HTML part:
Create a table
Set the type of the cells in the first column as checkbox
Set the headings
Create two buttons-Add new row and Delete selected rows
Here is the code:
Output:
CSS part:
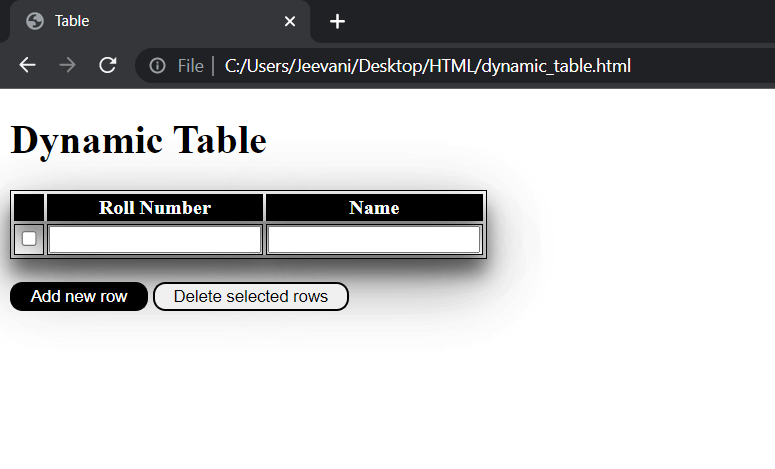
There is no particular need of CSS for this functionality but let us give a look to the table using borders and a color touch using some properties.
Code:
Properties used:
Table styling:
Property
Explanation
table_layout: fixed
The layout of all the cells in the table remains fixed (Width of the columns) irrespective of the length of content inside.
border-spacing: 10px
Distance or space between the borders of cells. It applies only when border-collapse is set to separate. We can set both vertical and horizontal distances.
box-shadow
To attach a shadow to an element. We can add multiple shadows to a single element by separating them by a comma.
border-radius
To curve the edge of the element's corners. (To add rounded corners to an element). The greater the value, rounder the corner will be. We can give four values to four corners.
background-color
The color to the background of an element. We can give the name of the color or use hexadecimal codes.
border
One property for adding the width, style and color to the borders of an element.
Button:
Property
Explanation
padding
To create space between the element and the border around it. Using padding-top, padding-right, padding-bottom and padding-left, we can give spaces on each side of the element.
border-radius
To curve the edge of the element's corners. (To add rounded corners to an element). The greater the value, rounder the corner will be. We can give four values to four corners.
hover: background-color
Using element:hover, we can add a property to the element when user hovers (moves) the cursor on the element. Here, we are changing the background color.
color
Font color.
active: tranform
Using element:active, we can add a property to the element when user clicks on the element. Transform is used to add 2D effects to the elements. Here, we are using scale(). This function can resize the element and then back to the original size. We used this to get a button effect when pressed.
Output:
JavaScript part:
It is time for the actual functionality. We need to write two functions let us say row() and del() for the two buttons-Add new row and Delete selected rows.
Code:
Functions and properties used:
Function/ Property
Use
Table.rows.length
To get the number of rows of the table
Table.insertRow(index)
To insert a row at the specified index
Row.insertCell(column)
To insert a cell in the specified row
document.createElement("input")
To create a HTML element, in this case an input field.
checkbox.type = ""
To declare the data allowed into the element. In this case, checkbox for input field.
c1.appendChild(checkbox)
To set the created element into the table cell.
Table.rows[i].cells[0].children[0].checked
To check if the checkbox is selected or not.
Table.deleteRow(i)
To delete the row given an index.
Mechanism:
First, we access the table using the id "mytable". Then, we get the number of existing rows in the table using the rows.length property. We then insert a new row at the end index of the table. We use c1, c2 and c3 to create three cells. We need the first cell to be a checkbox and the next two to be text. Hence, we create HTML elements using createElement("input"), set the type required and then set it inside the cells. This sis the first function and in the second function we simply access the input field (checkbox) in the first cell of every row in the table then delete the row if the checkbox is selected.

 For Videos Join Our Youtube Channel: Join Now


