HTML Header ImageWe will understand the HTML header image in this article. HTML HeaderA header is the top section of a web page that contains information such as the website logo, navigation bar, or introductory content. We can define the header section in HTML using the <header> element. Syntax:The <header> is the opening tag, and the <header> is the closing tag. The content is written inside the opening tag and closing tag. Uses of Header
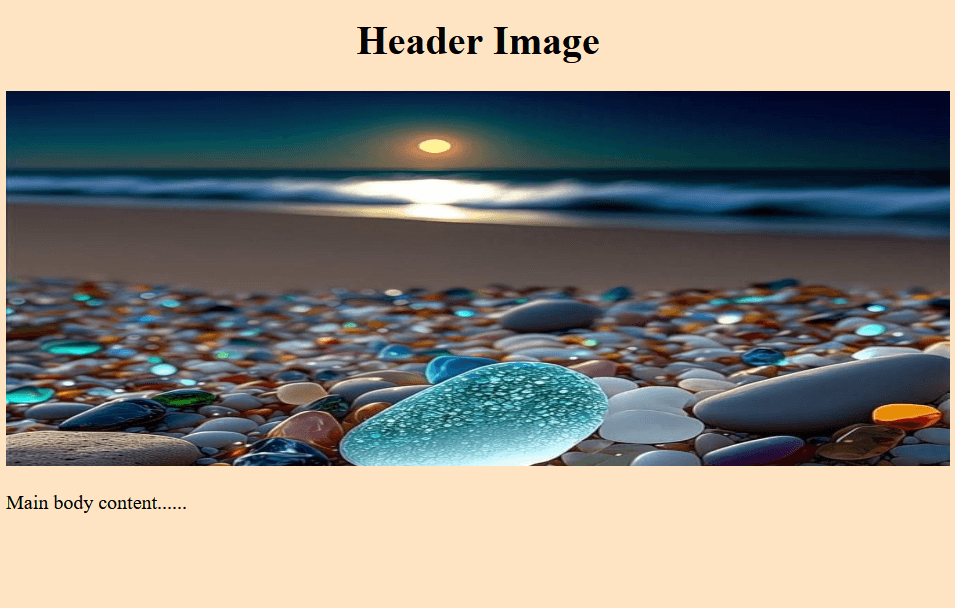
Header ImageAn image placed at the top of the web page inside the <header> section is called a header image. We can add the image in the header section using the <img> element. <img> elementThe image can be added to the header utilizing the <img> element. Syntax: The <img> is the self-closing tag. The "src" is the attribute utilized to mention the URL of the image that we want to add. The "alt" is the attribute utilized to mention the name of the image. We can add the background image in the header section using the background-image property. background-image propertyThe background image can be added to the header utilizing the background-image property. Syntax: The background image is the CSS property that takes the URL value, which is the location of the image. Illustrations of the HTML Header ImageWe will comprehend the HTML header image with the help of the demonstrations. Illustration 1:We will add the image in the header section in this demo. Code: Output: We can witness the image in the header section in the output below. 
Illustration 2:We are going to construct a navigation bar inside the header in this illustration and add the image in the header section to decorate the navigation bar. Code: Output: Here is the output in which we can witness the images on the top and bottom of the navigation bar inside the header. 
Illustration 3:We will add the contact information inside the header in this illustration and put the background image in the header section. Code: Output: We can witness the contact information inside the header with the background image. 
Illustration 4:We will put the background image inside the header element that consists of a form. Code: Output: Here, in the output, we can clearly witness a form with the background image in the header. 
Illustration 5:We will put the essential upcoming event in the <header> element of this illustration and put the image in the header section. Code: Output: Here, in the result provided downwards, we can witness essential events with an image in the header. 
Illustration 6:We will put the slogan of the header section in this illustration and add the image in the header. Code: Output: Here, in the outcome, we can witness a slogan along with an image in the header section. 
Illustration 7:We will add the logo inside the header element in this illustration utilizing the <img> tag. Code: Output: Here in the output in which we can witness a website logo in the header. 
Illustration 8:We will display the image in the header element, which consists of a search bar. Code: Output: We can witness a search bar with an image in the header section in the outcome given downwards. 
ConclusionWe have understood the HTML header image in this article. We can utilize the <img> tag to insert the image in the header, and we can utilize the background-image property to add the background image in the header.
Next TopicHTML SMS
|
 For Videos Join Our Youtube Channel: Join Now
Feedback
- Send your Feedback to [email protected]
Help Others, Please Share


