
HTML SliderA slider is a group of sequential frames that may be moved back and forth through. This article demonstrates how to create a slideshow using only HTML and CSS. Enter the fundamental HTML code first, and then use the type as a radio command to create the radio buttons for the frames. Implement the frame designs in a sequence after that. The frames may be moved about and changed using radio buttons and control labels with the aid of margin-left. Instead of text, the image can be used in the frames. The browser uses fewer memory and computing resources as a result. Sliders are a collection of frames that may be visited individually. Slider frames can include pictures, movies, or even HTML elements (such as endorsements or reviews). There are sliders on many websites today. When a developer has to convey information about a website but does not want it to take up much room, they utilize sliders. For instance, if a developer is creating a website for a product, they could want to offer the consumer their endorsements or reviews so that they will trust them and purchase their product. The developer can design a slider so that consumers can read and scroll through each review. PrerequisitesWith the use of HTML, CSS, and Javascript, we will discover how to make a simple CSS picture slider. We need to be familiar with several ideas to understand what is happening and what we are doing completely. Let's look at them now.
How to Create a SliderCreate a slider using an HTML and CSS page. Step 1: Use HTML code to create the Image Slider's Basic Layout. Let's start by building the slider's framework. As we mentioned previously, sliders are a collection of frames. We're going to build a CSS picture slider. The parent div will be created first, which will house the slider pictures and functions. We'll also add some styling, such as modifying the background's color and the parent div's height and width. Step 2: Add the Prev and Next Buttons. The previous and next buttons are seen on the sliders. These are used to move through the sliders' frames. We will provide our parent div with some simple buttons. The user may use these buttons to move around the carousel's pictures. For the sake of simplicity, we'll use the button text and > to represent the previous and next, respectively. We would style the basic HTML buttons in addition to adding them so that they would be vertically center aligned with the center div. This is done to make it simpler to navigate through the slider. To vertically align the buttons, we will utilize relative positioning. Output: 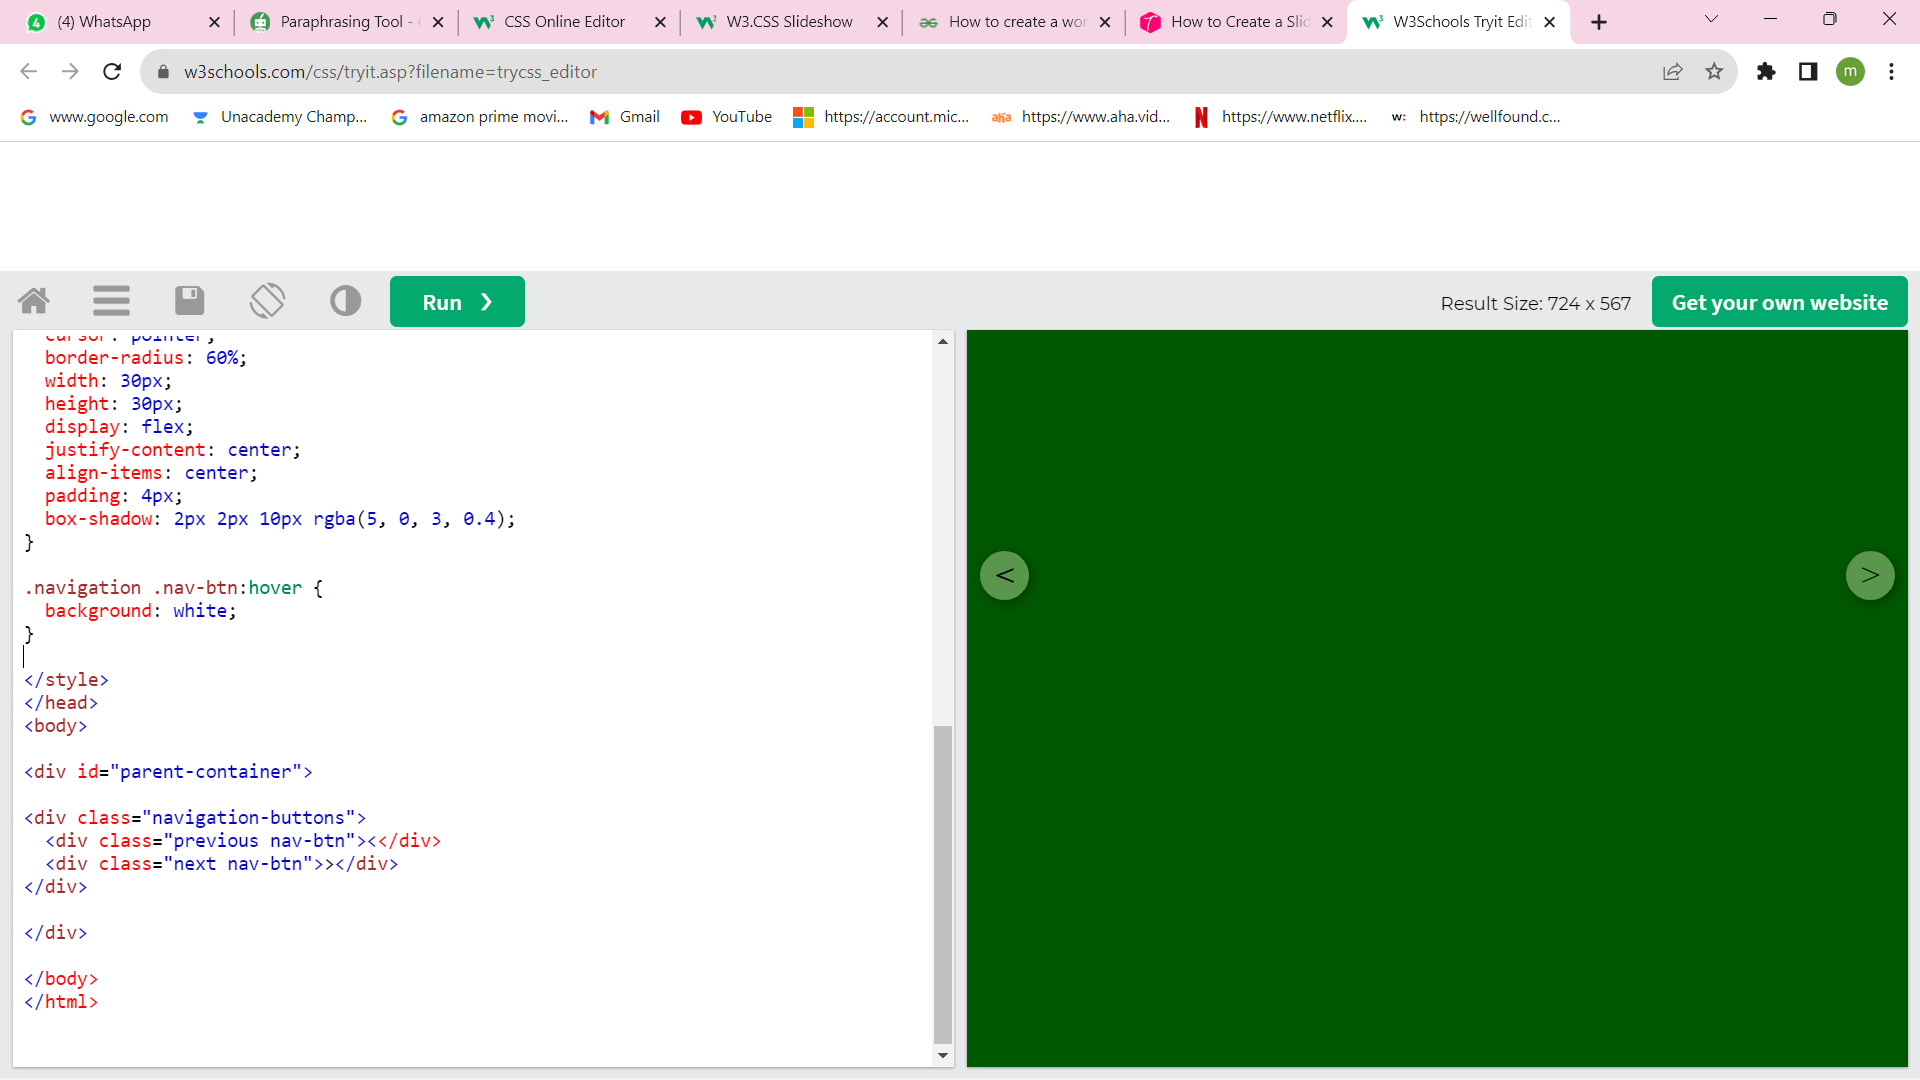
Step 3: Include the Necessary Text and Images in the Slider After adding the buttons, it's time to upload the photos. To make a CSS picture slider, we'll use floral images. Position and z-index will be used to stack the photos on top of one another. We will use a main class and set its display to visible because we need one picture to be seen. To prevent the viewer from seeing the remaining photos, their display will be hidden. The wording in the slider will also indicate which picture the user is now browsing. The user will benefit from having a better understanding of the number and arrangement of photographs in the carousel. Output: 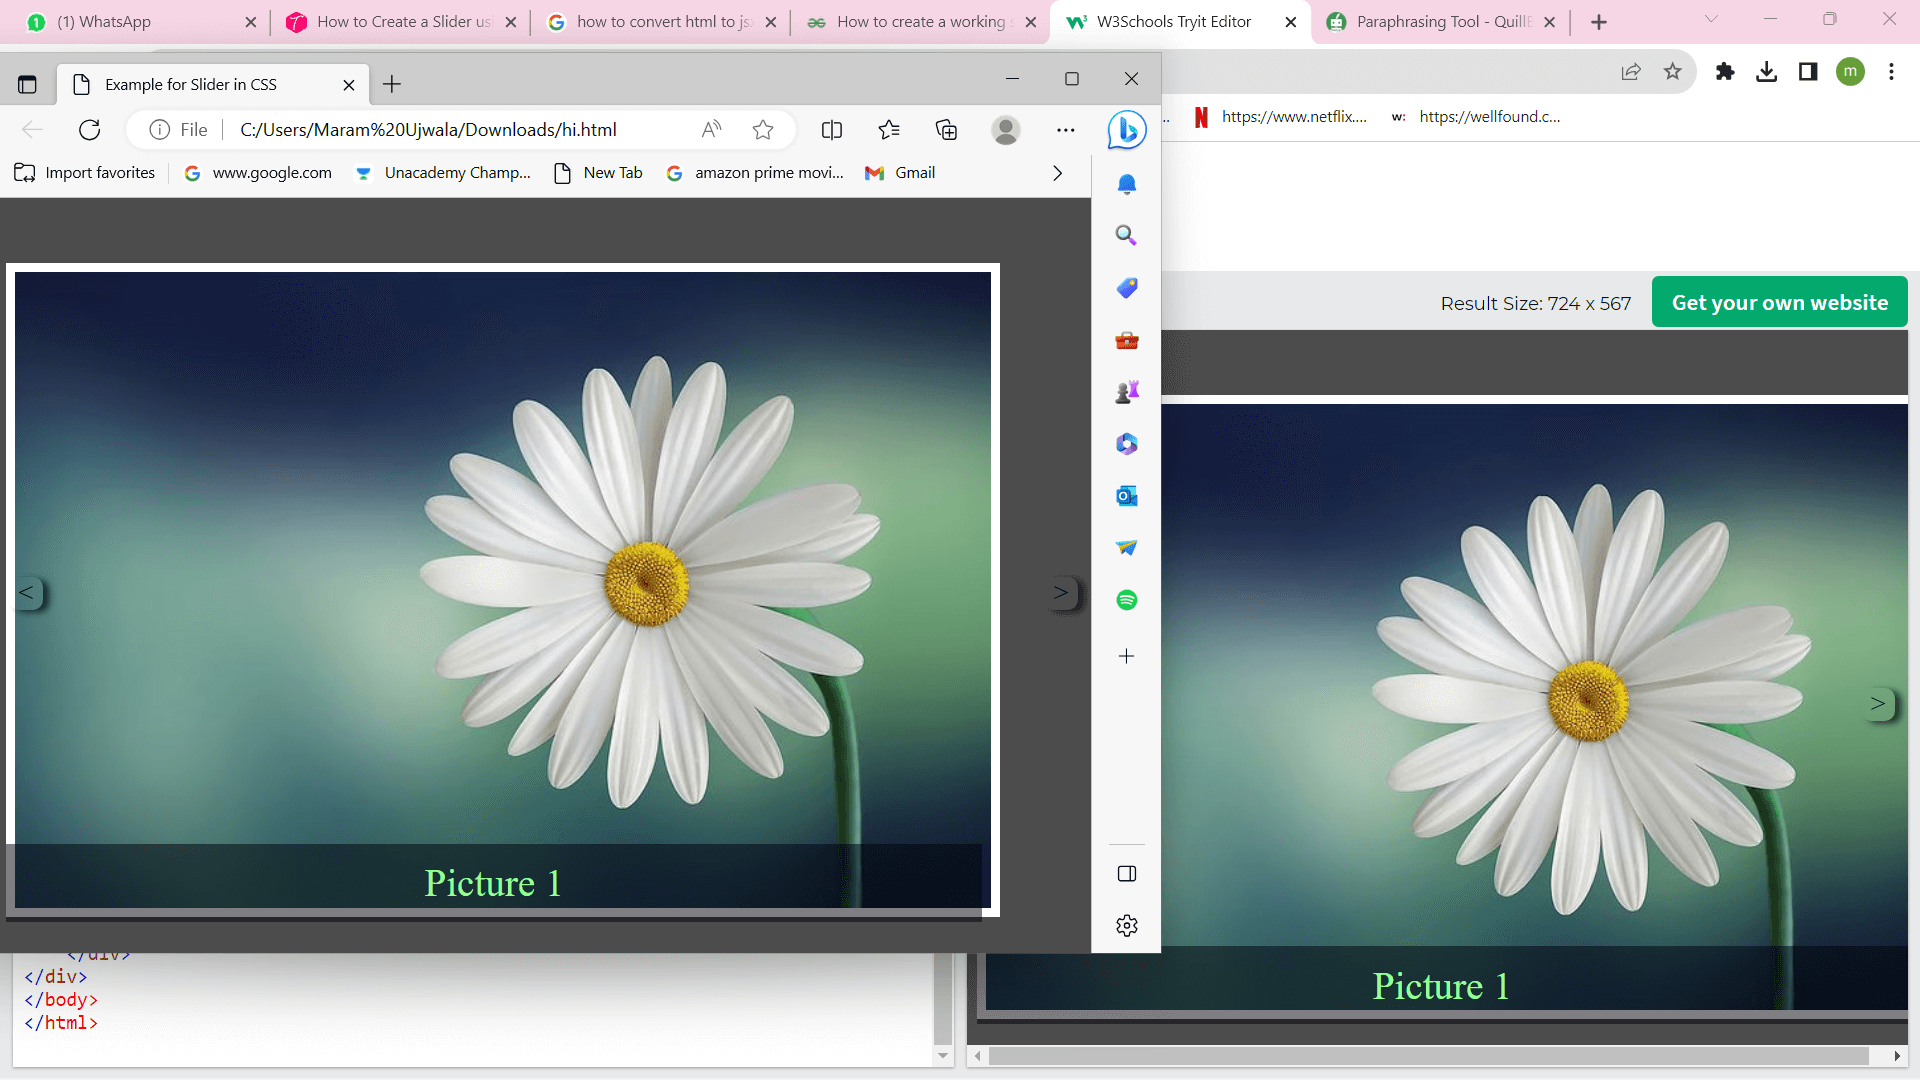
Step 4: Use JavaScript Code to Activate the Two Buttons All of the photos have been added to the class we built for the slider. To go forward, we must press the previous and next buttons. We'll employ javascript.
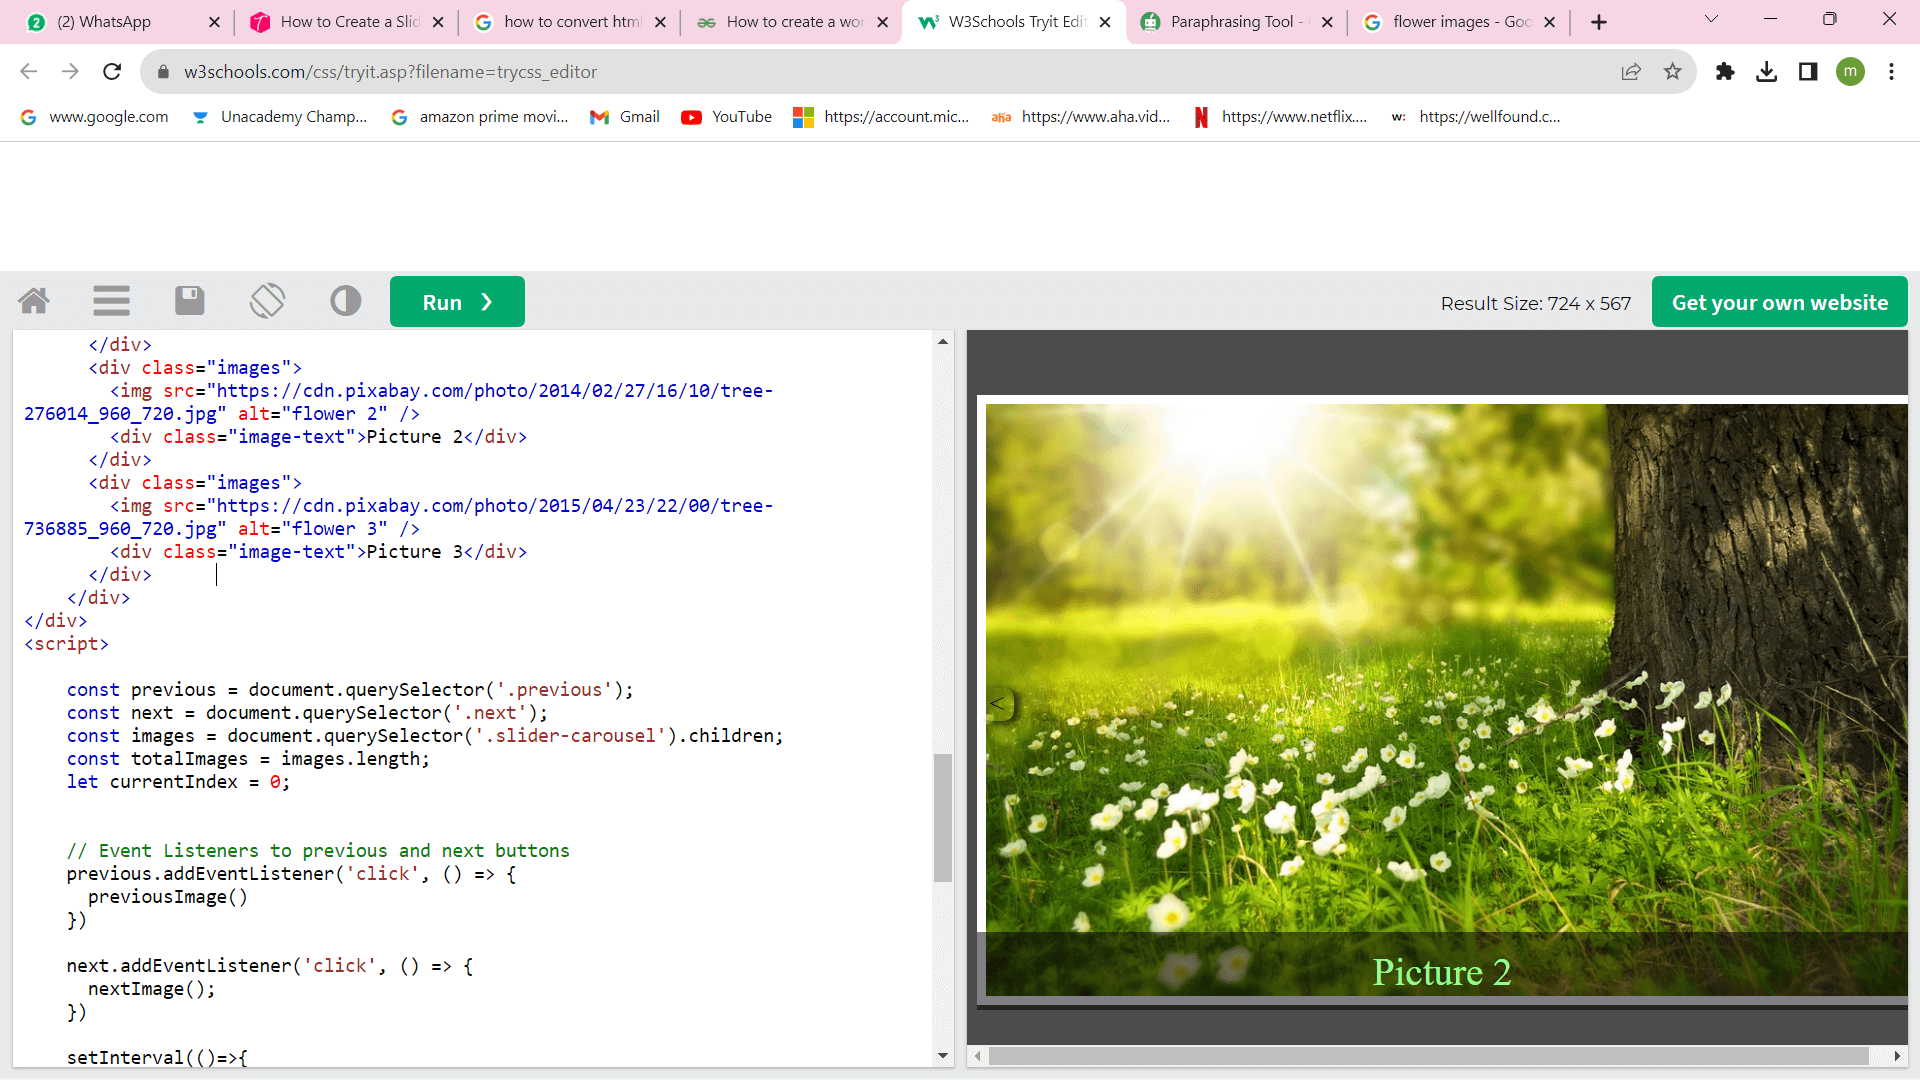
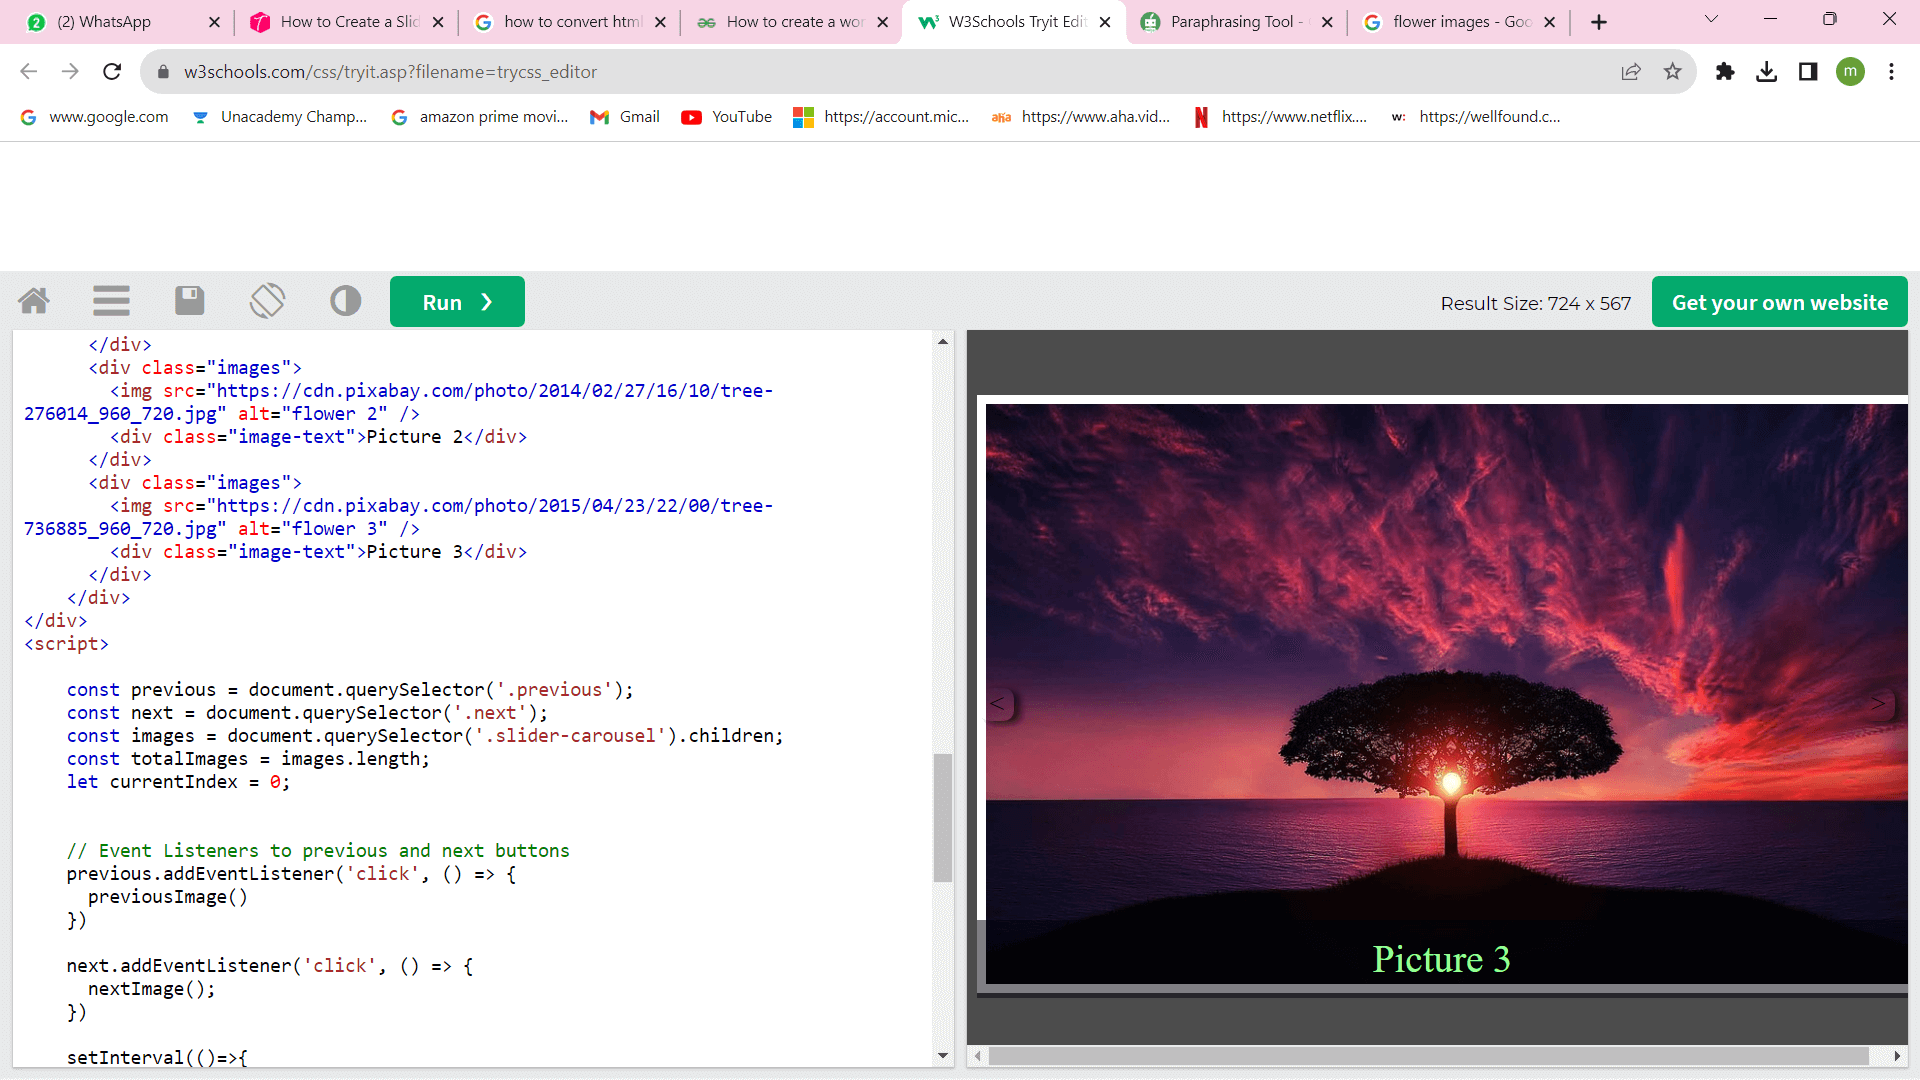
A variable that originally points to 0 can be initialized. This variable will let us know which picture the user can now see. We will change the value of the variable in accordance with whether the user selects next or prior. The value will be changed to (number of images div-1) if it is 0 and the user clicks the previous. The variable's value will be changed to 0 if the user clicks the next image when it is at the final image. Output: 
Next TopicHTML Tooltip
|
 For Videos Join Our Youtube Channel: Join Now
Feedback
- Send your Feedback to [email protected]
Help Others, Please Share


