CSS Center Tag
What is Div and Why Center a Div?
In short, a div is known for the content division element. It is a generic block-level element in HTML. With the help of Div, we can divide the web page into different sections to target each section with the help of CSS.
For example, if we want to add a block quote inside our webpage, then we have to take the help of <center> tag instead of being left-aligned like the rest of the body text. In this situation, we can wrap the whole text inside the <div> tag and then apply the CSS property. After doing this, the other remaining parts remain unaffected by the CSS property.
Utilizing <div> and <span> tags is valuable for the web developer beginner. With the help of <div> tag, a developer can prevent the content from stretching out of the edges of the content.
How to Center a Div in CSS
In CSS, we can utilize the center in div in different ways. Centering the div tag horizontally on the web page is very easy. But, vertically setting the centered div tag on the web page takes a lot of work. Let's discuss both ways.
How to Center a Div Horizontally
We have to follow some steps to make the center div tag originally on the web page.
- First, we have to give the CSS class name "center".
- Then we have to go to the CSS file then we have to write .center as the CSS selector, and then we have to open the style brackets.
- Then, we have to set the element's width by either percentage or pixels, i.e., width: 50% or width: 500px. Then, we have to set the margin as auto. With the help of this, the div tag can auto-width, and the browser spills the remaining space equally between the margins of either side.
Example:
Output

How to Center a Div Vertically
We must follow the steps below to create the centered div tag vertically. The steps are:
- First, we have to give the CSS class name "center".
- Then we have to go to the CSS file then we have to write .center as the CSS selector, and then we have to open the style brackets.
- Then, we have to set the value of the position attribute as absolute. By doing this, it will take it as normal document flow.
- Then, we have to set the top property as 50%. It will tell the browser to place the div tag from the top edge 50% down the page, i.e., center the page vertically.
- Then, we must set the transform property as translate(0, -50%).
NOTE: If we want, then we can also skip the last step. If we do this, then it will not place the div tag vertically. So, we need to define the transform property as the last property. At the same time, there are so many transformation methods. We can take the help of translate() to move the div along the Y-axis of the page.
Example:
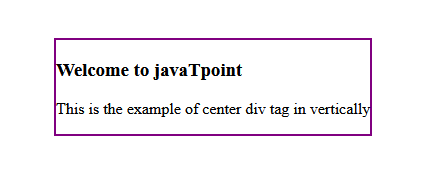
Output

How to Center a Div Horizontally and Vertically
Whenever there is a need for both horizontal and vertical div tags on the webpage, then we have to follow the below steps to achieve this.
- First, we have to give the CSS class name "center".
- Then we have to go to the CSS file then we have to write .center as the CSS selector, and then we have to open the style brackets.
- Then, we have to set the value of the position attribute as absolute. By doing this, it will take it as normal document flow.
- Then, we have to set the left and top properties as 50%. It will tell the browser to place the div tag from the top and edge 50% down the page, i.e., center the page vertically and horizontally.
- Then, we have to set the transform property as translate(-50%, -50%).
Example:
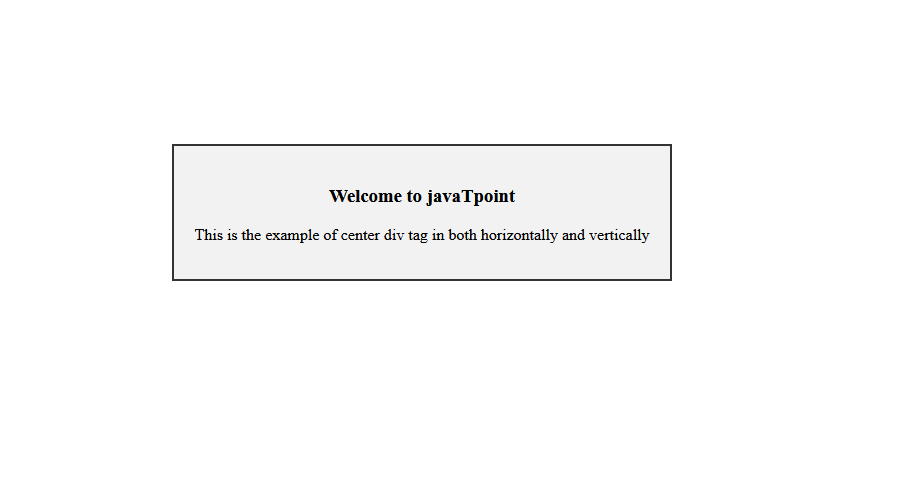
Output

How to Center a Div Within a Div
We can create a center div tag inside another div in three ways. These three ways are as follows.
1. Using the Position, Top, Left, and Margin Properties
We must follow the procedures below to create a center div tag inside another div.
- First, we have to wrap a div element inside another div element. The inner div behaves like a child, and the outer div behaves like a parent.
- Then, we have to give the CSS class name as "parent."
- Then, we have to set the height and width for the outer div. Then, we have to set the positionproperty relative to the outer div.
- Then, we have to give the other CSS class name as "child."
- Then, we have to set the height and width for the inner div. Then, we have to set the positionproperty to absolute for the outer div.
- Then, we have to set the left and top properties as 50%. It will tell the browser to place the div tag from the top and edge 50% down the page, i.e., center the page vertically and horizontally.
- Then, we have to set the transformproperty as translate(-50%, -50%).
Example:
Output

2. Using the Position, Top, Left, and Transform Properties
We can also create a div tag inside a div tag with the help of the transform property. To achieve this, we have to follow the below steps.
- First, we have to wrap a div element inside another div element. The inner div behaves like a child, and the outer div behaves like a parent.
- Then, we have to give the CSS class name as "parent."
- Then, we have to set the height and width for the outer div. Then, we have to set the positionproperty relative to the outer div.
- Then, we have to give the other CSS class name as "child."
- Then, we have to set the height and width for the inner div. Then, we have to set the positionproperty to absolute for the outer div.
- Then, we have to set the left and top properties as 50%. It will tell the browser to place the div tag from the top and edge 50% down the page, i.e., center the page vertically and horizontally.
- Then, we have to set the transformproperty as translate(-50%, -50%).
Example:
Output

3. Using Flexbox
We can also center the inner div tag with the help of the flexbox property. Using Flexbox is a great method to make a flexible web page. To achieve this, we have to follow the below steps.
- First, we have to go to the CSS file, and then we have to find the html and body selector. Then, inside the curly bracket of that selector, we have to set the height of both properties to 100%.
- First, we have to wrap a div element inside another div element. The inner div behaves like a child, and the outer div behaves like a parent.
- Then, we have to give the CSS class name as "parent."
- Then, we have to set the display property as flex. It will convert the parent container into a flex container.
- There, r has to set the align-items and the justify-content properties to the center.
- Then, we have to give the other CSS class name as "child."
- Then, we have to set the height and width of the inner div.
Example:
Output

How to Center Text in Div
With the help of CSS, we can center the text in multiple ways. We can achieve this by taking the help of text-align. We can also do this with the help of line height and vertical-align properties. We can do this with the help of the steps below.
How to Center Text in Div Horizontally
We can center the text inside the div horizontally with the help of two steps.
1. Using the Text-Align Property
To achieve this, we have to follow the below steps.
- First, we have to give the CSS selector name as the center.
- Then, we have to set the text-align as the center.
Example:
Output

2. Using the Justify-Content Property
To achieve this, we have to follow the following steps:
- First, we have to give the CSS selector name as the center.
- Then, we have to set the display property as flex,
- Then, we have to set the justified content as the center.
Example:
Output

How to Center Text in Div Vertically
It can be challenging to create the text inside the div tag vertically. We can achieve this with the help of the below methods.
1. Using the Padding Property
One of the methods to achieve the text inside the div tag vertically is by taking the help of the padding property. The padding property will accept two values. We have to set the top and bottom padding in the first value. Also, in the second value, we have to set the left and right padding. To achieve this, we have to perform the
below steps.
- First, we have to provide the class name for the div tag as the center.
- Then, we have to write the CSS selector and some properties inside the opening and closing brackets.
- Then, we have to provide the padding property as 50px 0.
Example:
Output

3. Using the Line-Height Property
We can also create text inside the div tag vertically with the help of the line-height property. To achieve this, we have to follow the below steps.
- First, we have to provide the class name for the div tag as the center.
- Then, we have to write the CSS selector and some properties inside the opening and closing brackets.
- We have to provide the same size for the height and line height properties.
- Then, we have to create the CSS selector for the p tag.
- Then, we have to provide the display properties as the inline block.
- Then, we must set the line height as normal and the vertical alignment as middle.
Example:
Output

3. sing the Align-Items Property
If w is taking the help of the display property to define the div as the flex container, then we also have to take the help of the align item, which contains the value as the center. To achieve this, we have to follow the below steps.
- First, we must go to the CSS file and then give the CSS class name as the center.
- We have to provide the CSS properties inside the open and close brackets in the CSS code.
- Then, we have to set the display property as flex, which makes the div container a flex container.
- Then, we have to set the aligned item as the center.
Example:
Output

|


 For Videos Join Our Youtube Channel: Join Now


