| |

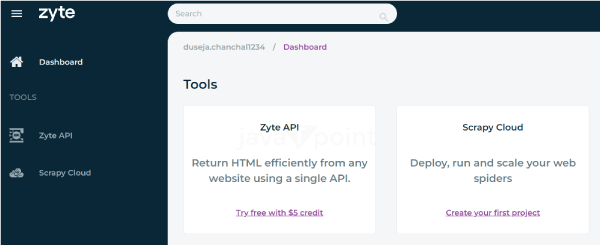
Deploying Scrapy Spider on ScrapingHubWhat is Scrapy Spider?Spiders are classes that specify how a specific website (or a collection of websites) will be scraped, including how to conduct the crawl (i.e., follow links) and how to extract structured data from their pages (i.e., scrape items). In other words, the specialized behavior for crawling and parsing pages for a certain site (or, in some situations, a group of sites) is defined in the spiders. Scrapy Spider class allows one to follow a website's links and retrieve information from the web pages. The primary class from which all other spiders must descend. What is ScrapingHub?An open-source tool for managing Scrapy spiders is called Scrapinghub. Scrapinghub converts web content into information or data that is useful. Even for complicated web pages, it enables us to extract the data. It provides different services for data crawling from web pages. Why Use ScrapingHub?The ScrapingHub gives different features for deploying the Scrapy Spider on the cloud, which leads to running the Spider for 24 hours (for a free user) or 7 days (for the paid version). Installing the Scrapy library in the PythonImporting the Scrapy Library in PythonNow we will deploy Scrapy Spider into the ScrapingHub. We must follow these steps for the deployment: Step 1: Creating a Scrapy Project To start a new project, run this command in the terminal: The project name can be changed. Step 2: Build a Scrapy Spider for any website Here, we will write a Scrapy Spider for any target website, say "javatpoint.com". Code: With this, you can scrape a website and extract information from it. We must save the links in the json file. But here, the problem statement is to Deploy the Scrapy Spider to the ScrapingHub to save time and run for at least 24 hours. Let's deploy the spider o ScrapingHub. Step 3: Create an account on ScrapingHub Open the ScrapinHub Login Page and log in with a Gmail or Github account. It will open the login page. The ScrapingHub is now Zyte. 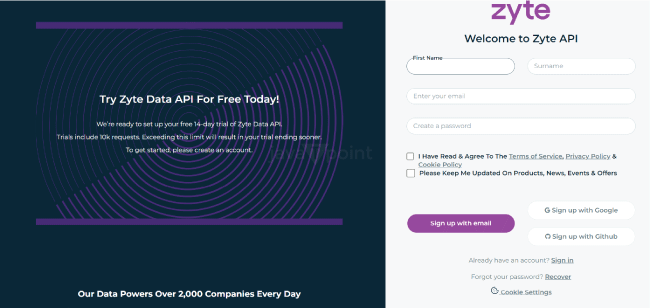
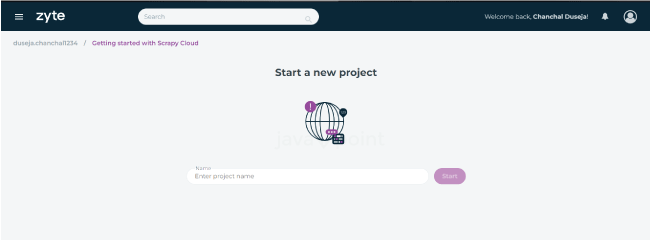
Step 4: Start the new project After logging in to the homepage, it will redirect to the dashboard.
As we start the project, we can see the different deployment options on the screen. We can deploy our project using the command line or the github repository. 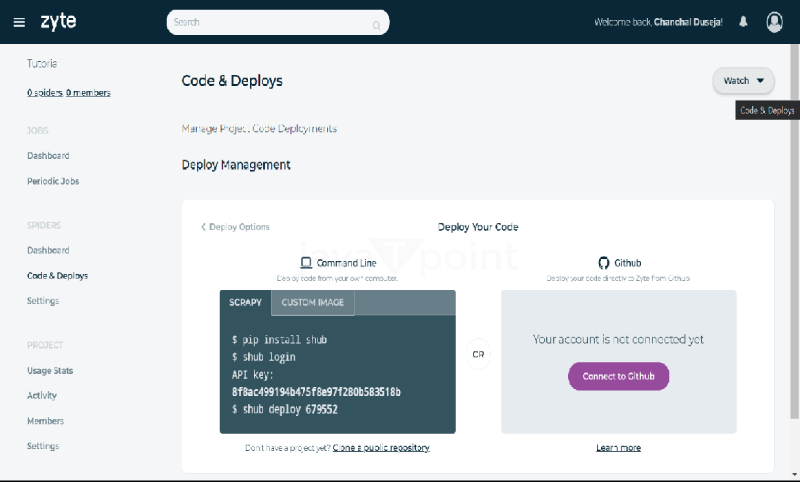
Use the Scrapy option, as our project is based on the Scrapy framework. Step 5: Deploying 1. Firstly, we need to install shub using the command line. As we are deploying our project using shub. 2. After installing the shub, log in to the shub account using the API key shown on the deployment screen. The shub can be login using the command line: 3. The user will be logged in as we login to the shub account and write the API key. Now, it's time to deploy our project. We can deploy our project using this command line: It will ask for the deploy ID. We must enter the six-digit Deploy ID on the Scrapy Cloud Deployment Options screen. 4. After entering the Deploy ID, get back on the Spider Dashboard. We can see that the Spider is ready for deployment. 5. Now we have to click on the Project name and click the Run button. We can see our spider running on the dashboard. It states that the user can run the spider for a maximum of 24 hours; it will automatically stop after this period. We can also buy the paid subscription for more time. After clicking on the object under the running spider, the page will be redirected to a new page, giving all the details of the items being scraped at that time. We can see graphs for the scraped items. We can export the details in JSON files in the local system. We should remember that Scraping is illegal and cannot be done without permission. This tutorial is only for learning purposes.
Next TopicDynamic Pricing Using Machine Learning
|
 For Videos Join Our Youtube Channel: Join Now
Feedback
- Send your Feedback to [email protected]
Help Others, Please Share


