| |

Android Studio UbuntuWhat is Android Studio?Android Studio is an official IDE (Integrated Development Environment) for the development of an Android app that is based on the IntelliJ IDEA. Android Studio provides more aspects that increase our productivity when creating Android apps on top of the strong code editor of IntelliJ. Some of these aspects are mentioned below:
Project Structure of Android StudioAll projects in Android Studio show the files of our project in the view of Android Studio. The view is coordinated by modules for providing fast access to the key source files of our project. Every build file is visible under Gradle Scripts on the top level and all modules of the app contain folders. These folders are:
On disk, the project structure of Android Studio differs through the flattened representation. We need to choose the Project using the drop-down of the Project to see the original project file structure. Also, we can customize the project file's view for focusing on the specific features of the development of our app. For example, choosing the view, i.e., Problems of our project will show many links for the source files including any recognized syntax and coding errors like a missing element closing tag of XML inside the layout file. By applying the Gradle flexibility, we can achieve each of them without changing the core source files of our app. Android Studio creates files are called build.gradle. These files are plain text files that apply Groovy syntax for configuring the build along with elements offered by the Android plugin for Gradle. All projects have one file of top-level build for the whole project and isolate the files of module-level build for all modules. Automatically, Android Studio generates the mandatory build files when we import an available project. What is a Gradle-based build system?Android Studio applies Gradle as the build system's foundation along with more specific compatibilities of Android offered via the Android plugin for Gradle. The build system executes as a consolidated tool from the menu of Android Studio and the terminal or command line independently. We can use the aspects of this build system for doing the below:
Components of Gradle-based build systemBuild VariantsA build system can support us to establish distinct versions of a similar application using one project. It is helpful when we have both a paid version and a free version of our app, or if we wish to distribute more than one APK for different configurations of devices on Google Play. 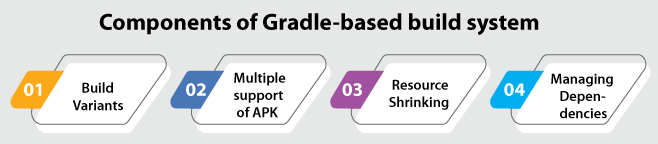
Multiple Support of APKMultiple support of APK permits us for efficiently creating more than one APK that is based on ABI or screen density. For example, we can create different APKs of any app for the mdpi and hdpi screen densities, even still examining them one variant and permitting them for sharing for test APK, ProGuard settings, dx, and javac. Resource ShrinkingIn Android Studio, resource shrinking automatically deletes unused resources through our library dependencies and package app. For example, if our application is using services of Google Play for accessing the functionalities of Google Drive, and we are currently not using Google Sign-In, resource shrinking can delete several drawable assets for the button, i.e., SignInButton. Managing dependenciesMany dependencies for our project are described by a name inside the file, i.e., build.gradle. Gradle will take care of finding our dependencies and enabling them available in our build. We can declare the dependencies of the module, dependencies of remote binary, and dependencies of local binary in our file, i.e., build.gradle. By default, Android Studio can configure projects using the repository of Maven Central. This configuration is added in the build file (top-level) for the project. Profile and debug tools Gradle-based build systemAndroid studio and assist us in debugging and enhancing the performance of our code, including performance analysis tools and inline debugging. 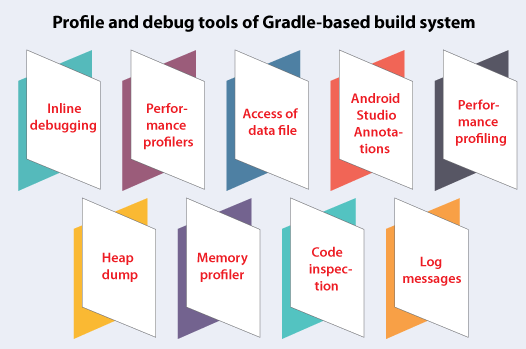
Inline debuggingWe can apply inline debugging for enhancing our code walk-throughs inside the view of the debugger along with inline verification of variable values, expressions, and references.
Performance profilersAndroid Studio offers performance profilers so we can easily track the memory and CPU usage, analyze network requests, optimize graphics performance, locate memory leaks, and find deallocated objects of our app. We can open the tab, i.e., Android Profiler using our app running on an emulator or device. Heap dumpSimultaneously we can dump the Java heap and start garbage collection to the heap snapshot within the Android-specific binary format file (HPROF) when we are profiling the usage of memory in Android studio. The viewer of HPROF shows classes, a reference tree, and instances of all classes for helping us to find memory leaks and track the usage of memory. Memory profilerWe can use a memory profiler for tracking the allocation of memory and see where the objects are allocated if we perform many actions. Understanding these allocations makes us for optimizing the performance and memory use of our app by managing the method calls corresponding to those actions. Access of data fileThe tools of Android SDK like logcat and Systrace generate debugging and performance data for complete app analysis. We need to open the tool window, i.e., Captures for viewing the available produced data files. We need to double-click on any file for viewing the data inside the list of the produced files. We need to right-click on any file, i.e., .hprof for converting them to a standard file format, i.e., Investigate our RAM usage. Code inspectionsAutomatically, Android studio executes configured Lint and other types of IDE inspections for helping us easily recognize and solve problems along with the structural quality of our code. The Lint tool can check the source files of our Android project for internationalization, accessibility, usability, performance, security, potential bugs, and optimization development for correctness. Also, Android studio performs the code inspection of IntelliJ and validates many annotations for streamlining the workflow of our coding in inclusion to Lint checks. Android Studio AnnotationsAndroid Studio can support annotations for return values, parameters, and variables for helping us catch bugs like resource type conflicts and null pointer exceptions. The manager of Android SDK can package the library of Support-Annotations within the support repository of Android for application with Android Studio. Also, Android Studio can validate many configured annotations at the time of code inspection. Log messagesWe can check the adb output and the log messages of the device inside the Logcat window if we build and execute our app using Android Studio. Performance profilingWe need to start the Android Profiler by selecting View > Tool Windows > Android Profiler if we wish to profile the network performance, memory, and CPU of our app. User Interface of Android StudioSome of the important components of the user interface of Android Studio are mentioned below: 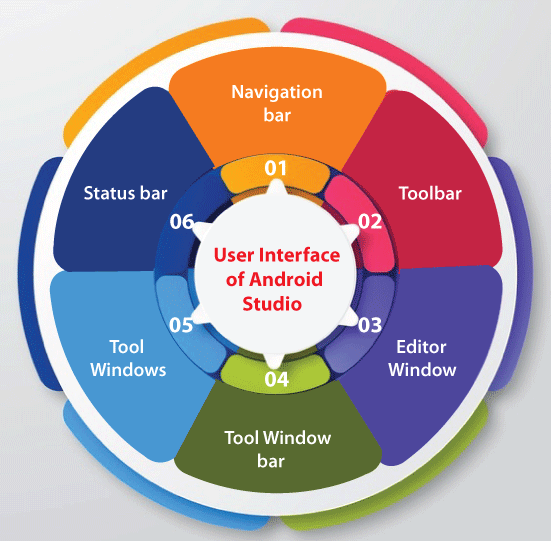
We can organize the primary window for giving ourselves more space on the screen by moving or hiding tool windows and toolbars. Also, we can use the shortcuts of the keyboard for accessing almost all features of IDE. We can search across the components of the user interface, actions, databases, source code, and so on, by double-clicking on the key, i.e., Shift, or pressing the magnifying glass inside the upper right-hand side of the Android Studio window. It can be very helpful when, for example, we are trying to locate a specific action of IDE that we have forgotten how to trigger. Tool WindowsAndroid Studio pursues our context and brings up corresponding to windows automatically as we work rather than applying pre-set perspectives. The most generally used tool windows are by default pinned to a tool window are at many applications window edges.
Also, we can use the shortcuts of the keyboard for opening the tool windows. Code completion of Android studioAndroid studio contains three code completion types that we can access with keyboard shortcuts. A few keyboard shortcuts for Android studio code completion are mentioned below:
Also, we can display intention actions and perform quick fixes by clicking Alt+Enter. Find sample code in Android StudioIn Android Studio, the browser of the Code Sample supports us to find Google-provided and high-quality samples of Android code that are based on the highlighted symbol currently in our project. NavigationHere are a few tips to support us to move across Android Studio:
Formatting and StyleAutomatically, Android Studio uses styles and formatting as described in the style settings of our code as we edit. We can customize the style settings of the code using programming languages line describing conventions for blank lines, braces, wrapping, spaces, indents, and tabs. For customizing the style settings of our code, we need to press File > Settings > Editor > Code Style > (Android Studio > Preferences > Editor > Code Style in a Mac system). However, the IDE uses formatting automatically as we work. Also, we can call the action, i.e., Reformat Code explicitly by clicking Control+Alt+L or auto-indent every line by clicking Control+Alt+l. Prerequisites
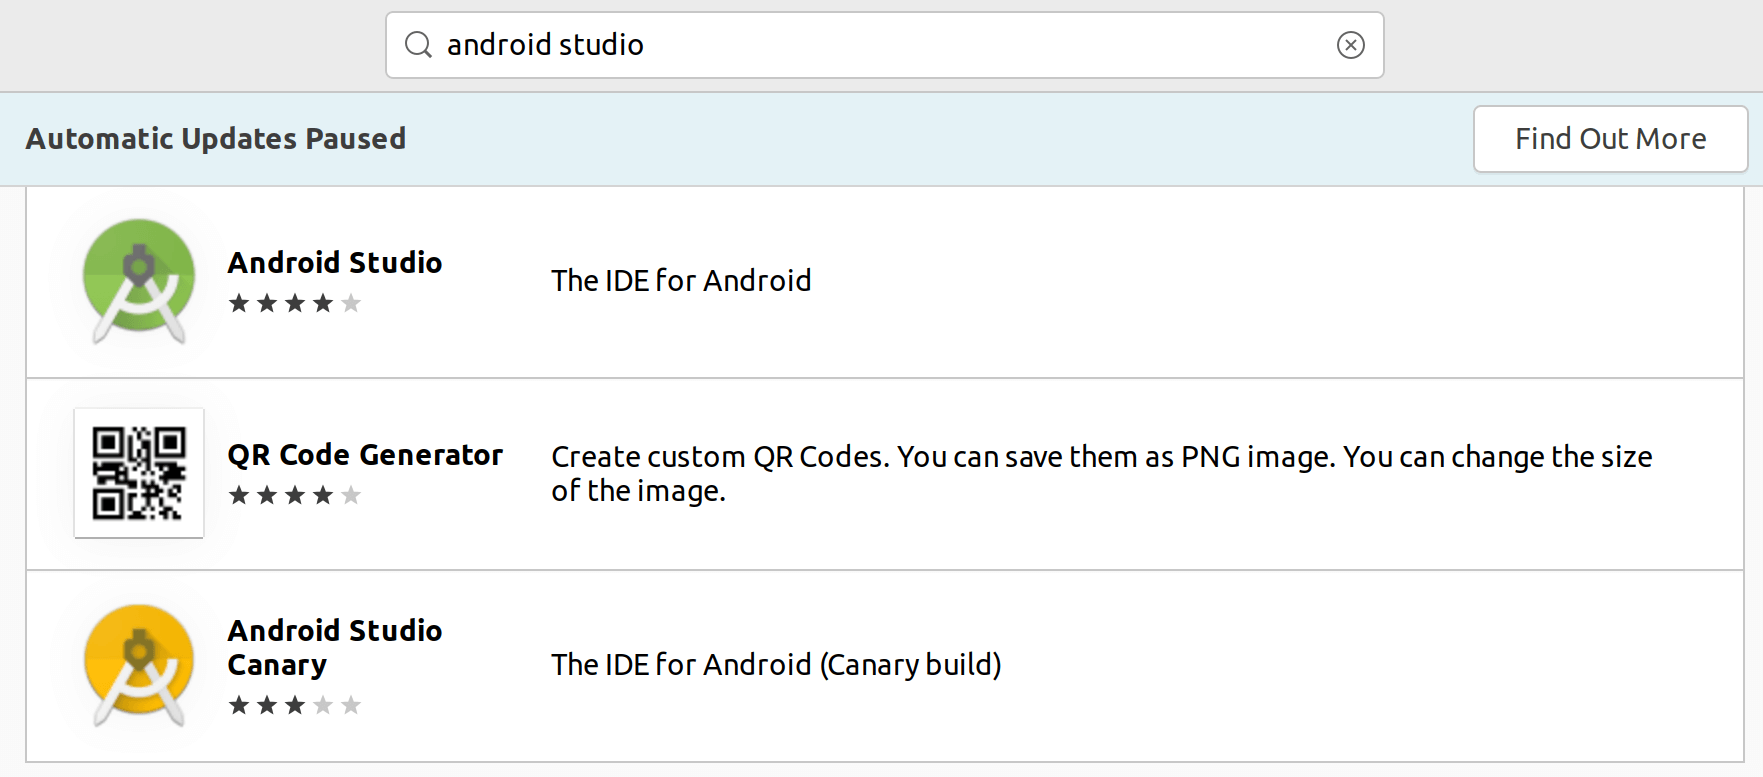
First Method: Using the Ubuntu Software CentreAndroid Studio can easily be installed using the Ubuntu Software Centre. However, the desired application should available within the software store.
Second Method: With the Snap ToolIt will become very convenient to install the software packages if the snap tool exists. We don't need to change any type or file in any command. However, we require to have the Snap that is installed in our computer inside the first position. Snap can be installed with the help of the following command: 
We can continue installing Android Studio when the installation process of Snap is completed. It can be done with the help of the following command: 
We will have to wait for some time as it might take some minutes. It should be successfully installed, but for a few reasons, when it gives an error, then we need to include a parameter, i.e., --classic in the command as mentioned below: 
We can see the section of the final setup when it is successfully installed. Third Method: With the Zip FileInstall Java OpenJDKWe need the 8th version of the OpenJDK to be installed on our system for installing Android Studio. We will first install OpenJDK 8. We can simply begin by updating a package index as the installation process is very easy: We can use the following command for updating the package index: 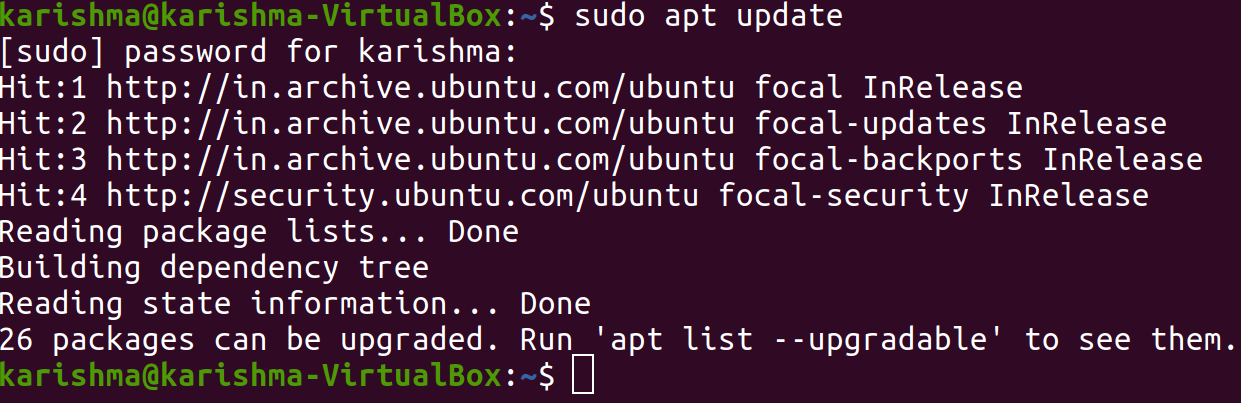
We will now install the 8th package version of the OpenJDK with the help of the following command: 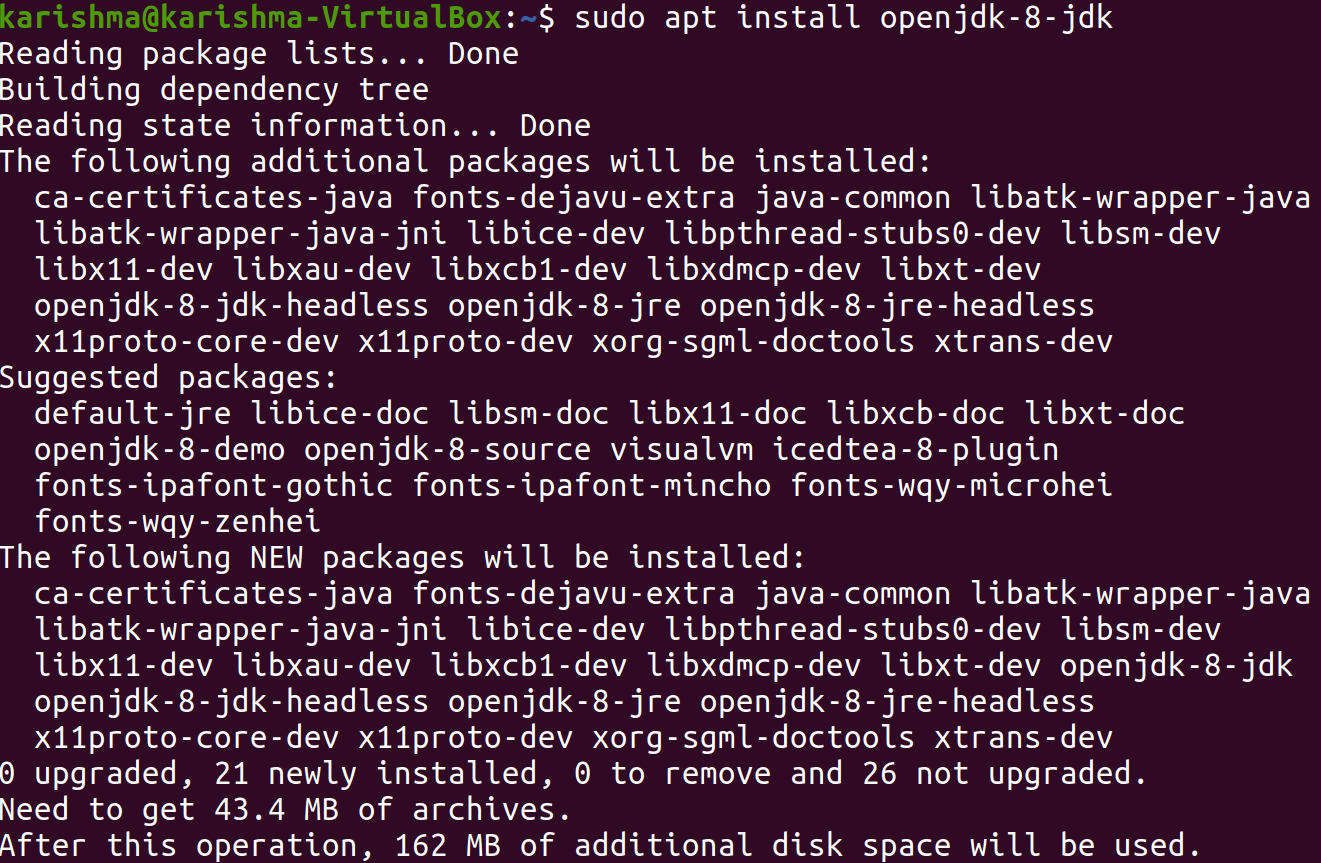
We can enter the following command for verifying the installation process to see the version: 
Install Android studioWe need to open the terminal with the help of the keyboard shortcut, i.e., Ctrl+Alt+T, and enter the following command for downloading and installing the snap package of the Android studio: 
We will find the below output when the process of installation is finished: Android studio is installed on the Ubuntu desktop successfully. Getting started with Android studioWe can begin Android Studio from our terminal or command line by entering android-studio in the terminal or by pressing the icon of Android Studio when the Android Studio application has been installed in our system with the help of the above methods. The following window will occur prompting us for importing the settings of Android Studio using the previous installation when we begin the Android Studio application for the very first time. The window, i.e., Setup Wizard will occur when we press on the button, i.e., OK. We need to press the next button for starting the post-installation steps and initial configuration. Now option to select the setup type we wish for Android Studio will occur. We can choose the options, i.e., Standard or Custom if we wish to customize the Android studio. We can choose the theme of UI and the Setup Wizard in the upcoming step. This step will help us to download and install the needed components of SDK. This process might take some time relying on the connection speed and our system. The welcome page would be represented when the IDE of Android Studio is loaded.
Next TopicAnyDesk Ubuntu
|

 For Videos Join Our Youtube Channel: Join Now
Feedback
- Send your Feedback to [email protected]
Help Others, Please Share


