| |

Ubuntu Screen RecorderIntroductionWe often require to record the screen of our desktop for several objectives such as creating video tutorials, online broadcasting gaming sessions, etc. In this article, we are going to list a few applications of screen recording in Linux. We will use the SimpleScreenRecorder tool and some other applications for this objective. However, the SimpleScreenRecorder is one of the great screen recorder tools in Linux and it is open-source and free software. First, let's see how we can install the SimpleScreenRecorder tool in Ubuntu 16.04, 18.04, 20.10 and other Ubuntu-based Linux distributions like Linux Lite, Elementary OS, Linux Mint, etc. Features of SimpleScreenRecorderThere are some of the important features of the SimpleScreenRecorder tool. These features are mentioned as follows:
Advantage:
Disadvantage:
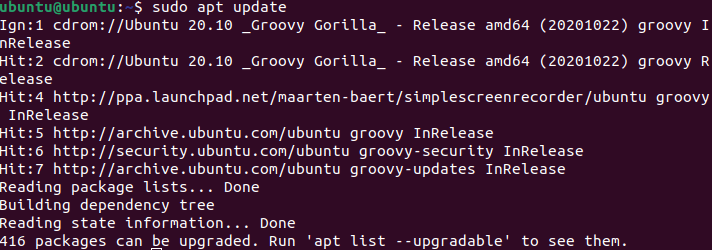
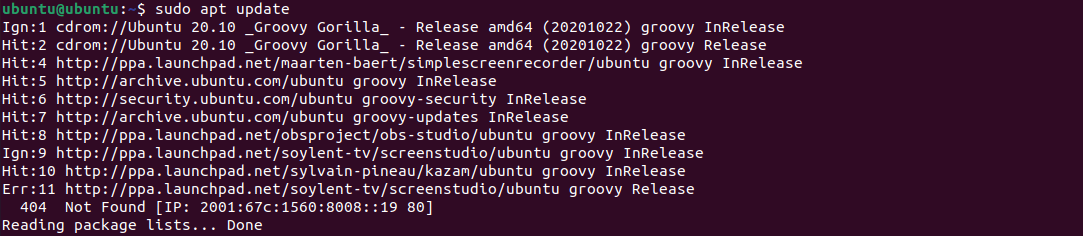
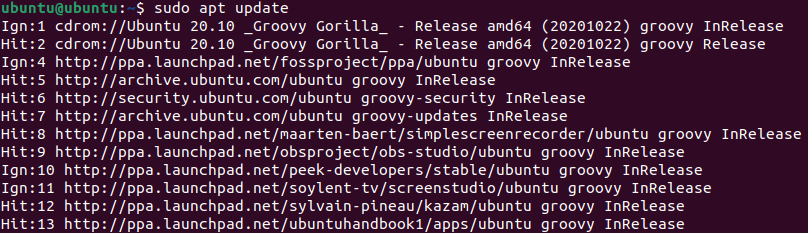
Installing SimpleScreenRecorder in UbuntuIn Ubuntu Software Center, this tool is available. So, we can easily install it by Software Center or via executing a command in our terminal which is mentioned below: Also, we can apply the official PPA for installing the latest release of the SimpleScreenRecorder tool in the Ubuntu-based distributions of Linux. We can run the below command in our terminal: 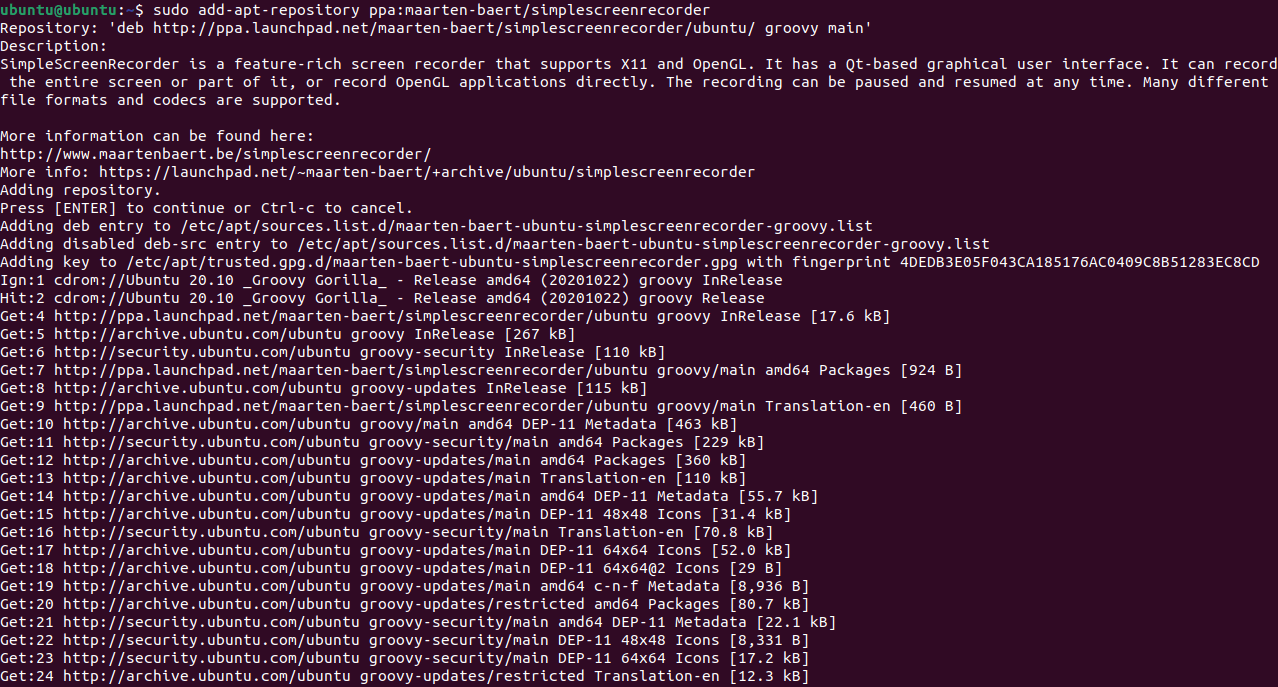

Fixing up the SimpleScreenRecorder tool for recording screenWe might wish to configure SimpleScreenRecorder to our needs once we have installed it. Let's check how we can do that.
Best Screen Recorder Applications for Linux1. Open Broadcaster Software StudioWithout a doubt, Open Broadcaster Software Studio is the most advanced and feature-rich application for screencasting available in Linux. Primary Features of OBS Studio
Pros
Cons
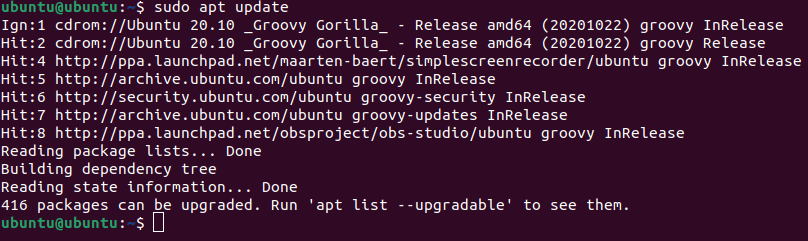
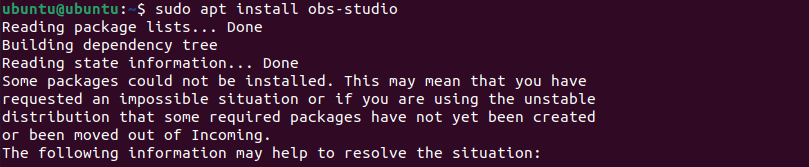
InstallationOpen Broadcaster Software Studio is available in Ubuntu by its PPA. We can type a command in our terminal for installing it. The command is mentioned below: 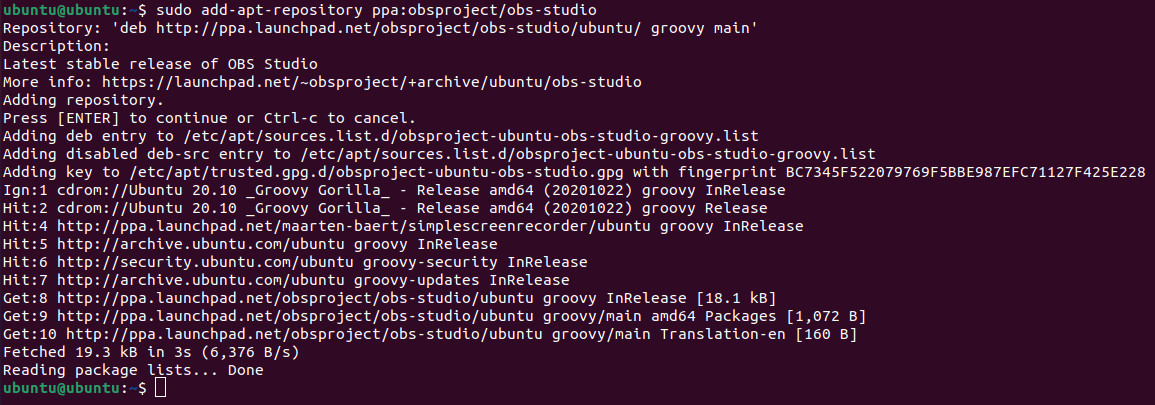
2. KazamKazam can be described as a nifty and minimal too to screencast. It provides support for screenshots as well. Kazam is one of the most applicable for beginners and for quickly getting the operation done without getting too confused in distinct options. Primary Features of Kazam
Pros
Cons
InstallationOpen the terminal and type the below command: 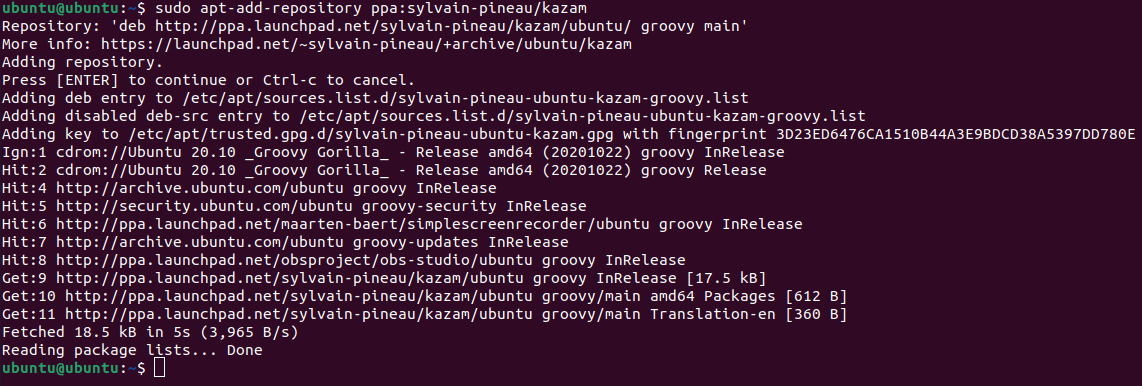

3. recordMyDesktopPrimarily, the recrodMyDesktop application is a tool of the command-line for screen recording specified in the C language. It contains two separate GUI-based on QT4 and GTK. It has been terminated but we can still provide it a chance as an experiment. Primary Features of recordMyDesktop
Pros
Cons
InstallationThe recordMyDesktop application is available to install through the Ubuntu repository (official). We need to just execute a command to install this application which is mentioned below: 
4. ScreenStudioThe ScreenStudio application can be described as a cross-platform tool for screen recording which is specified in Java language. Even though it is no longer managed since 2017, but still we can give this application a chance to check if it works for us. Primary Features of ScreenStudio
Pros
Cons
InstallationOn Ubuntu, we can install this application using its PPA. We need to type a command in the command-line window to install this application which is mentioned as follows: 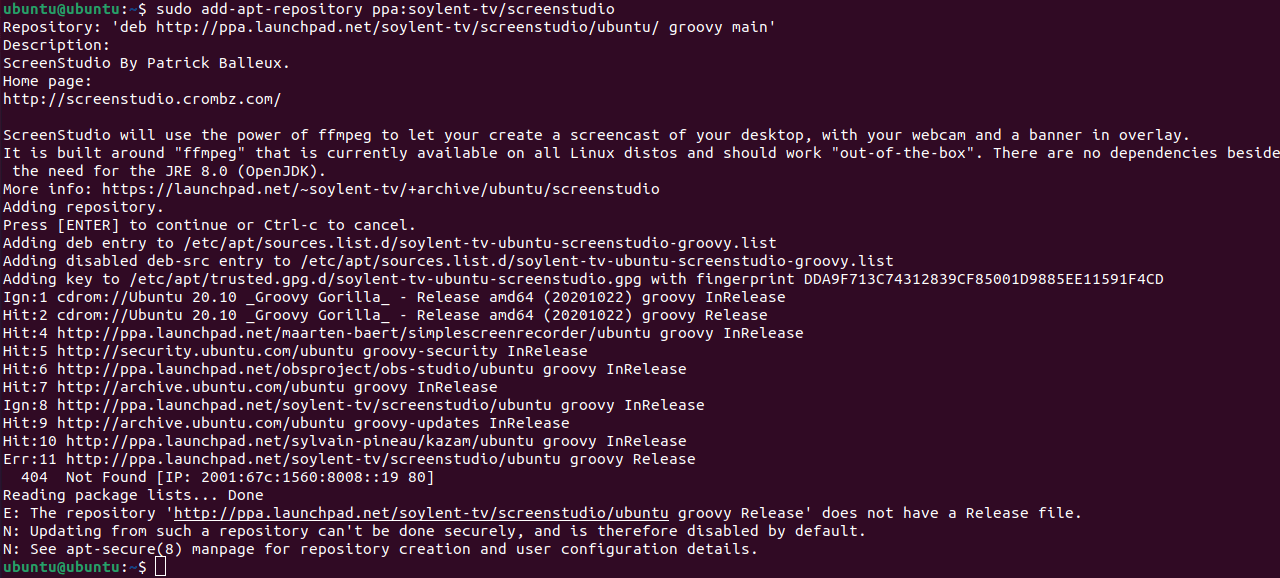

5. VokoscreenNGThe Vokoscreen application has been redesigned as VokoscreenNG (NG is short for New Generation). It also satisfies its new. This application includes a group of necessary features and the latest QT-based user interface. Primary Features of VokoscreenNG
Pros
Cons
InstallationWe can install this application easily on Fedora and OpenSUSE but we need to use an unofficial repository via Ubuntu Handbook for some Ubuntu-based distributions. We can use the following commands to install it: For OpenSUSE: For Fedora: For Ubuntu-based distributions: 


6. Green RecorderThe Green Recorder application has a normal interface and it is easy to use. This application was one of the oldest tools for screen recording in Linux for providing Wayland support. It is built with GTK3 and uses Ffmpeg within the background. It will perhaps be a great choice for the Ubuntu screen recorder if we are using Wayland. The project was archived over GitHub unfortunately and no longer integrated. However, it works for various users. Primary Features of Green Recorder
Pros
Cons
InstallationOn Ubuntu, we can install the Green Recorder application with its official PPA. We need to just enter the following command to install it: 

7. PeekThe Peek application is a normal tool to record animated GIFs using the screen of our desktop. Primary Features of Peek
Pros
Cons
InstallationDEB packages are present for installation on the release page of its GitHub project. Also, we can install the Peek application by using it's PPA (official) with the help of a command which is mentioned below: 
8. GifineThe Gifine application is a tool for gif recording in Linux. We can use this tool to record and stitch short videos and gifs together. Primary Features of Gifine
Pros
Cons
InstallationIt could be a lengthy process to install the Gifine tool. We need to open the command-line window and type a command carefully to install this tool on Ubuntu. The command is mentioned below: 

9. ByzanzIt can be described as a screencasting application that is based on CLI in Linux. The Byzanz application is used for recording audio and video in FLV and OGG formats. Also, it can be used for creating an animated gif. InstallationWe need to enter a command to install this application which is mentioned below: 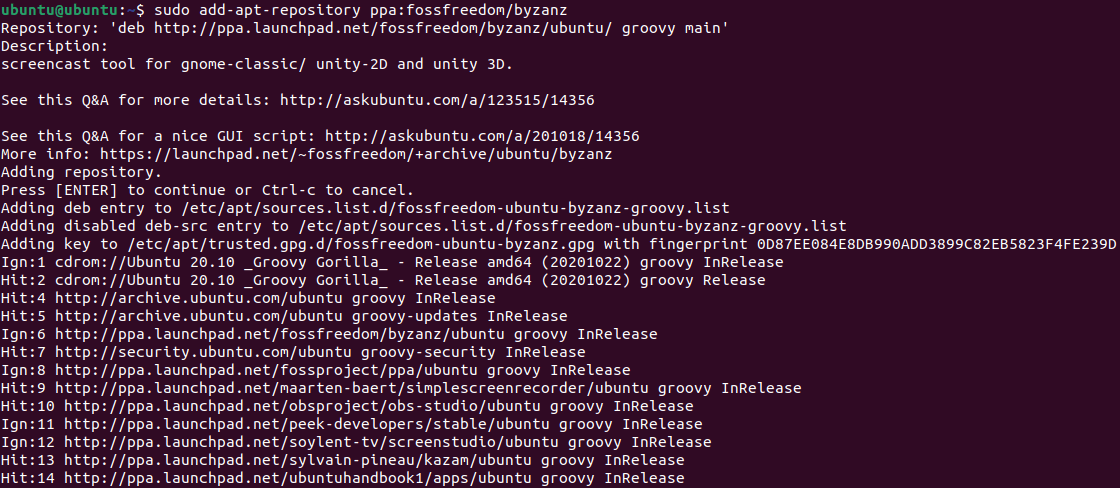

10. VLCThe VLC application is the most popular and powerful Multimedia Player for Linux. It is prepacked with several features and the screencasting feature is one of them. We need to modify the mode of capture into the mode of desktop inside the options setting. Also, we can save any recording video and online live-streaming it. InstallationWe need to enter a command to install this application which is mentioned below: 
11. WinkThe Wink application is primarily used to create content for interactive tutorials. This screen capture software of Linux comes with highly competitive aspects for screen recording. Also, it supports every major platform of an operating system including Linux, Windows, and other Linux-based systems. InstallationWe need to enter a command to install this application which is mentioned below: 
12. FreeseerThe Freeseer application is created to make distance conference streaming easy and simple. Both audio and video streaming are simultaneously supported. It is a free application for screencasting and provides resources for cross-platforms. Primary Features of Freeseer
13. ShutterThe Shutter application is a great screen recorder for Linux. It is simple and provides the latest user interface. Also, it offers a tool for image editing that could be used to customize the captured image. We can capture the whole section of the screen of a desktop or only a chosen area. InstallationWe need to enter a command to install this application which is mentioned below: 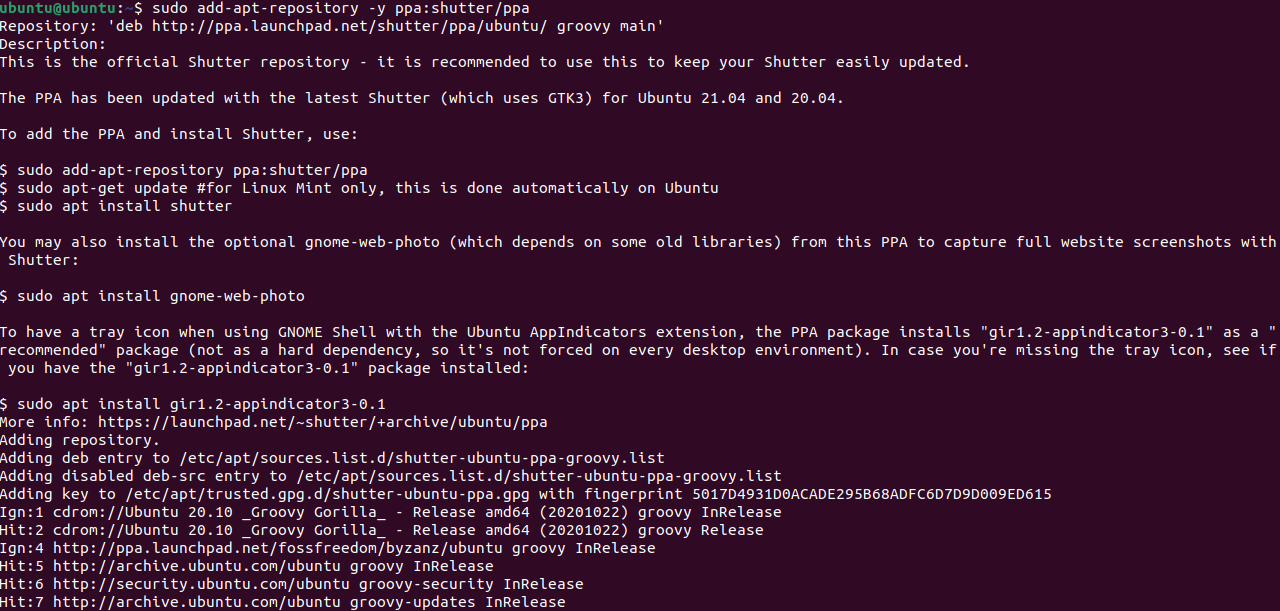

14. KrutThe interface of the Krut application does not look nice, but it is the lightest screen recorder for Linux present in the market. This screen capture software of Linux is designed with Java language, so it is portable as well as simple to use on another system. We can do every task that the full-fledged screen recorders of Linux should do without a problem. Primary Features of Krut
Screen recording in Ubuntu with the keyboard shortcutWe don't need to get a third-party application for screen recording in Ubuntu. Ubuntu provides a built-in screen recorder, a component of the GNOME Shell. Same as Windows, macOS, and ChromeOS, we can start recording right away in Ubuntu using a hotkey. Here, the good thing is that it allows us to record the screen for every three preferences- custom, window, and full-screen partial area. We found only one disadvantage where it does not allow audio recording (microphone or internal), and the recording of the screen gets stored in WEBM format. In this article, we will see how to record screen with the help of some keyboard shortcuts:
Audio screen recording in UbuntuIf we are looking for excellent software for screen recording in Ubuntu, we recommend getting SimpleScreenRecorder. It offers several features, such as area selection, cursor recording, bitrate customization, frame rate selection, audio recording, etc. Also, the SimpleScreenRecorder app supports a lot of options of media formats, including WEBM, MKV, MP4, etc. A single issue is that we might face problems if we are utilizing the Wayland server. But it works perfectly for a wide variety of users who are still using Xorg/X11. The following are some steps on how we can record the screen using SimpleScreenRecorder on Ubuntu:
Next TopicUbuntu Server
|
 For Videos Join Our Youtube Channel: Join Now
Feedback
- Send your Feedback to [email protected]
Help Others, Please Share


