Install AWS CLI UbuntuAWS CLI is short for AWS Command Line Interface. It is a combined tool for managing the services of our AWS. We can manage more than one service of AWS using the command line and also automate them using scripts with only a single tool for downloading and configuring. The AWS CLI version 2 facilitates various new features including developed installers and new options of configuration such as several interactive features and AWS Single Sign-On (SSO). This command-line interface enables us to interact with the services of AWS with the help of the commands in our command-line shell. The AWS CLI enables us to begin running commands that operate functionality which is equivalent to that given by the AWS Management Console (browser-based) using the command prompt in our terminal program with minimal configuration:
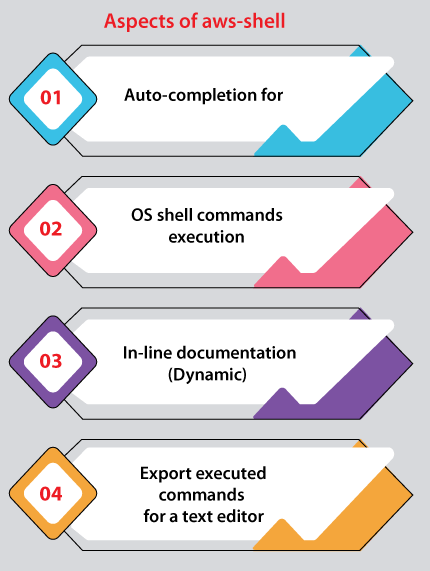
Every IaaS (Infrastructure as a Service) AWS access, administration, and management function within the AWS Management Console is present inside the AWS CLI and AWS API. New services and features of the AWS IaaS facilitate complete functionality of AWS Management Console through the CLI and API in 180 days of launch or at launch. The AWS CLI facilitates direct access to the public AWS services APIs. We can explore the capabilities of a service using the AWS CLI and improve the scripts of the shell for managing our resources. Several API-equivalent commands and many services of AWS offer customizations for the AWS CLI in inclusion to the low level. Customizations can add high-level commands with a complex API using a service. aws-shell (Preview of Developer)aws-shell can be described as a program of the command-line shell that offers productivity and convenience features to support both advanced and new users of AWS CLI. Some of the important aspects are mentioned below: 
Versions of the AWS CLIThe AWS CLI exists in two versions and the details in this guide are uses in both of the versions.
About the Amazon Web ServicesThe AWS (or Amazon Web Services) is a set of services of digital infrastructure that developers could leverage when integrating their applications. These services include database, storage, computing, and synchronization of applications (queuing and messaging). AWS applies a service model, i.e., 'pay-as-you-go'. We are charged just for the services that we or our applications use. AWS facilitates the tier of free usage for making AWS more convenient as an environment for experimentation and prototyping. We don't have to pay for the services as they are free under a certain usage on this tier. Synopsis of AWS CLI
Options
Override the default URL of the command with the provided URL
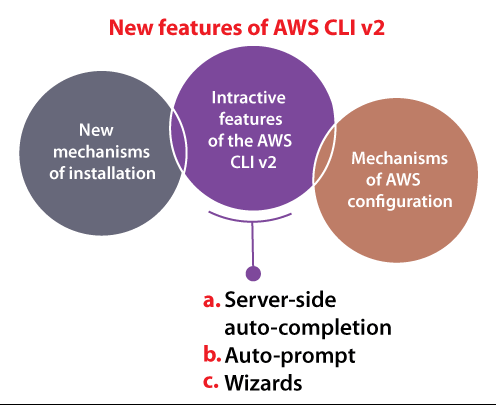
New features of AWS CLI v2The AWS CLI v2 provides various new features such as integrated installers, new options of configuration like Single Sign-On (SSO), and several other interactive features. Some of the important features are listed and discussed below: 
1. New mechanisms of installationThe AWS CLI version 2 gives pre-built binaries for macOS, Linux, and Windows. We no longer require to have Python installed to apply the AWS CLI. We do not need to worry about compatible versions of Python, conflicting packages of Python, or virtual environments. We give an MSI installer on Windows and a .pkg Installer on macOS. 2. Mechanisms of AWS configurationAWS CLI v2 introduces various new mechanisms to configure credentials. They have added a new command, i.e., "aws configure import" for importing credentials with the .csv files produced within the AWS Console. Also, they have included support for a new command, i.e., "aws configure wizard" that facilitates a guided walkthrough to configure credentials of AWS. This version supports using and configuring credentials from AWS SSO with a new command, i.e., "aws configure sso" in inclusion to these commands. It will ask us a question series for helping us configure the AWS CLI. 3. Interactive features of the AWS CLI v2One of the biggest themes for this version was adding more interactive aspects to support customers. The AWS CLI is applied for both interactive usage and automated scripting tasks as well, and we wished for including aspects that support users when they are interactively executing the commands of CLI in a terminal. A few new interactive aspects include wizards, server-side auto-completion, and the command, i.e., --cli-auto-prompt. a. Server-side auto-completion We could apply the command aws_completer for the command's tab completion and the names of the parameter in AWS CLI v1. They have upgraded the auto-completer for completing the resource names of the server-side in AWS CLI v2. b. Auto-prompt The auto-completion feature supports us to more efficiently input the parameters of CLI, but sometimes we are not sure that which parameters we wish to offer. The new feature, i.e., --cli-auto-prompt can support us. We can include this parameter in all built-in commands of CLI and the CLI will instruct us by entering the values of the parameter.
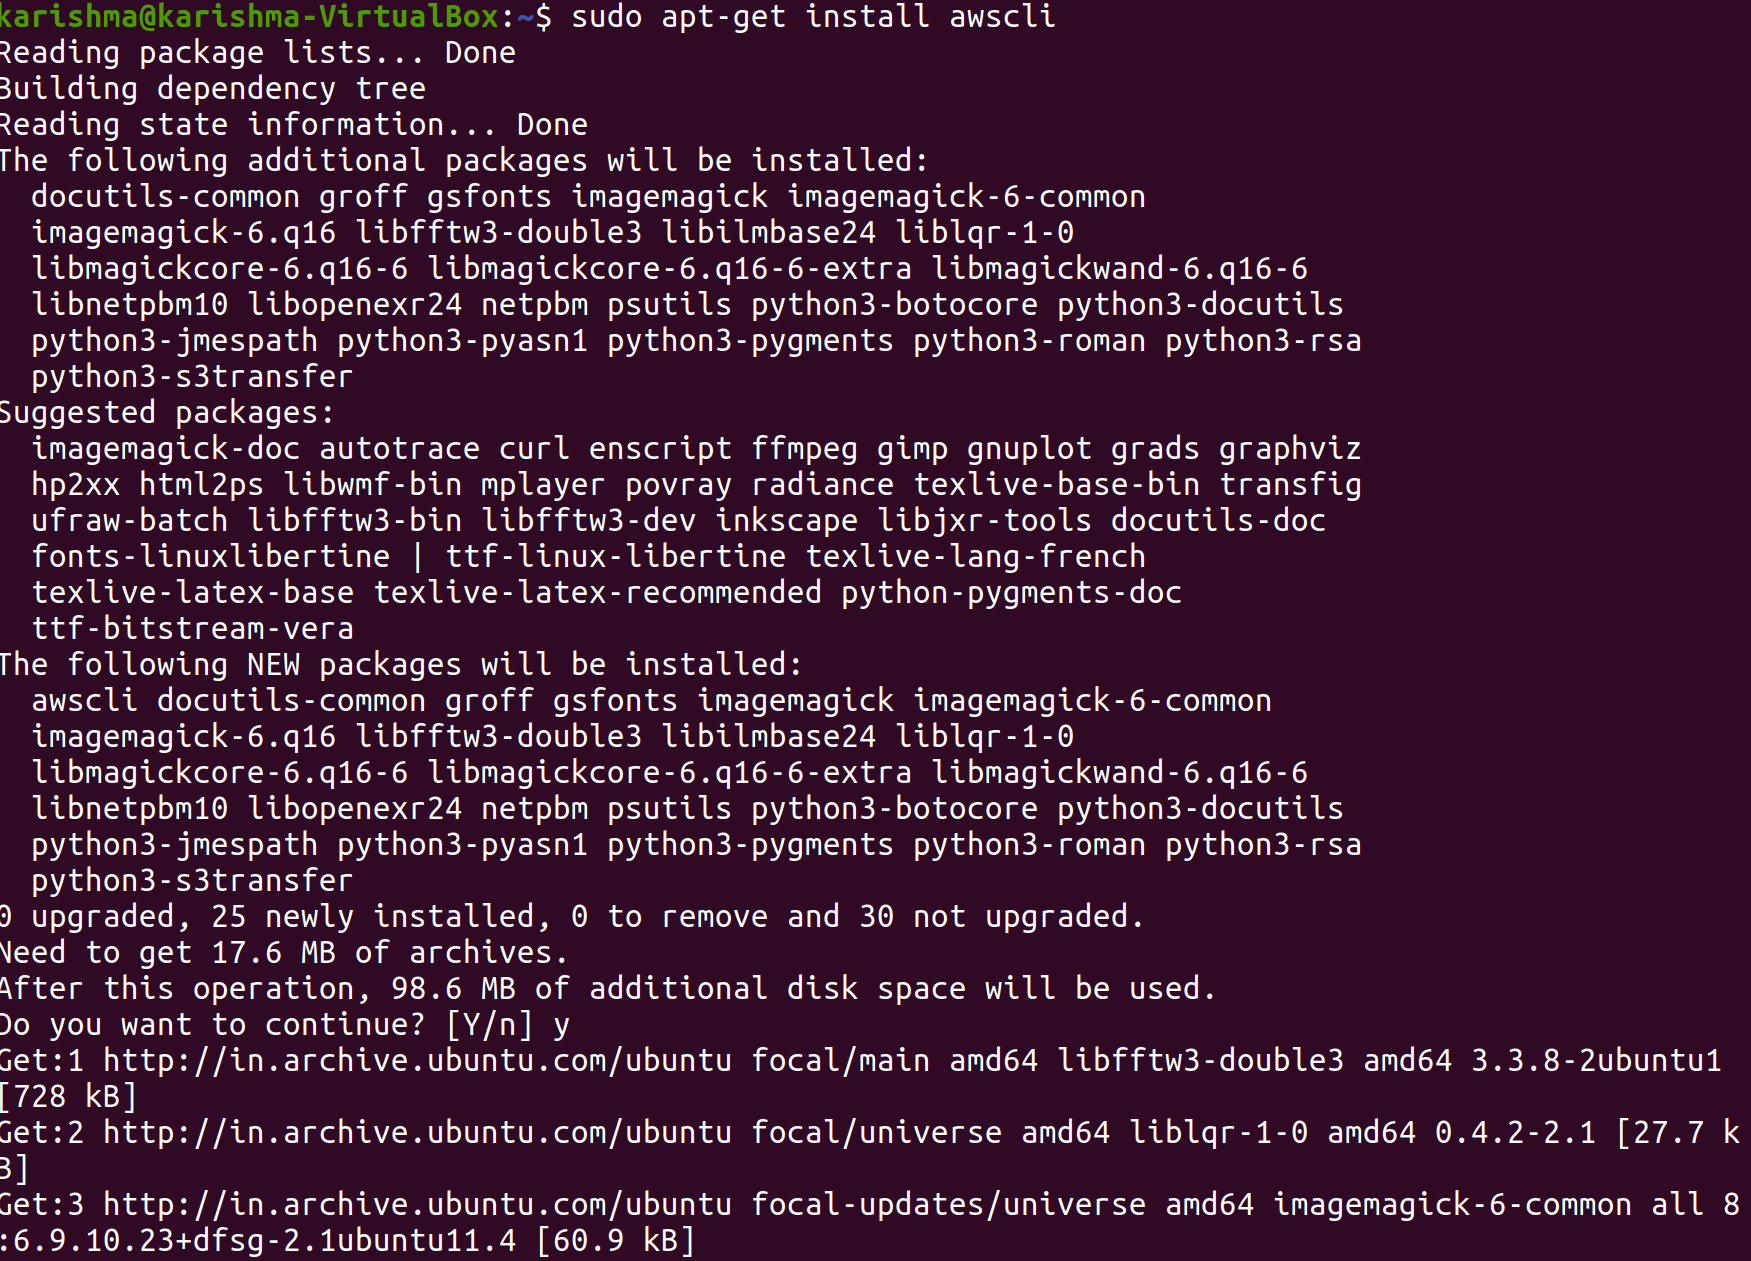
c. Wizards In AWS CLI v2, the feature of new wizards guides us from managing several resources of AWS. They are an abstraction of a higher level as compared to --cli-auto-prompt and combine more than one call of AWS API for creating, updating, or deleting the resources of AWS. They are the same as the workflows of getting started inside the AWS console. They have added wizards to the starting set of the services of AWS. We can execute <service-name> wizard <wizard-name> for accessing these wizards. Also, wizards support querying for available resources when asking us for data. They have added wizards for the lambda, iam, dynamodb, and configure commands. Installing, updating, and uninstalling the AWS CLI version 1 in Linux UbuntuWe can install the AWS CLI (AWS command-line interface) version1 and its dependencies in most of the distributions of Linux with the help of the bundled installer or the pip package manager. However, the package awscli is present in repositories for several package managers like yum and apt. These are not supported, managed, or produced by AWS. We suggest that we install this version using only the distribution points of the official AWS. PrerequisitesWe must have the 2.7 version of Python 2 or later, or the 3.6 version of Python 3 or later installed in our system. Installing and uninstalling the AWS CLI version 1 in Ubuntu with the bundled installerOn macOS on Linux, we can apply the bundled installer for installing AWS CLI version 1. The bundled installer contains every dependency and could be used offline. Important: The bundled installer does not help to install paths that include spaces. Installing version 1 of AWS CLI with the bundled installer using sudoThe below steps enable us to install version 1 of AWS CLI from the command-line on all builds of macOS or Linux. The following is the installation commands summary which is mentioned below that we can copy and paste to execute as one command set. We can use the below command block for the latest AWS CLI version: We can attach a hyphen and the number of the version to the filename for a specific AWS CLI version. The filename for the 1.16.312 version will be awscli-bundle-1.16.312.zip appearing in the below command: Explanation of the above commands in detail: We can follow the steps using the command line for installing the AWS CLI version 1 with the help of the bundled installer. 1. Download the AWS CLI version 1 bundled installer with the help of one of the below methods. Download with the command, i.e., curl. We can use the below command block for the latest AWS CLI version: 
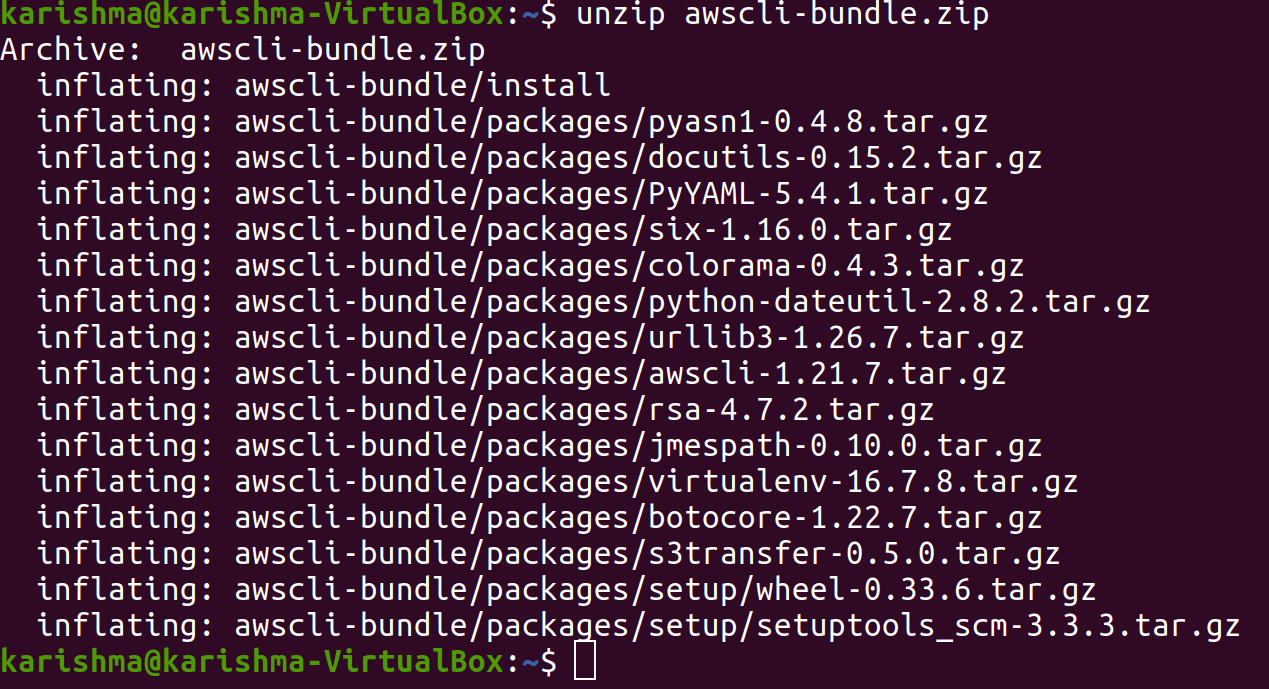
We can use the below command block for a specific AWS CLI version: 2. Extract these files from our package. If we do not have to unzip for extracting these files, we can use the built-in package manager of our Linux distribution for installing it. 
3. Now, we can install AWS CLI using the command which is mentioned below: 
4. We need to verify that the AWS CLI is correctly installed. 
Installing version 1 of AWS CLI with the bundled installer without using sudoIf we do not have the permissions of sudo or wish to install this version only for the latest user, then we can use a changed version of the old commands. The initial two commands will be the same. We can use the below command block for the latest AWS CLI version: We can attach a hyphen and the number of the version to the filename for a specific AWS CLI version. The filename for the 1.16.312 version will be awscli-bundle-1.16.312.zip appearing in the below command: For installing version 1 of AWS CLI for the latest user 1. Download version 1 of AWS CLI bundled installer with the help of one of the below methods. Download with the command, i.e., curl. We can use the below command block for the latest AWS CLI version: We can use the below command block for a specific AWS CLI version: 2. Extract these files from our package with the help of the unzip command. If we do not have the unzip command for extracting these files, we can use the built-in package manager of our Linux distribution for installing it. 3. Execute the install program. To do this, the installer will install the AWS CLI in the /usr/local/aws directory and makes the aws symlink in a directory, i.e., /usr/local/bin. The command will use the parameter -b for specifying the directory in which the installer will place the symlink aws file. We must have all write permissions to the described folder. It will install the AWS CLI in the ~/.local/lib/aws default location and makes a symbolic link (or symlink) in the ~/bin/aws directory. Ensure that ~/bin is inside the environment variable, i.e., PATH for the symbolic link to work. 4. ((check if $PATH variable includes ~/bin (if it does not the result will be empty)) 5. (If necessary, include ~/bin to the $PATH variable) 6. Make sure the directory that version 1 AWS CLI is a part of our $PATH variable. a. Find the profile script of our shell in our user folder. If we are not sure which shall we have, execute echo $ SHELL. 
Tcsh: .login, .cshrc, or .tcshrc Zsh: .zshrc Bash: .bash_login, .profile, or .bash_profile b. Include an export command at the completion of our profile script that is the same as the below example: The above command will insert the ~./local/bin path in the starting of the available PATH variable in this example. c. Reload the profile in our current session for putting those modifications into effect. d. Verify that the installed AWS CLI is correct. 
Uninstall version 1 AWS CLI bundle installerIf we installed version1 AWS CLI with the help of the bundled installer, we need to follow some instructions. The bundle installer does not put anything external to the installation directory exclude the optional symbolic link. Hence, uninstalling is as easy as removing those two items. 
Next TopicInstall NVM Ubuntu
|
 For Videos Join Our Youtube Channel: Join Now
Feedback
- Send your Feedback to [email protected]
Help Others, Please Share


