| |

Grub Customizer UbuntuIntroduction to Grub CustomizerGrub Customizer is a type of graphical tool that permits users for customizing the Burg or bootloader GRUB 2 on Linux mint, 20.01, Ubuntu, and other operating systems. This graphical user interface tool helps to modify general things, like the boot order (menu entry sequence) to be created or the waiting time for the classical entry to automatically start. The Grub Customizer doesn't offer a full graphical user interface to configure every GRUB 2 subtleties. The bootloader's role is to begin the operating system after a conventional BIOS or UEFI has started the hardware. The bootloader utilized today by most distributions is Grub 2 due to Grub 2 operating with UEFI and Bios and understanding every necessary file system, including the relatively fresh BTRFS. Also, the Grub 2 has one drawback: its complexity doesn't make adaptation simple.
Advantages of Grub Customizer
Installing Grub CustomizerStep 1: Open the Command-line WindowWe need to open the command-line window either using the Ctrl+Alt+T shortcut keys or system Dash. Step 2: Adding PPA Repository of Grub Customizer to Our SystemWe need to enter the below command to include the PPA repository of Grub Customizer in our system. It will help us to install the necessary software and enable our system to bring updates and upgrades from the included repository in the future. 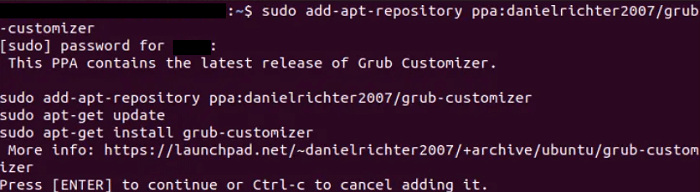
Note: Only authorized users can add, delete, and set up the software in Ubuntu. We need to enter our sudo password, after which this PPA repository will be included in our system.Step 3: Update the Repository Index of Our SystemWe need to update the repository index of our system in this step. We can do it using the below command: 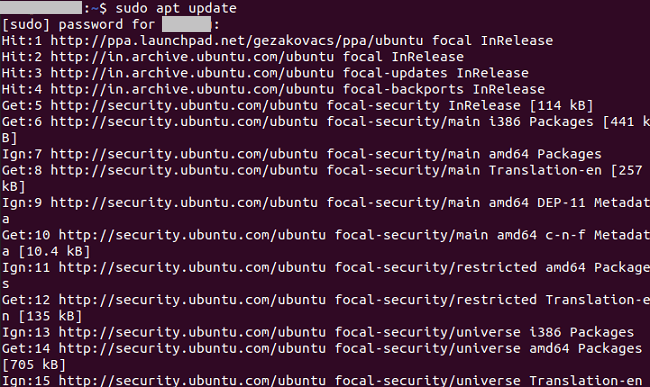
It will help us to install the latest release of software through the internet. Step 4: Installing Grub CustomizerAs we are done with every prerequisite needed to get the Grub Customizer, we can use the below command to install it on our system: 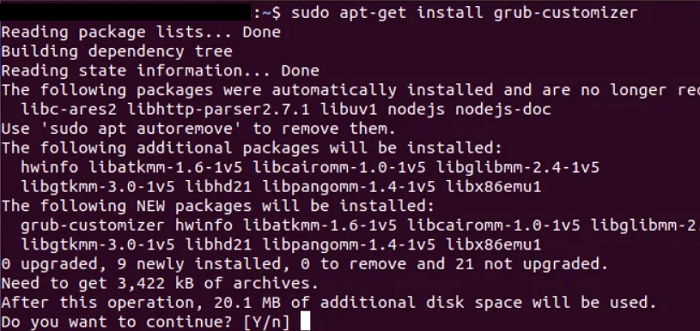
The system prompts us with a n/y option to continue the installation process. We will enter the "Y" button to proceed, after which the application will be installed on our system. Step 5: VerificationAfter we have successfully installed the Grub Customizer, we can enter one of the below two commands to ensure that it's indeed installed on our system: 
Step 6: Launching Grub CustomizerWe can launch it from the command line by providing the below command: It needs root access to execute the application because the authorized users can make changes to the Grub system. We need to enter the root password and press the button, i.e., Authentication, after which the user interface of the Grub Customizer will launch on our system. We can also launch the application from the system Dash. 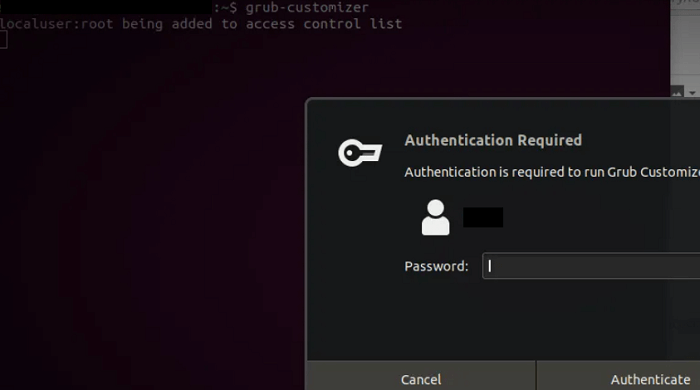
Uninstall Grub CustomizerIf we ever wish to uninstall the Grub Customizer from our system, we can do it by using the below command in our Ubuntu command-line window: The system prompts us with a n/y option to continue the installation process. We will press the "Y" button to proceed, after which the application will be uninstalled from our system. |
 For Videos Join Our Youtube Channel: Join Now
Feedback
- Send your Feedback to [email protected]
Help Others, Please Share


