| |

Snipping Tool UbuntuThe snipping tools are necessary for capturing the image of a monitor screen and storing the image for future references. Also, it can capture the whole screen of a PC, required area, and window tab. The mouse could be dragged around the screen for specifying the area. Also, it offers to highlight and indicate many tools like rectangle, arrow, and pen for denoting in the images. On Ubuntu, these snipping tools are free to install. It provides a blur tool for hiding private data over the images. These tools contain an option, i.e., time delay for taking the screenshot after a few seconds. Almost every snipping tool has screen recording and screenshot options for dual purposes. The snipping tool is helpful to submit the presentation or report along with an image of the process. Also, it can be used for explaining software functioning using screenshots. Built-in screenshot utility of UbuntuThe default application of screenshot is generally is known as a screenshot on Gnome desktop. The utility is by default executing in the background and listening for keystrokes, i.e., PrtSc. Clicking the button, i.e., PrtSc (print screen) on our keyboard will explain the program for taking a screenshot of our screen and storing the image in the folder, i.e., Pictures inside our home directory. We will hear the sound of the camera shutter and other screens would flash. It's the screenshot program alerting us that it only captured the screenshot. We need to open up our Pictures folder to see it. Remember that it will always take a screenshot of our whole desktop. If we would instead take a screenshot of a specific window, we can highlight the window and then click Alt+PrtSc shortcut keys on our keyboard at the same time. If we would like to choose a specific area of a screen to take a screenshot, and the keyboard combo, i.e., Alt+PrtSc is not facilitating enough tuned control, we can open the utility 'screenshot' from inside the Applications menu of Ubuntu. Within the screenshot window, we need to press on the "Select area to grab" option and "Take Screenshot". We will be able to choose an area for capturing by dragging our mouse before storing the image. We will discuss some Snipping tools that are available in Ubuntu in this article. List of Snipping Tools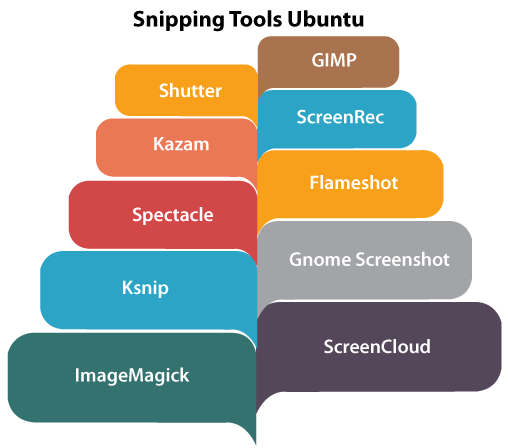
ScreenCloudOn Ubuntu, ScreenCloud is an excellent snipping tool to take fresh screenshots. We can install this tool at no cost on any PC because it is an open-source tool. It enables the user to select the location of a file of a captured image. Also, it can link with the cloud storage and instantly distribute the images to the cloud. The screenshots can be distributed from email by copying a link to the clipboard. It provides only a select and drag option for capturing the screenshot. GIMPGIMP stands for GNU Image Manipulation Program. It's an ideal snipping tool in Ubuntu. It's an open-source tool that comes with many editing tools. This tool contains three different options for taking the screenshots: a specific region, the whole screen, and a single window. Also, it provides the option for deleting or adding the decoration of a window, mouse pointer over the screenshots. It provides a color profile for capturing the image with the settings of the monitor. Also, we can transform the images to the traditional RGB profiles. GIMP contains two types of time delays: choose the region for capturing before time delay and select the region after a delay. KazamKazam is an amazing tool for screen recording and it can also be used for taking screenshots. This tool provides a screencast for screenshots and video recording for images. Also, it contains Window All Screen, Fullscreen, and Area to select from for snipping. The cursor of the mouse could be removed or included in the screenshots. It offers a time delay to capture after some seconds. It can record any sound using the microphone and video using the webcam as well. This tool is also used for capturing images without or with a window border. Installing Kazam in UbuntuIt is another applicable privilege for screenshots on the 20.04 version of Ubuntu. We can install the tool by opening the terminal and entering the below command: 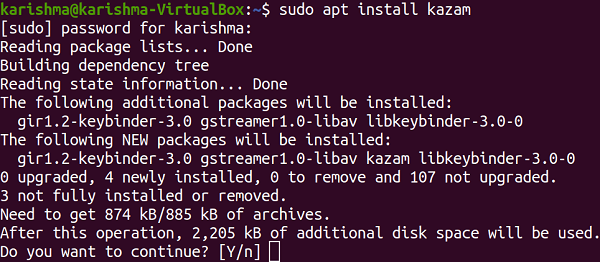
We need to pull it up inside the Application window we can launch it: A key point of Kazam is that it provides the ability for recording our screen. Only ensure that "screenshot" is chosen if we wish to capture an image and "screencast" is chosen when we wish to record any video. ScreenRecOn Ubuntu, ScreenRec is one of the best tools for screen recording and screenshots. It includes a very fast and simple setup to capture an image. It can also include text into the image and can draw any rectangular box for identifying the necessary segments. ScreenRec can highlight the essential phrases and use arrows to display the buttons, tabs, and icons. This tool can instantly distribute the screenshot and copy any image to the clipboard for adding to the email. It contains cloud storage for storing the captured videos and images. Also, the screen recording can save the webcam and microphone inputs in a video. SpectacleThe Spectacle is an excellent snipping tool and it's free for getting on the Ubuntu system. It can capture the whole PC screen or needed area with the mouse drag. Also, the tool contains a capture mode for defining the screenshot portion and it includes a delay option for capturing the image at an accurate time. This tool can export a captured image to the needed app or website. Also, we can copy any screenshot and paste it into our desired location. This tool contains the essential tools for editing the images. Also, it can hide the mouse cursor on the screenshot. Installing Spectacle in UbuntuIt is another screenshot option. It is the default utility of screenshot for the KDE Plasma desktop environment. However, we will likely need to install it when we are using GNOME. We need to open our terminal window and enter the below command if we do not have it already: 
We will find the tool in the Application window once it is installed. The Spectacle tool is quite minimal but includes a few handy options such as the ability for capturing only the desktop on specific monitors. FlameshotFlameshot is another amazing snipping tool on Ubuntu. It provides a pen for drawing on an image, an arrow for indicating a specific spot, and a line for underlining the points. The tool can simultaneously take the images and it could be expanded the image during editing. It includes redo and undo options for going back or removing the edits. The highlighter is available in several colors which are used for highlighting an image and it can blur specific positions in the screenshots as well. The images could be stored in the cloud directly from Flameshot and we can distribute them with others. Pros of Flameshot
Cons of Flameshot
Installing Flameshot in UbuntuThe Flameshot tool is a substitute program that we can apply, especially when we are looking for annotating our screenshots by designing arrows over them and having authentication to other easy features. By default, flameshot isn't installed in Ubuntu. We need to open our terminal window and enter the below command for installing the tool: 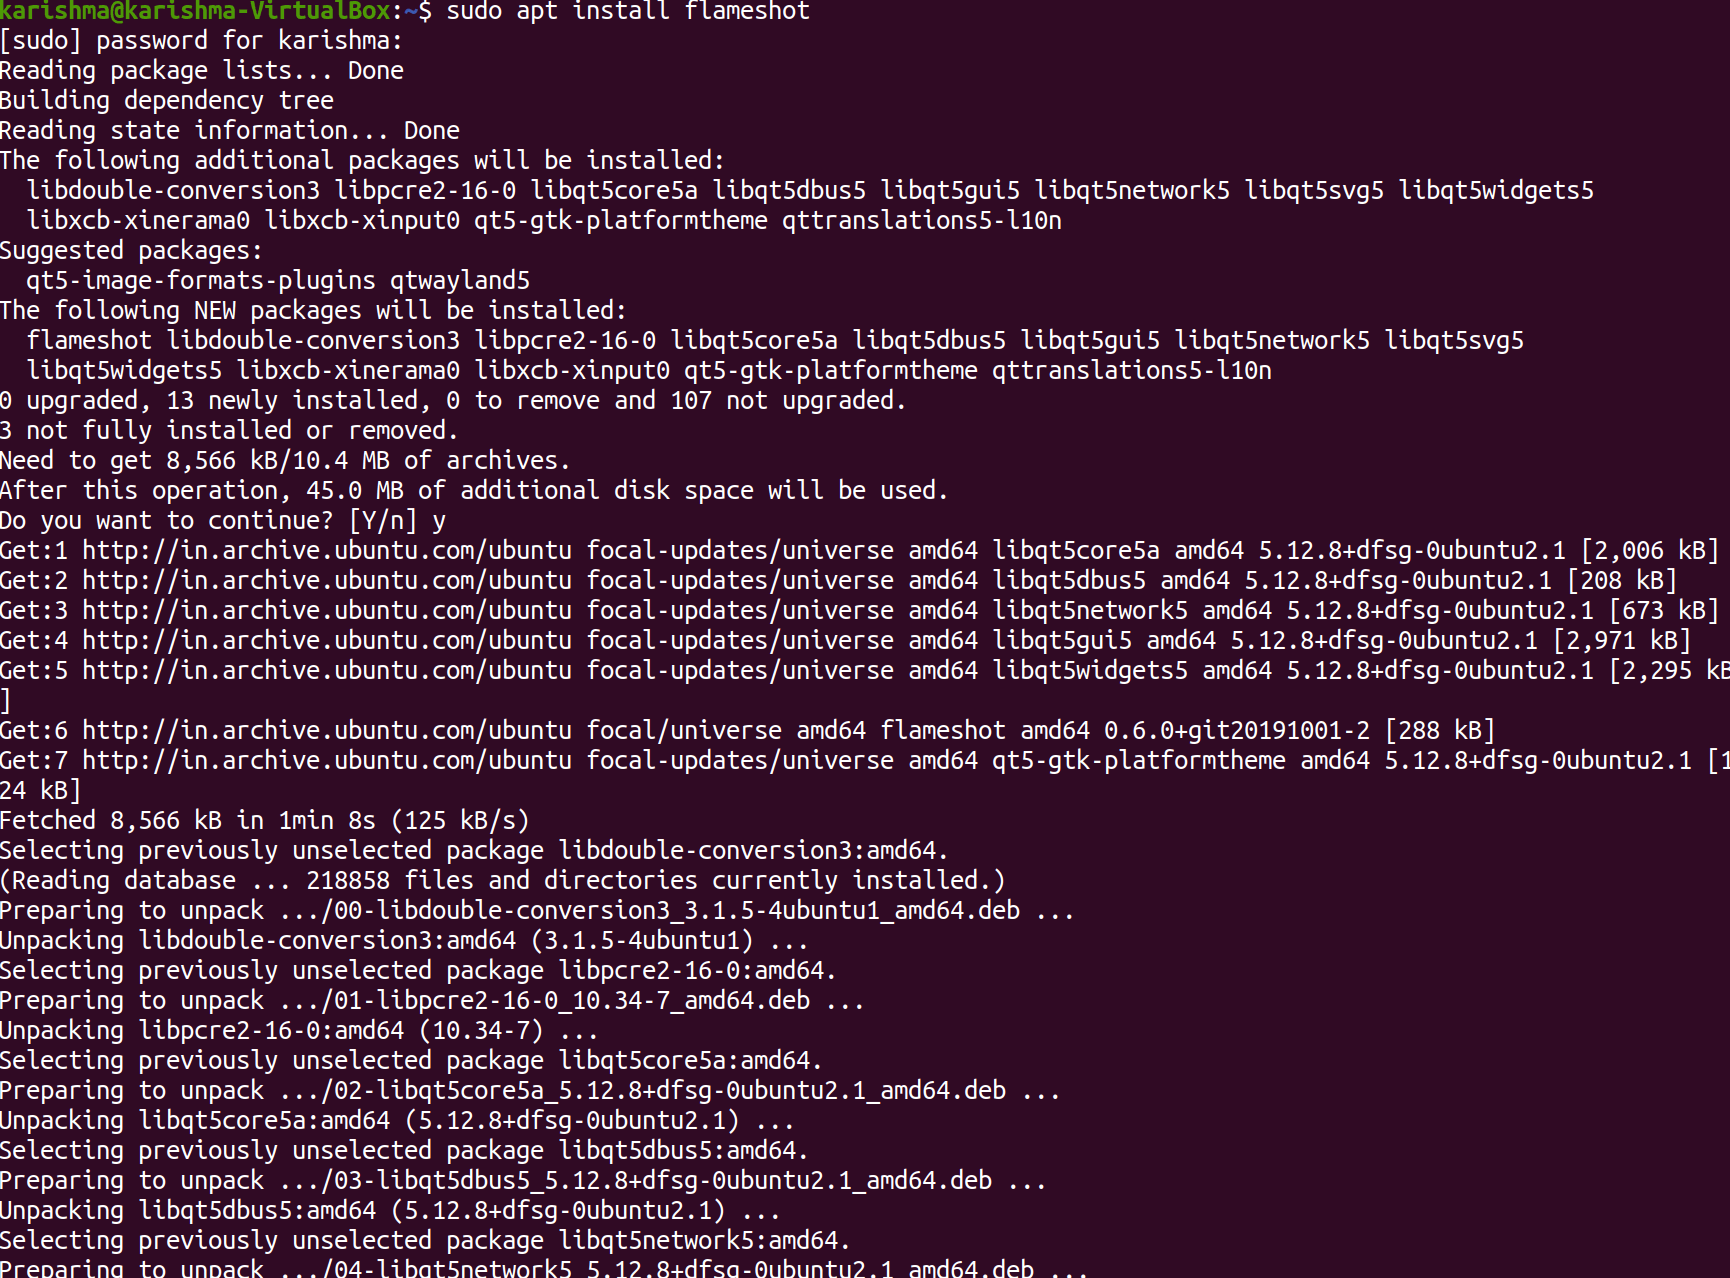
Once installed, we can use it within the Application Launcher. We can also launch it alternatively through the terminal using the following command: 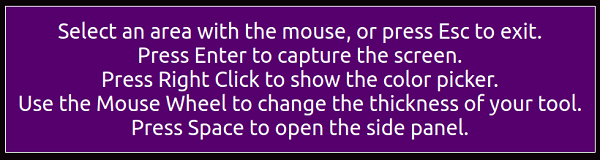
We just need to consider the on-screen instructions when the flameshot tool opens. We dan drag our mouse across and resize our window very conveniently to exactly capture what we wish on our screen. We will see several tools that we can use for annotating our uploading our screenshot. Also, we can configure the interface of Flamehsot and many options in the configuration menu: 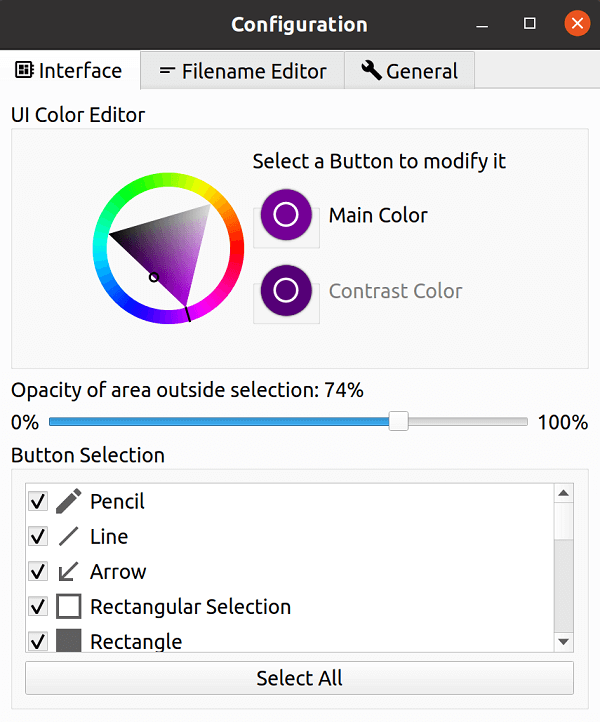
There are a few options of command-line that we can also apply with Flameshot. We can check the man page for a complete list of what it could do: 
KsnipKsnip is the best snipping tool in Ubuntu which is loaded with excellent features. It's easy to capture an image using the mouse and it can take the screenshot of the Windows, full screen, and more. This tool provides many markers like a rectangular box, arrow, and pen for denoting in the screenshot. Also, it can draw several shapes and define texts in the image. It has a watermark for stamping the name or logo on the images. Ksnip can capture a screenshot with an option, i.e., time delay, and has support for command-line. Also, it has several effects for transforming an image, and the famous effects are grayscale and drop shadow. Pros of Ksnip
Cons of Ksnip
GNOME ScreenshotIt is the best and free snipping tool available in Ubuntu. It provides an inbuilt tool within the desktop environment of GNOME. The tool provides many options for capturing the entire screen and specific tab. Also, it can grab a screenshot of a particular area. There are several effects for adding to an image. It offers a time tool for capturing the image after a few seconds. The image could be shot without or with a window border. Also, we can include a pointer inside the screenshot. It can record the screen using a screencast and it's easy to distribute the videos. Pros of GNOME Screenshot
Cons of GNOME Screenshot
ImageMagickImageMagick is an open-source and excellent snipping tool available in Ubuntu. It supports almost every kind of image format. The tool can flip, crop, rotate, and resize an image as wanted. It can include texts into the images and it can draw the shapes over the screenshot. This tool includes a sharpen and blur tool to concentrate on the wanted zone. It provides image gradients for mixing two or more colors for the shapes of the image. The ImageMagick tool shows the images along with a format for easy identification. It can establish animated GIFs along with a group of images and add two images from overlap. Pros of ImageMagick
Cons of ImageMagick
ShutterIt is one of the best snipping tools available in Ubuntu, it's free e for installing on the Ubuntu system. It can take a screenshot of any size on the website, full window, and PC with movable marks. It offers several supplementary tools for editing the screenshots and it includes rectangles, lines, and arrows for defining the essential parts. It provides a highlighter for exposing the essential texts in the screenshot. This tool can also hide necessary information on the image and crop an image to the essential dimension as well. It's easy to distribute an image with others from social media applications, and it can also upload images over any website. Pros of Shutter
Cons of Shutter
Installing Shutter in Ubuntu 20.04The Shutter tool is written in Perl language and it exists as the open-source tool upon the GNU GPLv3 license. We can install this tool on Linux Mint and Ubuntu using the apt-get command as follows: To take a screenshot using shutter, we can either open a fresh session by starting the shutter application or only choose the window for capturing through the Shutter icon inside the notification bar. Taking a screenshot with keyboard shortcutsIn case we don't know, Ubuntu provides a built-in screenshot option that allows us to capture using keyboard shortcuts. Multiple shortcuts are available, such as those to take partial, window, and full-screen screenshots. In Ubuntu, we need to open the screenshot tool for taking the screenshot. Simply, we need to click the "PrntSc" or "Print Screen" keyboard key to launch the screenshot tool. Also, we need to click the "Print Screen" and "Fn" keyboard keys together on a few keyboards. Full-screen screenshotWe can open the screenshot tool for taking a full-screen screenshot. To do so, we can select the "Screen" option at the bottom and press the Enter button. Also, we can do it with the "Fn+Shift+Print Screen" or "Shift+Print Screen" keyboard shortcuts to capture the whole screen. Window screenshot
Partial screenshotFor taking a partial screenshot on Ubuntu, we need to first open the screenshot tool by selecting the "Fn+Print Screen" or "Print Screen" keyboard shortcuts. After that, we need to move to "Selection", select the area, and click on the Enter button.
Next TopicUbuntu PDF Editor
|
 For Videos Join Our Youtube Channel: Join Now
Feedback
- Send your Feedback to [email protected]
Help Others, Please Share


