Python Tutorial
Python OOPs
Python MySQL
Python MongoDB
Python SQLite
Python Questions
Plotly
Python Tkinter (GUI)
Python Web Blocker
Python MCQ
Related Tutorials
Python Programs
GraphQL Implementation in Django| Graphene TutorialGraphQL is a query language for the APIs developed by Facebook. It applies runtime queries on APIs to fetch the required data instead of loading every data. It optimizes the RESTful API calls as compared to Rest APIs. It provides power to the client or programmer to ask exactly what they need and provide the complete description of the data in the API. In this tutorial, we will demonstrate the working of the GraphQL Django framework. IntroductionGraphQL provides the standard way to describe the data by the server in a statically typed schema. We can make the Query that defines our data requirements and receive data in Response, the only data we have requested. To get more information, go to our Graphene in Python. GraphQL is getting popular among the developers due to fewer API calls and is also considered a REST replacement. The question may arise why we need GraphQL where we have REST which is also tremendously perfect for the data exchange. Let's have a brief comparison between GraphQL and REST. GraphQL Django ImplementationIn this section, we will give a detailed overview of how to connect models from Django ORM to Graphene object types. We will use the graphene library, which works with GraphQL and Python. Set up the Django ProjectWe will create the virtual environment and install all the dependencies into it. The following setup is created.
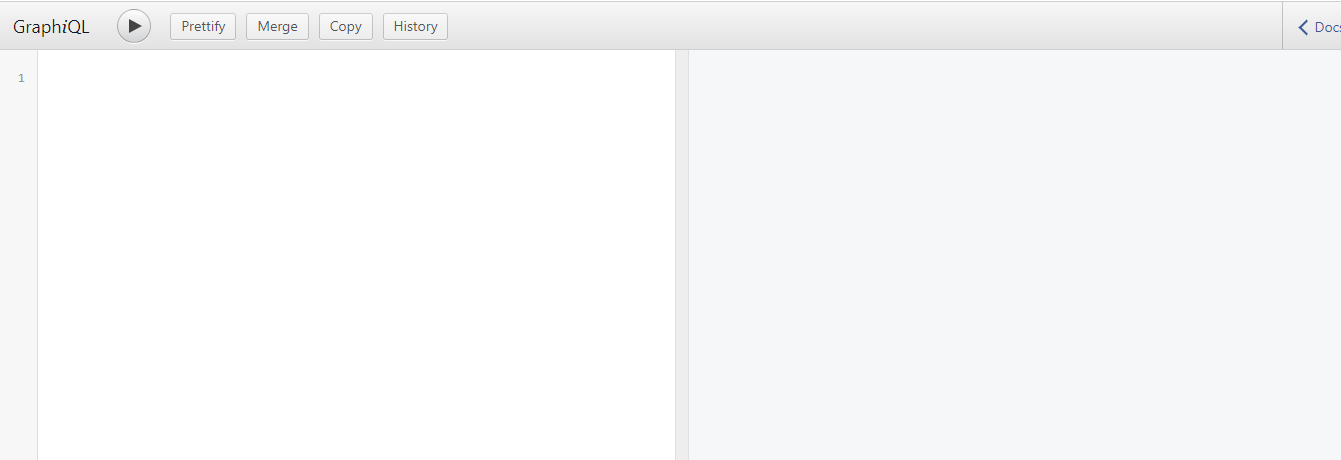
Follow the below steps to create a setup. We have built the setup for our project. Now we run the following command to sync our database for the first time. Let's move to creating tables in database. Defining our ModelsNow we create few models in the model.py file. Add the student and graphene_django to the INSTALLED_APPS in the settings.py file. #school/settings.py Run the following commands to create tables in the database. Create Some Data for TestingWe create some sample information to run query on API. First, we need to create the superuser. If you don't know, the superuser is responsible for the creating, deleting, and updating in the admin panel. To create the superuser, run the following command. After that register the models with the admin panel: #student/admin.py Implementation of GraphQL - Schema and Object TypesWe have done with the basic set up of Django. We are ready to make queries to our Django project. GraphQL presents the data in the graph structure instead of hierarchical structure. To achieve this, we need to specify each type of object so that GraphQL can represent in the graph. This graph also has a root type through which all access begins. This is the Query class below. We will import the DjangoObjectType class to create the GraphQL types for each of our Django models. It will automatically define GraphQL fields in context of fields of our Django models. Now create a schema.py file that will hold our schema of the Query. #school/schema.py We can assume it as being something urls.py file. Testing GraphQL QueriesHere we will need some configuration to run our GraphQL server where we can test queries. Updating SettingsOpen the settings.py file and simply add the SCHEMA to the GRAPHENE config. We can also use its alternative where we pass the schema in the urls definitions. Let's see the below implementation. Creating GraphQL and GraphiQL ViewsGraphiQL is a web-based integrated development environment that allows us to write and execute GraphQL queries. It is slightly different from the REST because there is a single URL from which GraphQL is accessed. Graphene's GraphQLView view handles the requests that come from this URL. We create the GraphQL endpoint and we specify the parameter with graphiql=True. As discussed above, if we don't specify the Graphene SCHEMA in settings.py, we can pass it to our URL below. Run Django ServerNow, we are ready to test the API we have built and fire up some queries on it. Before that, run the following command. Visit to the http://127.0.0.1:8000/ and go to the GraphQL page. It will show the following interface. 
On the left-side, we fire queries and the right-side displays the result. Run GraphQL QueriesLet's fire our first query. Query - 1: Output:
{
  "data": {
    "allStudents": [
      {
        "id": "1",
        "name": "Alex",
        "classTeacher": {
          "name": "Pat Cummins"
        }
      },
      {
        "id": "2",
        "name": "Robert",
        "classTeacher": {
          "name": "Pat Cummins"
        }
      },
      {
        "id": "3",
        "name": "Ricky",
        "classTeacher": {
          "name": "David Warner"
        }
      },
      {
        "id": "4",
        "name": "Princy",
        "classTeacher": {
          "name": "Mathew Wade"
        }
      },
      {
        "id": "5",
        "name": "Maria",
        "classTeacher": {
          "name": "David Warner"
        }
      }
    ]
  }
}
Congratulations, we have completed our first GraphQL query. We need to use the camelcase field names to better the JavaScript client's compatibility. We can also run Query for relation using the current schema. That's why GraphQL has become more popular and powerful. Output:
{
  "data": {
    "allStudents": [
      {
        "id": "1",
        "name": "Alex",
        "rollNo": "101"
      },
      {
        "id": "2",
        "name": "Robert",
        "rollNo": "102"
      },
      {
        "id": "3",
        "name": "Ricky",
        "rollNo": "103"
      },
      {
        "id": "4",
        "name": "Princy",
        "rollNo": "104"
      },
      {
        "id": "5",
        "name": "Maria",
        "rollNo": "105"
      }
    ],
    "teacherByName": {
      "id": "2",
      "name": "Mathew Wade"
    }
  }
}
ConclusionGraphQL is a powerful and popular tool integrated with Python that allows working very efficiently. In this tutorial, we have integrated the Django model with GraphQL. It allows us to get started working with the server quickly. GraphQL will take over REST soon due to its fast processing.
Next TopicHow to Implement Protobuf in Python
|
 For Videos Join Our Youtube Channel: Join Now
Feedback
- Send your Feedback to [email protected]
Help Others, Please Share


