Python Tutorial
Python OOPs
Python MySQL
Python MongoDB
Python SQLite
Python Questions
Plotly
Python Tkinter (GUI)
Python Web Blocker
Python MCQ
Related Tutorials
Python Programs
Python | Message Encode-Decode using TkinterEncryption is the method of converting text or information into an unrecognisable form, and decryption is indeed the method of obtaining the original form of the message from the encrypted one. The method of message encrypting and decrypting involves first changing the original text into ciphertext, which is a random and meaningless text. This method is known as encoding. Decryption is the process of restoring the original text from the ciphertext. The Encryption-Decryption process is yet another name for this procedure. The goal of this essay is to use a single key to both encrypt and decode messages. The base64 library and the Tkinter toolkit will be used to build this project. Users must enter the text to encrypt or decode in this article. The encoding and decoding processes must be chosen by the user in a specific mode. Encoding and decoding operations for the same message must be performed using the same key. We'll utilise the fundamentals of Python, Tkinter, and the base64 library to develop this project. A function to encode binary information to ASCII characters then decode those ASCII classic characters to binary data is provided by the base64 module of the standard GUI Python library, Tkinter. On the command prompt, we use the pip install command to install the library. These are the steps to develop the Python code for message encoding and decoding.
So, this is what this Python project will entail. Let's begin. developing message encode-decode project steps Steps for Message Development Encode-DecodeStep 1. Use tkinter import to import libraries Importing the base64 tkinter libraries is the first step. Step 2. Make the Tk() root the initial window root.
One or more lines of text which users cannot edit are displayed using the Label() widget. The window is referred to as the root. We display text on the label. typeface used to write the text. assemble a block of structured widget. Step 3. Defining the variables Explanation:
Step 4. Function to encode Step 5. Function to code Explanation:
Step 6. Functioning set to mode Exaplanation:
Step 7. Exit Window: The mainloop will end when the application is terminated by root.destroy(). Step 8. window reset feature Step 9. Buttons and labels: 

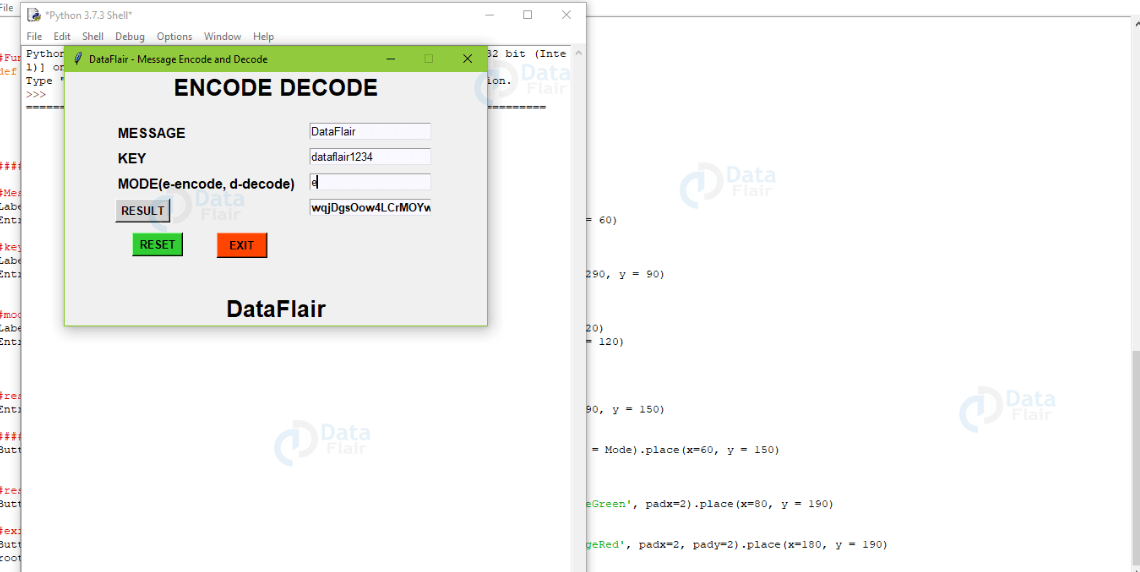
Root is the term used to refer to the text that appears in our windows and is displayed in the label font. Insertwidth is used to set it width of a insertion. The textvariable used to fetch the current text is called so when button is clicked. setting the background colour of the cursor to the entry widget root. When we need to launch our application, the method mainloop() is called. Output: 
Next TopicPython Validation
|
 For Videos Join Our Youtube Channel: Join Now
Feedback
- Send your Feedback to [email protected]
Help Others, Please Share


