How to transfer photos from Android to MacNowadays, almost every person is using a smartphone having good camera quality. People always love to click photos of their own, family members, friends, and whatever they find interesting to keep their movement memorable. But we know that phones have limited storage space even we use expendable memory with them, and they get filled with photos and different files. 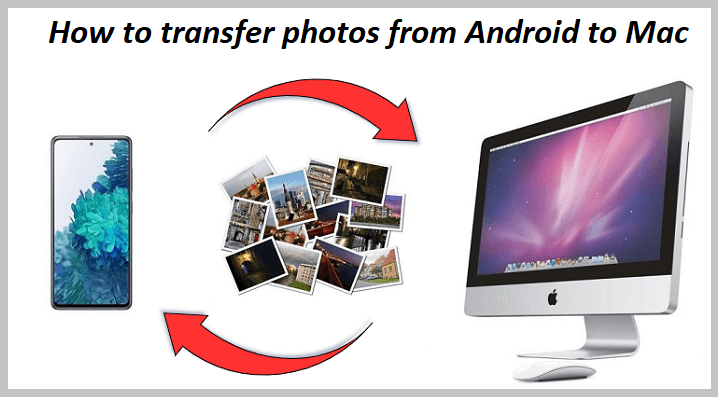
In such a case, you may want to move your photos from an Android to a Mac device for various reasons. It may include creating a backup of your photos on your Mac, editing photos in advance photo editor tools, etc. But getting photos from your Android phone to your Mac is not a straightforward task, especially when you don't know from where to start. Mac operating system is the product of Apple Company, and it smoothly works with its own iOS devices (iPhone). But you might face some complications to access Android phone and Mac device together for transferring photos or other documents. However, in this guide, you will know the different possible methods to transfer photos from Android phones and tablets to Mac devices. Transfer photos from Android device to Mac: using Android File Transfer appAndroid File Transfer is a third-party application designed to transfer files and photos from Android phones to Mac computers and vice-versa. Using the Android File Transfer app, photo transferring is quite easy. As per Android guidelines, your Mac computer must be running on macOS 10.7 and above to support the Android File Transfer app for photos transfer. 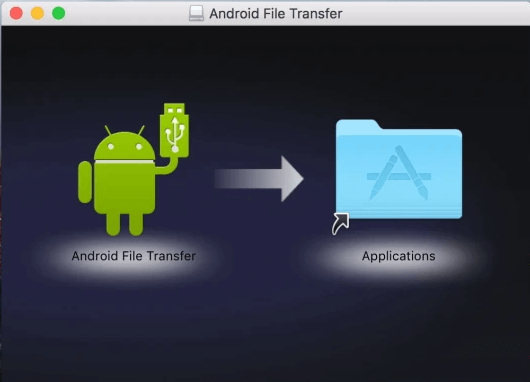
To transfer photos from your Android to Mac device using the Android File Transfer app, go through with following given steps:
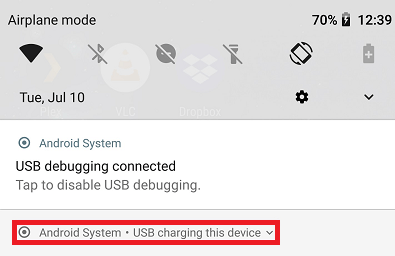
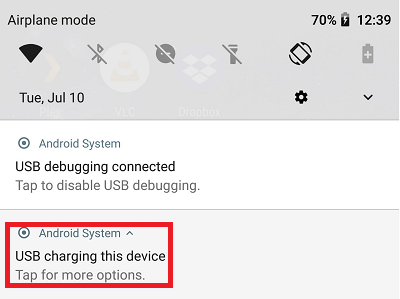
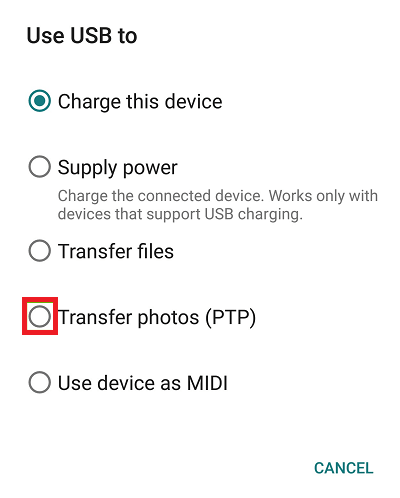
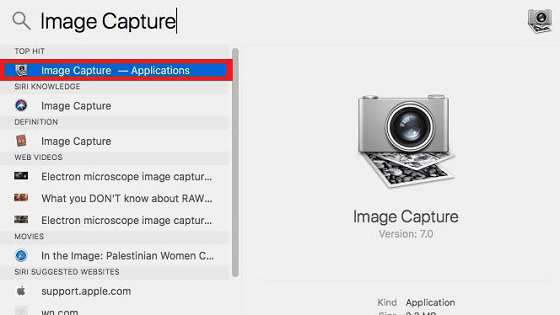
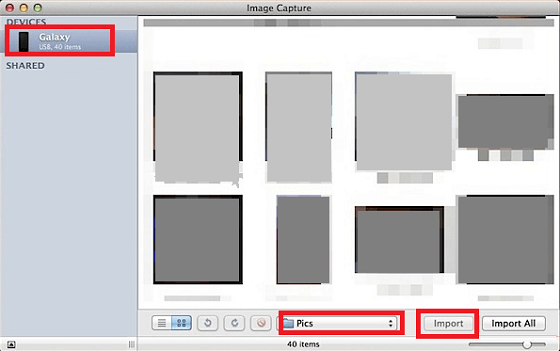
Transfer photos from Android phone to Mac device: using USB Cable and Image Capture ToolThe Image Capture tool is the preferred option to transfer photos from almost any digital device to Mac. Moving pictures using Image Capture in Mac is efficient, fast, and gives thumbnail preview. Using this tool with a USB cable for moving pictures from Android phone to Mac is not the frills, and it also gets the job done quickly. To transfer photos from Android to Mac using a USB cable and Image Capture tool, the Mac must be running on Mac OS X 10.5 and above. Here are the steps to transfer photos from an Android phone to your Mac device with this application: From the Android phone
From the Mac computer
If you want to move all your photos from your Android to Mac, Image Capture allows you to choose "Import All" rather than the Import button. However, some Android devices face issues with the Image Capture application, and if you face any problems, you can go with the Android File Transfer application. Troubleshoot transferring photos from Android to Mac by USBTroubleshoot your Mac computer
Troubleshoot your Android phone
Troubleshoot your USB connections
How to Transfer Photos from Android to Mac: with MacDroid toolMacDroid is an excellent tool that connects Mac and Android devices. Using this tool, you can effectively transfer photos from an Android phone to a Mac device in a very short period. MacDroid lets you transfer efficient and problem-free photos and other files (including videos and audio). The process to transfer photos from Android to Mac with MacDroid is a direct way, and you only need a USB cable for it. 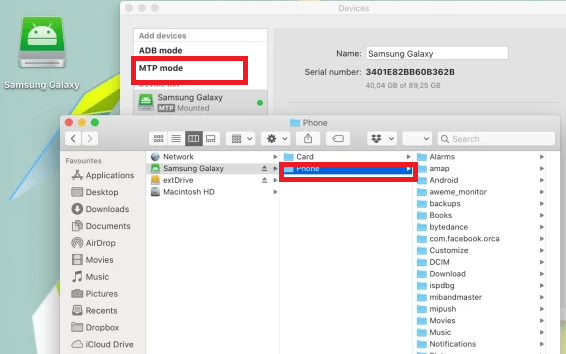
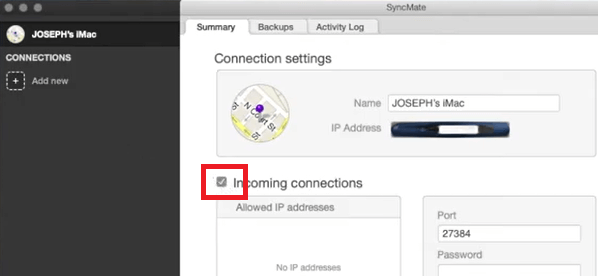
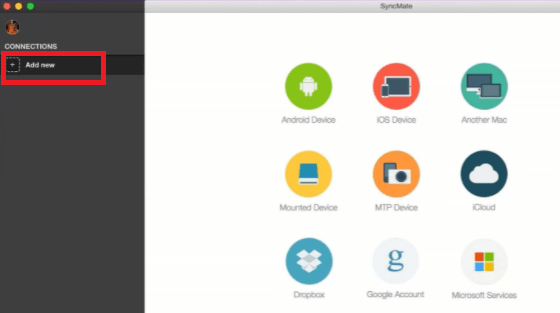
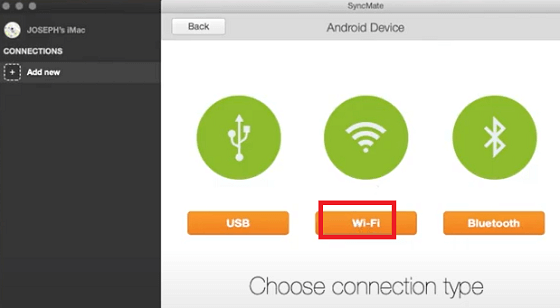
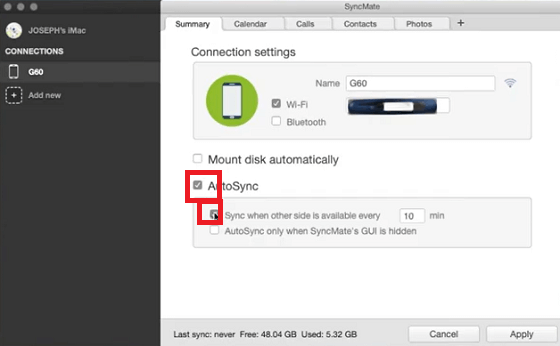
How to Upload Photos from Android to Mac with SyncMateSyncMate is another great application that lets you transfer photos and other data between Android and Mac devices. The tool supports different types of file transfer, including photos, music, videos, and folders. One of the advantages of using this app is that it syncs data between apps on your Android device and Mac OS. Using the SyncMate tool, file transfer becomes straightforward and fast, especially in wireless mode. Following are the steps to use the SyncMate application for file transfer.
Transfer Photos from Android device to Mac OS with Google Photos appGoogle Photos application is another alternate way to transfer photos from Android devices to Mac OS. To be able to use Google Photos' features, you must have a Google Account. However, most people are already using Gmail, and if you are also one, you have a Google account already. Follow the below-mentioned steps to move photos from Android to Mac via Google Photos. 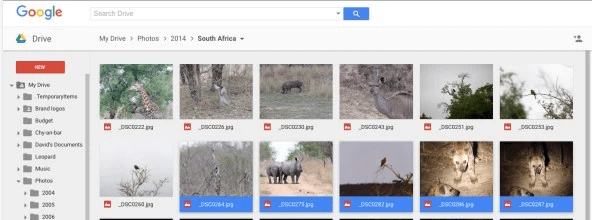
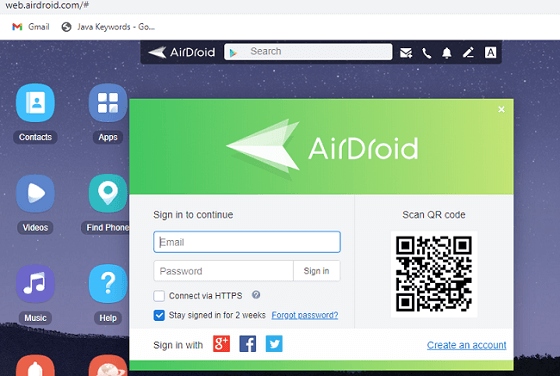
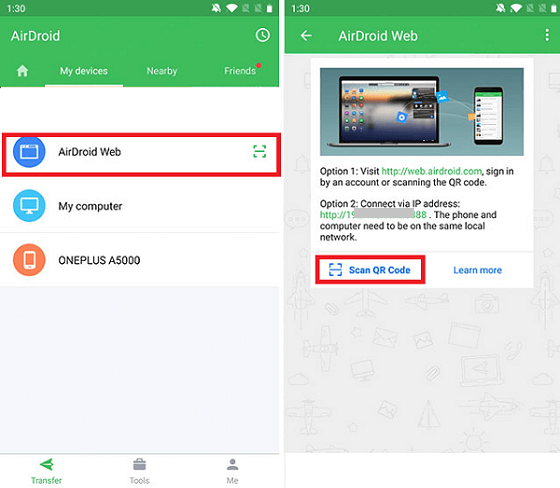
The easiest way to transfer photos via Google Photos between Android and Mac OS is by activating the sync feature. Transfer Photos from Android to Mac with AirDroidYou can also use the AirDroid application for file sharing between Android phones and Mac OS. It is a free Android app that helps you control your Android phone from any browser on Mac. You don't need to use a USB cable to move files between devices. You can establish a connection between an Android device and Mac by scanning the QR code on the AirDroid web. Here are the steps to transfer images from Android device to Mac OS using the AirDroid application:
Next TopicHow to Crop a Video on Android
|
 For Videos Join Our Youtube Channel: Join Now
Feedback
- Send your Feedback to [email protected]
Help Others, Please Share


