| |

How To Solve THREAD_STUCK_IN_DEVICE_DRIVER Error?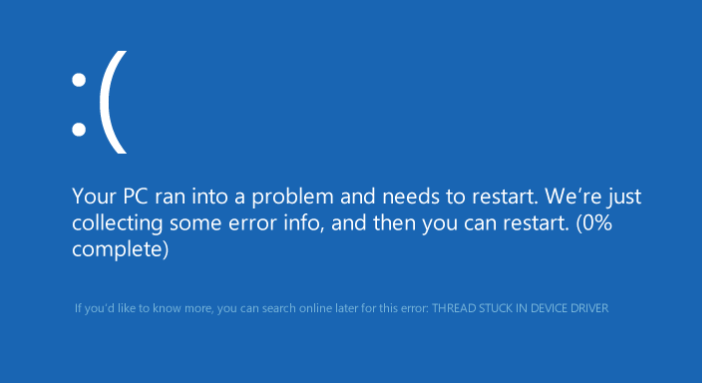
The user can face this error if a driver is stuck in an infinite loop while waiting for the related hardware to enter an idle state. The error can occur if the driver malfunctions or is faulty. If the issue is related to the driver, it is relatively easier to fix. It is a type of Blue Screen of Death (BSOD) error. The system immediately crashes when the above error occurs, and a blue screen is displayed. You can see the error message at the bottom of the screen. The error message states the name of the error, in this case, Thread Stuck in Device Drivers. Important Facts About Thread Stuck in Device Driver ErrorYou must know some facts about this error before beginning to perform the fixes to get rid of the error. The facts are as follows: It occurs in Windows OS versions - the error message displayed in all the Windows OS versions is the same in Windows 7/8/10/11. The GPU device drivers can also result in the Thread Stuck In Device Driver Error. If you play high graphic games, then the error most likely occurs while playing the games as it affects the Oculus category. The error can occur in prominent device drivers as well. The error can be caused by drivers associated with OTT platforms. Data mining activities can result in errors as well. Fixing Thread Stuck In Device DriversIf the error occurs, then there are several fixes that the user may perform to resolve the error in the system. Perform the fix in the same sequence as mentioned below: Update WindowsIf you are frequently facing the thread stuck in a device driver error, the issue can be related to the current version of the Windows OS. There can be a bug in Windows, which is likely fixed in the recent Windows upgrade or the latest version of Windows OS. To fix the error, you only need to update the Windows. Follow the below to update the Windows. Use the Windows + I shortcut to open the system settings. You can also use the Windows button to open the settings. Select the Update and Security option in Settings. When you click Update and Security, it will open the Windows Update tab by default. Now, to see available updates, click Check for Updates, and it will start a scan looking for available updates. If the system finds updates, they will be automatically downloaded and installed. Once the update is complete, perform a reboot and check if the error is resolved. If the error persists, then move to the next fix. Update DriverThe most common cause of the BSOD error is outdated errors. Sometimes, outdated drivers are no longer compatible with the system hardware, which can cause the error. It can be resolved by updating the drivers. Before updating the driver, you will need to find the driver that is causing the error. Check the driver with a yellow warning; in Windows OS, you can check if the drivers are functioning properly; if any driver malfunctions, it will show a warning. If there are no warnings, you can begin checking with the graphic driver and then check the sound driver. Mostly, the error is associated with either of the drivers. If it does not work, update the drivers you think are causing the error based on your experience. You may even have to update each driver to resolve the error. Follow the below steps to update the drivers:
Uninstall Recent AppsIf the error occurs after you have installed a new application or software, you may be required to uninstall the program. The application may be affecting the functioning of the Operating System. It can result in the error mentioned above. If you have recently installed several applications from the system, finding the issue in a specific application may be difficult. After installing which application you are facing the problem, it is simpler to know. If you remember the particular time after you faced the issue, list all the applications installed in the particular period. Once you have the complete list, start uninstalling the applications one by one, and each time, check if the error is resolved. Follow the below steps to uninstall the applications: Open the Windows search bar and type Control Panel. Open the application from the menu and click on the Program tile. Click on Uninstall a program from Programs and Features. It will return a list of all the programs installed in the system. Click on the program you wish to download, and you will see the option to uninstall or change the program. It will begin the uninstaller by following the instructions to uninstall the program. Once it completes, restart your system and check if the error is resolved. If the error is not solved, proceed with the next application. Run SFC ScanMicrosoft provides a feature that enables users to look for corrupt system files and repair them if needed. The files are switched with a cached copy of the system file located in the system. Suppose the system file malfunctions cause the error due to missing or malfunctioning system files. Implementing the scan will fix any issue related to the system files. To begin an SFC scan, open the Windows Search bar and search for Command Prompt. Run the application as an administrator. Once it starts, you can begin by typing the below command and pressing Enter. It will start automatically. You can check if the scan has begun from the command prompt itself. It will display the status and wait for several minutes. Sometimes, the process may appear paused. Don't interrupt the process. It will terminate itself. Once the system finishes the SFC scan, it will report if there were any corrupt files in the system and actions taken to resolve the issue. You must reboot the system and check if the error is solved. Run DISM ToolIf the error still exists after performing the SFC scan, you can try another Windows tool to repair the error. The DISM tool refers to Deployment Image Servicing and Management. It enables the user to verify the health and repair any issues associated with the Windows OS the user is using. If you want to launch the DISM tool, follow the below steps: First, run the command prompt as an administrator. Running as an administrator is important as it provides users special access to implement certain commands. Below is the list of commands that you need to run to implement the DISM tool. Enter the command one at a time and press Enter after entering each command. After implementing all three statements in the command prompt, restart the system and check if the error is resolved. Update BIOSSome users have reported that outdated BIOS causes the Thread Stuck in Device Drivers error. The error can be fixed by simply upgrading the BIOS. It takes a lot of effort and time to update the BIOS. If there are any issues while updating the BIOS, it can break the entire system. It is advised to take the help of a professional to update the BIOS. If you are updating by yourself, perform each step cautiously. Before updating BIOS, confirm the current version and then download the upgraded version online. Now proceed with the upgrade; once the process is complete, check if the error is resolved. Note: Upgrading the BIOS is complicated, and it is better to refer to some tutorials before upgrading.System RestoreIt can be regarded as the last resort for most system errors. If none of the above fixes resolve the BSOD error, you may be required to use the system restore. It can be explained as the process to revert the changes that were performed after a given period. The objective is to restore the system to a state where the error was not occurring. Although the system restore does not delete any file, it will delete any recently installed software or any changes in the system settings. Once the process is complete, the BSOD error will be resolved and won't happen again. |
 For Videos Join Our Youtube Channel: Join Now
Feedback
- Send your Feedback to [email protected]
Help Others, Please Share


