| |

How to Build a ComputerSimilarly asked Questions:
In a world increasingly dominated by technology, the quest for the perfect computing device has become a personal and exciting endeavour for many. Whether you're a gamer seeking the ultimate frame rates, a content creator demanding top-notch rendering capabilities, or simply an enthusiast who enjoys the thrill of constructing your digital powerhouse, building a computer offers a unique and rewarding opportunity to customize a machine that suits your needs precisely. Building a computer is a journey that encapsulates the art of technology and the science of engineering. It provides an intimate connection with the heart of your digital world.
Assembling these components is not only an exercise in technical proficiency but also an expression of creativity. This guide, designed to encompass every step of the process, aims to demystify computer assembly. We'll walk you through the process from the initial planning stage of defining your requirements and selecting the right components to the final, satisfying moment when you press the power button and watch your creation come to life. Along the way, you'll learn about the critical role of cable management, the importance of cooling solutions, and the necessity of installing the right software. Whether you're a novice seeking to build your very first computer or an experienced builder looking to refresh your knowledge, this guide will serve as a valuable resource. As technology evolves, the process of building a computer remains a tangible and enjoyable exercise, a testament to the human desire to harness and control the power of machines. So, let's embark on this adventure together and unlock the potential to create your custom computing masterpiece. Although it seems difficult when thinking of building a computer, it is an interesting task to be done. If you are a beginner, it might take a little time to understand each step and implementing it practically. A computer is an electronic device, so by connecting the parts of the computer at their right place will definitely build a good and perfect computer. As a beginner, you have just purchased a computer from the shop till now, but it is also possible to build your own computer. It is not an impossible task only there is a need to pick out the right components and carefully make connections in the right-slots and connectors. 
Here, in this tutorial, we will take a step-by-step tour and understand each step deeply so that we might find it easy to build. There is no need to worry about it because we will let you know where to start from. Also, we will see the components which are best suited for building a computer. Choosing the Right ComponentsIt is highly essential to choose and pick the correct and good parts of a computer system. The right selection of the components will lead to a compatible and efficient building of a computer. However, if we select incompatible computer parts, it will create certain issues, money wastage, damage to other products, and arguments with the shopkeepers for returning such unresponsive and poor quality parts. So, one should be careful enough while dealing with the most crucial parts of the computer. If chosen correctly, there are the following components that will lead to a successful building of the computer that will work similarly to the computer that we have purchased from the shops. We need the following components for building a computer:
So, we need to collect all these hardware parts for building a computer. We can easily get these parts from the electronic shops. After collecting all these essential components, please ensure whether they are working properly so that no conflict may arise later on. Apart from these essential tools, keep a toolkit containing screwdrivers, screws, LED, and other common tools. Safety MeasuresIt is necessary to keep safety measures before getting started with our main job, i.e., building a computer. These safety measures are as follows:
One end wraps around our hand in the wristband, and the other end clips on the computer.
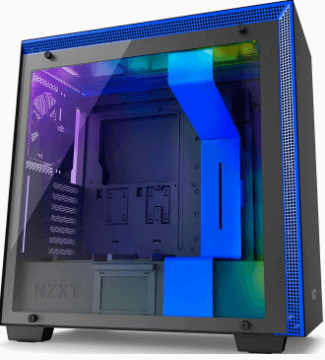
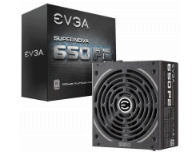
Steps to build a computerLet's get started building the computer by connecting these components at the right place and make a workable electronic machine. There are the following steps we need to follow to start building the computer: Step 1: Open the Case The foremost step is to open the case and lay it down on the floor. Opening and preparing the case is the easiest step to be done. Remove the side panel of the case and also remove anything which is creating noise or dangling inside the case. It is because it may create a problem afterward. If it is attached too tight, push it and remove it. After doing so, keep the case aside for some time. Step 2: Everything needs a power supply to get started. PSU is the first component of the computer case, which is present at the top or bottom corner of the case. In the case, there are variants of PSU present, i.e., Standard PSU and Modular PSU, which are the main power supplies, and in addition, a hybrid semi-modular PSU also exists. Modular PSUs carry cables that detach from the main unit in order to avoid clutter, and it is ideal for smaller cases. See the type of PSU, which is present in our case, and if it is modular, leave the cables out for now and run them at the time of installing the additional component. However, the cables do not detach, bind, and bundle altogether, and they will hang out at the open side panel of the case. Bundling the cables will keep them aside until we are installing the other components of the computer. Step 3: Install the CPU It is time to take out the motherboard and prepare it by installing or connecting the CPU, its cooler, and RAM before attaching in the case. We can also connect these components after fitting them in the case, but it will become quite difficult to attach them to the computer. Thus, it is better and easy to install the CPU, RAM, and coolers in this step only, i.e., before fitting the motherboard in the case. Remove the motherboard from its anti-static bag and place it on a flat and non-metal surface such as on the desktop. Carefully connect and install the CPU on the motherboard because there are too many pins on the motherboard, so ensure that the CPU is seated correctly on the motherboard. The installation process of the processor varies according to the type of processor purchased. Let's discus. Process to install an Intel Processor In the Intel processor, pins reside in the modern Intel sockets on the motherboard that makes the CPU installation easy. This part of the socket is known as the Contact Array. Note: Do not try to bend or touch these pins.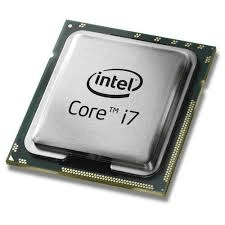
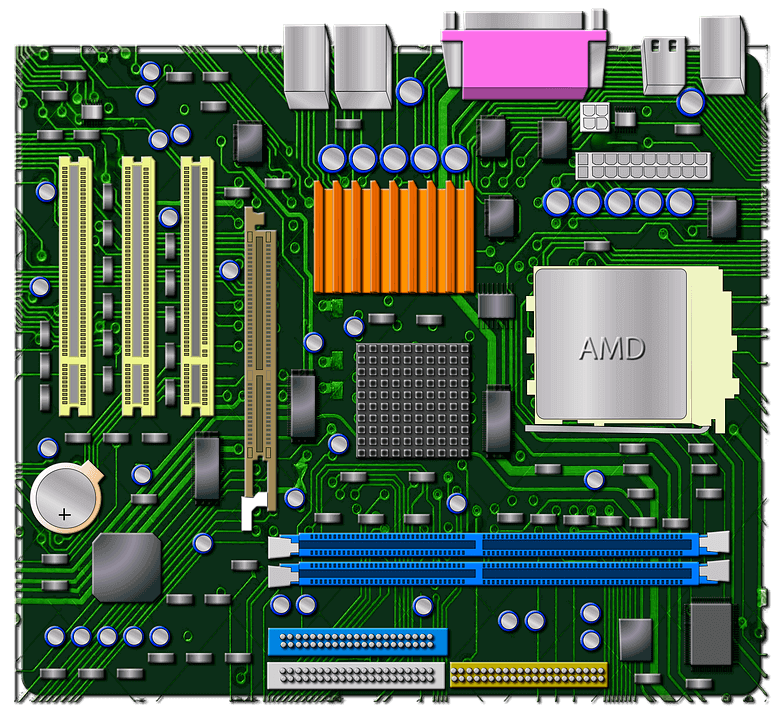
A load plate is responsible for holding the CPU at its right place. The load plate is raised and lowered using the load lever. When it is clamped down, the end of it tucks under a hook for keeping everything at their right places. Open the Load plate by pushing it down on the load arm and move it out from under the hook. After that, raise it up all the way. The load plate will be opened by the action of the hook's lever, which can be easily flipped up. In a new motherboard, it might be covered with a foam filter, remove it gently. Place the CPU in the socket in such a way that the outer rim lies flush with the socket body, and there is no need to put any pressure because we can do it easily. Make use of the load arm to lower the plate over the chip, push it and again clip the arm under the hook by putting some pressure to do it. Also, make sure that the notches (present at each side of the chip in the shape of half-circle) in the processor should align with those present in the socket. Process to install an AMD Processor The installation process of an AMD processor is different from that of the Intel processor. The design of an AMD Processor also varies from the Intel Processor. In an AMD processor, pins are placed out from the processor. 
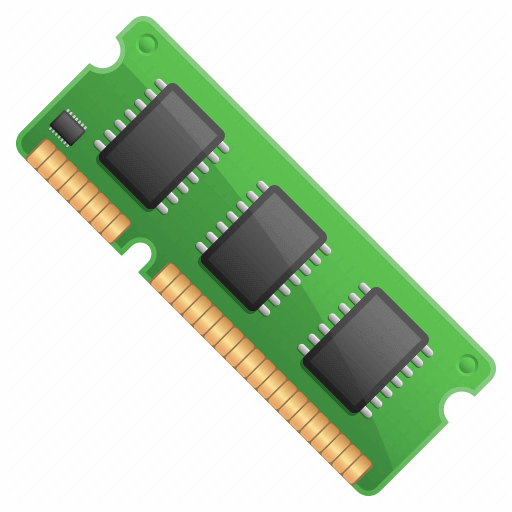
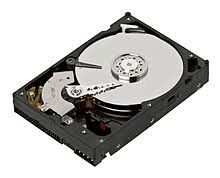
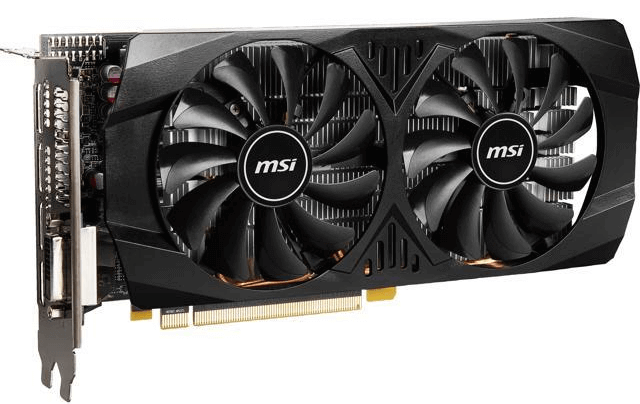
The pins of the AMDs processor are inserted into the holes which are embedded in the CPU socket of the motherboard. The load arm shifts the hole slightly, and when we press it down, the pins get gripped on the processor. Somehow, if it is not so, raise the arm to point it up straight and leave it to rest afterward. Doing this will ensure that the holes are wide open for the pins. Avoid using notches and use a gold engraved triangle on a CPU corner to correctly line up the processor in the slot. As soon we successfully place the processor in the slot, press the arm by applying some pressure downwards until it clicks at its correct place and locks in. Step 4: Installing the RAM Unlike in the previously discussed steps, the installation of RAM is not a big deal. We just need to keep two points in mind, i.e., we have selected a compatible RAM and the direction and slot choice for installing the RAM. The direction is too easy to be chosen. All the memory stick carries notches in the contacts lining the bottom edge that creates a line up with a block of the memory slot present in the motherboard. Hold the line above the slot and the two lines in the upward direction facing the right side. If unable to do so, rotate it in a 180-degree angle. The selection of slots for placing the RAM depends on the factors such as how we have purchased the RAM because if it is a single stick, we need to install it in the A1 slot. Install the sticks in their respective slots with their matching colors, which are labeled A1 and B1 or A2 and B2. For other types, we can read the directions given in the manual of the motherboard. After knowing the correct slot and direction for the RAM, now push the plastic wings at one of the ends of the slot down and outwards (may be motherboard have two). After this, place the stick at the slot stuck straight up and push it down until the RAM fits into the slot. Finally, the plastic bags are placed back in and clamp the stick's end. Step 5: Installing the motherboard Modern cases consist of non-removable spacers which are in-built between the back wall and motherboard. We call it as Standoffs. These standoffs are like the floor for the motherboard, which helps prevent the connections on the back from any kind of short-circuit. Some cases have removable standoffs which need to be installed manually. These are screws that are copper or gold-colored and have another screw hole on its top. The orientation of the motherboard varies as per the case we have. A rectangular cut-out will be present for the motherboard I/O panel, either at the back or top. An I/O shield is also shipped with the motherboard, which is installed, and then we align the I/O panel, and then we can see the screw holes of the motherboard aligned with the standoffs in the case. However, if not so, just wiggle the motherboard so that it snaps into the shield, and standoffs align properly. After connecting the motherboard successfully in the case, two more connections are still required: Conn 1: The power connection of a motherboard is a two-row cable wide enough to fit into a similar-looking spot on the board itself. The cable has 28 pin connectors approximately that give power to the motherboard as well as to the CPU. If there is a second 4-pin or 8-pin connector for the processor placed in the top-corner side, plug-in too. Conn 2: Now, we need to connect the case plugs and buttons to the motherboard. A double-wide row of pins is used for running the USB ports, buttons for reset and power, and the activity LEDs for power and storage purposes. These small cables run in a bundle from the ports placed in the case. At the end, the USB header will be connected to the front-facing ports of the motherboard itself. Step 6: Installing the CPU coolers Now, we need to install the CPU coolers using a thermal paste that is a good thermal conductor that allows the transfer of heat from the chip to the cooler. We just need the paste to get a cure, and then the installation is over. But to fully power the fan systems, plug the wires from the fan into a 4-pin connection over the motherboard. These 4-pin connectors are close to the processor, and we can easily find by its labeled name "CPU_FAN". Step 7: Installing the Graphics Card As told earlier, every system does not need to install the Graphics Card. If we are not a gamer, skip this step. In the modern graphics card, a PCI-Express slot is present, which is a long and thin connector present on the motherboard. Remove the rectangular backplate to place the card in the slot. The slot is a thin metal bracket which is lined down at the back of the case so as to keep it sealed up. Use the motherboard manual and search for the PCI slot, which is a horizontal slot with a plastic latch. The PCI slot is the slot for the GPU. Place and settle the GPU at the slot by pushing its back (the back has HDMI and display ports) with the back of our case. If it gets successfully inserted, the GPU gets locked into the slot. Connect the cables coming out of the power supply in the GPU rectangular or square socket (6 or 8 little holes). Finally, the GPU gets installed in the case. With respect to the installation of the GPU, we can install the other expansion cards also. The PCI slot is not only for installing the GPU but also for other expansion cards too such as sound, video-capturing, wireless networking, and other storage cards. Step 8: Installing the storage drives There are three varieties in the size of the storage drives which have their own connecting method. The usual sizes of a HDD are 3.5-inch larger, and a SSD is 2.5-inch smaller. The case consists of at least one slot for placing such type of drives. To install a drive, slot it into a mount on the cage and make alignment of the screw holes on the sides of the drive with those on the cage. It is essential to ensure that the face of the power and data connectors is in the inward direction. After successful alignment, use the screw to settle the drive at its place. If we are using a modern case, it becomes easy to install the components due to the presence of a tool-less installation system. If we have to install a 2.5-inch size drive in the case, we need to take the help of the manual to mount the drive correctly in the case. For connecting the hard drives, we need to make two connections. The first connection is for power, and the other is for the data. These two connections are L-shaped, so there will be no incorrect plug-in problem. We can easily plug them correctly in their correct slots. So, as we have mounted the GPU to its PCI-Express slot, similarly, we can do for the PCI-Express storage drives also. Step 9: Moving towards the final connections Before making the final connections, it is essential to check out all the connections of the components, whether performed and completed successfully or not. Check out the motherboard connection because it is too easy to spot if it is not connected properly. Check out the 4-pin or 8-pin connectors of the motherboard, getting the proper power supply. After this, check whether CPU coolers are getting proper power supply from the motherboard or not. Now, check the HDD are getting powers in the form of L-shaped SATA connectors. Lastly, the GPU should get the needed power and look out if all the connections are done properly. Carefully view all the installations we made until now and ensure that each computer component is installed and connected properly at their own places and slots. Step 10: Finally power on After double-checking, all the installations, switch on the power supply and press the power button. Now, if all our connections are properly done, the system will start to boot. As soon as the booting process begins, we need to start the installation of the Operating System. After successfully installing the Operating system, install the drivers on the system. Check out other installation and check for the 'Update & Security' in the system. Update the required software on the system, and hence in this way, we can successfully build our own computer by following some proper guidance and preventions. Conclusion:In the span of this guide, we've delved into the intricate world of computer assembly, exploring the myriad components that come together to breathe life into a custom-built machine. Building a computer isn't merely about assembling hardware; it's a journey of empowerment. This endeavour is a testament to your ability to learn, adapt, and conquer the challenges that come your way. You've acquired valuable skills, from understanding component compatibility to cable management and cooling strategies, which can extend far beyond the realm of computer assembly. With the knowledge and experience gained from this endeavour, you're better equipped to adapt to an ever-evolving technological landscape. As the hardware and software of tomorrow continue to advance, you'll be ready to explore new possibilities, push your system's boundaries, and take your computing experience to new heights. Enjoy your new creation, and let it be a source of inspiration and empowerment for all your digital adventures to come.
Next TopicHow to Post on Instagram from Computer
|

 For Videos Join Our Youtube Channel: Join Now
Feedback
- Send your Feedback to [email protected]
Help Others, Please Share


