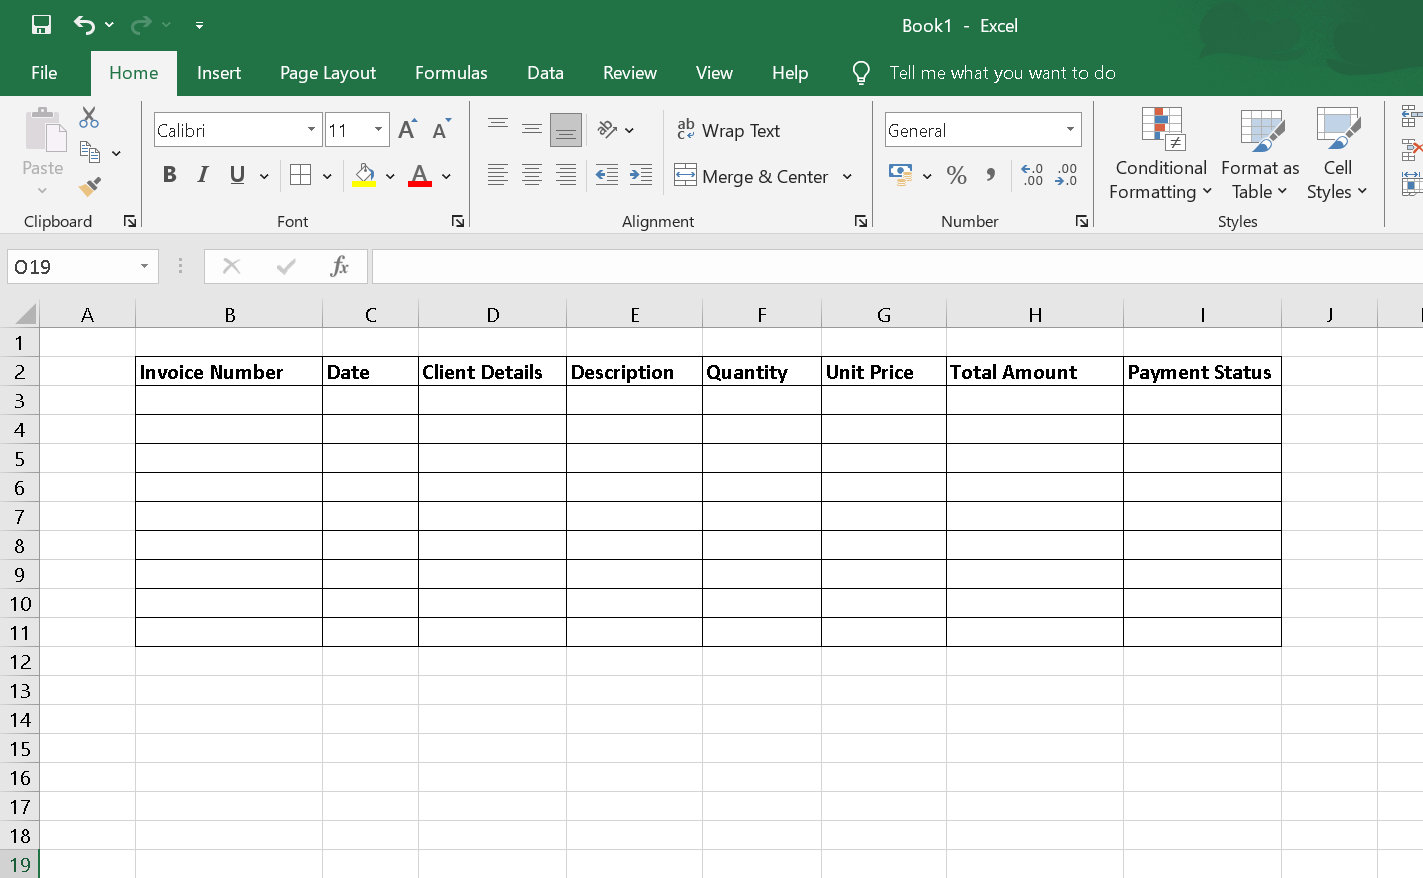
Bill Book format in exceldesigned to track and organise financial activities associated with billing and invoicing. It is a methodical and systematic approach to recording sales or services that a company offers to its patrons. Predefined columns for important data, such the invoice number, date, client information, product or service description, quantity, unit pricing, total amount, and payment status, are usually present in the Excel bill book. For the purpose of developing dynamic and customisable bill books, Microsoft Excel offers a robust framework. Excel's built-in functions and formulae may be used by users to automate computations, guaranteeing efficiency and accuracy in the billing process. Additionally, the platform makes customisation simple, letting companies easily modify the bill book template to fit their unique needs and branding. Additionally, Excel's data analysis, sorting, and filtering features make it easier to organise and retrieve billing data. This digital billing method offers a centralised, easily accessible repository for financial information in addition to streamlining the invoicing process. All things considered, a Microsoft Excel bill book is a flexible and easy-to-use tool that helps companies efficiently handle their billing operations. What do you mean by bill book in Microsoft excel?A Microsoft Excel spreadsheet or workbook created especially for tracking billing and invoicing tasks is referred to as a "Bill Book". It functions as a structured template that companies may use to capture sales transaction information, create invoices, and keep an organised record of all money exchanges with clients or consumers. What does bill book include?In Microsoft Excel, a bill book usually consists of many columns with data to make the process of documenting and managing billing and invoicing easier. The following are typical elements included in an Excel bill book:
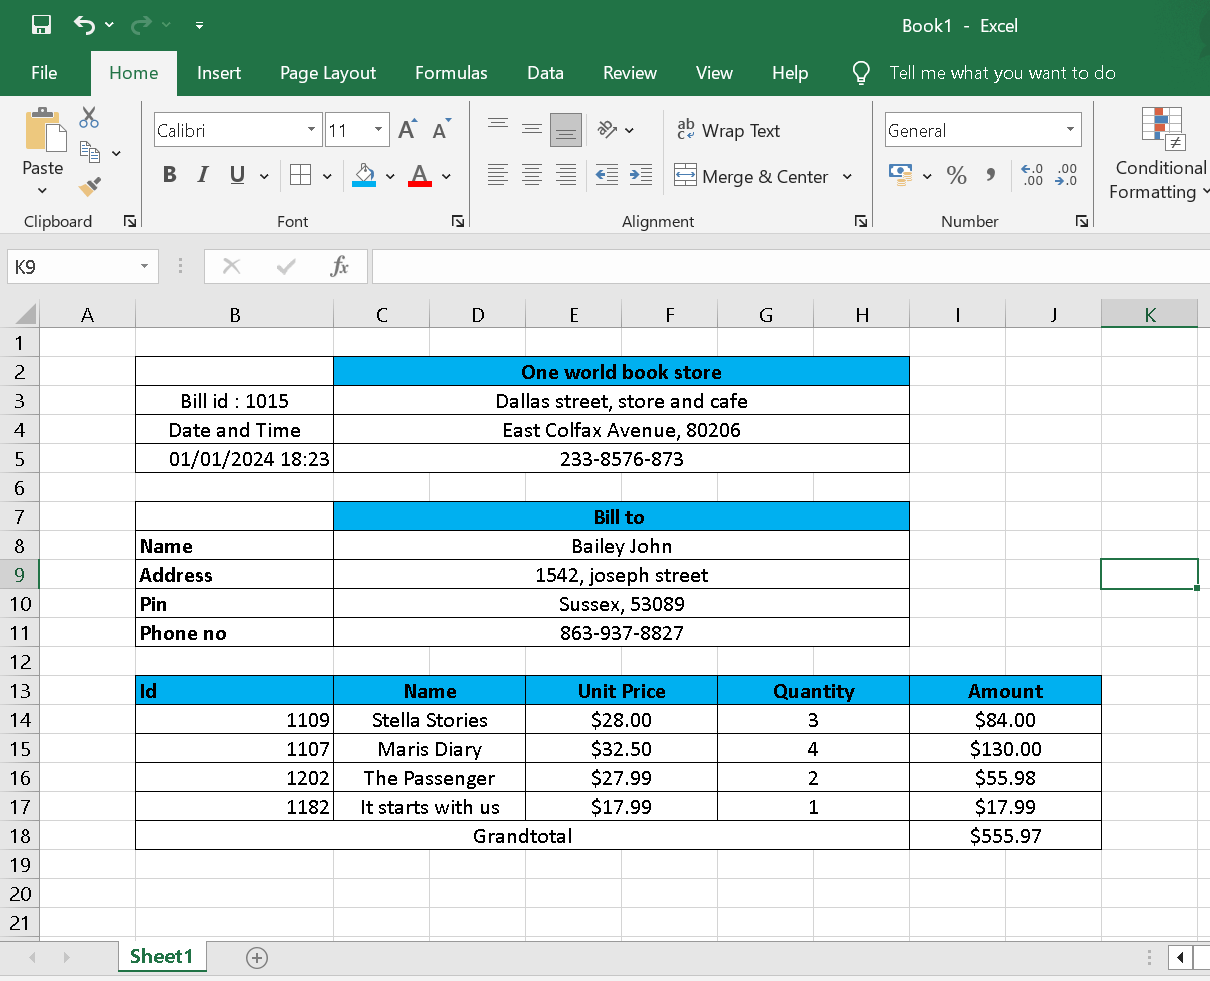
Sample Format: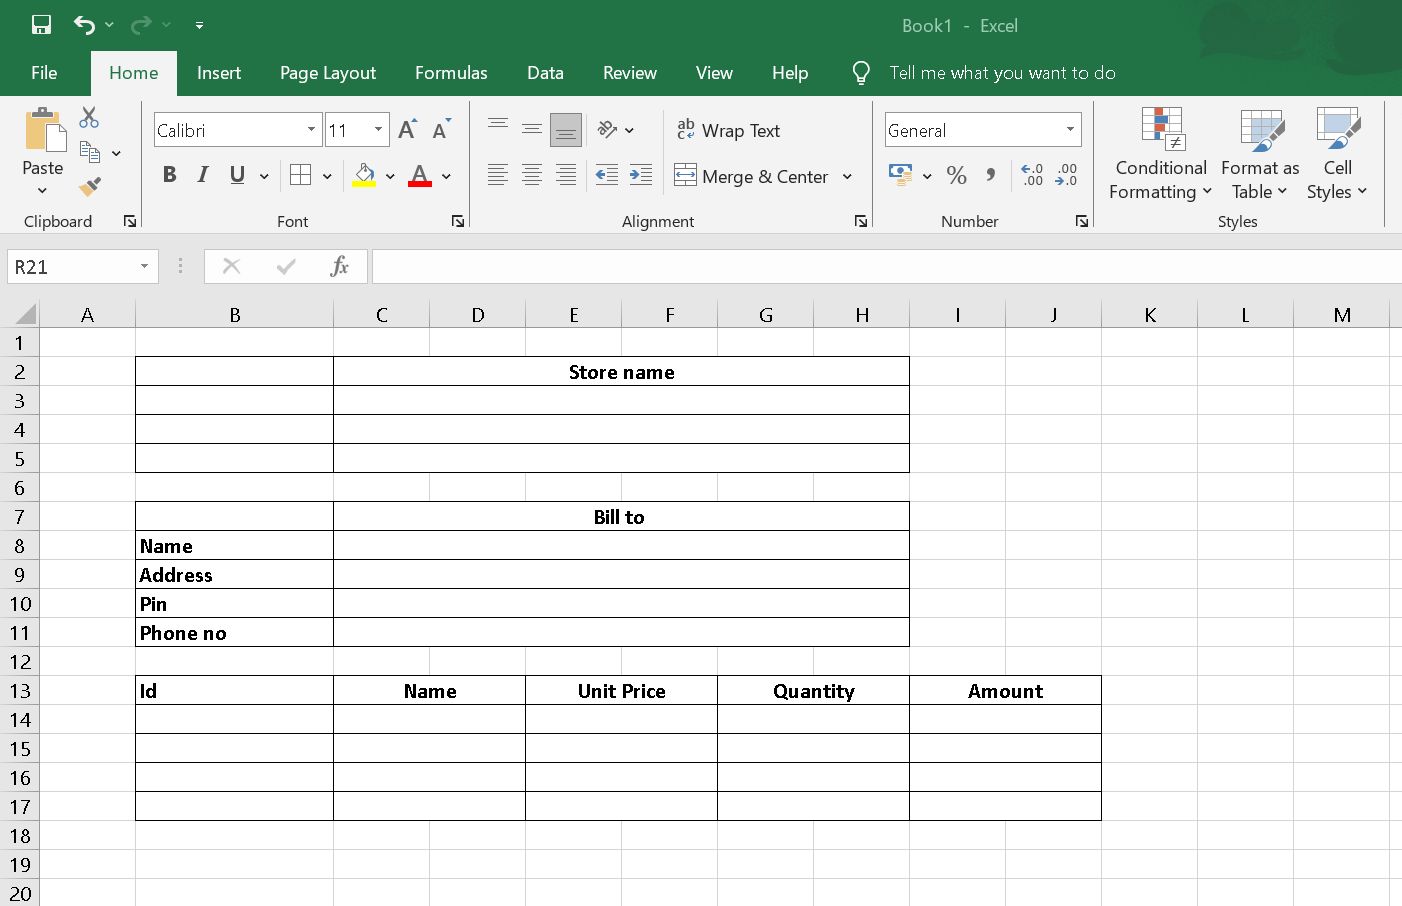
Procedure:Step 1: Open Excel: Open Microsoft Excel on your computer. 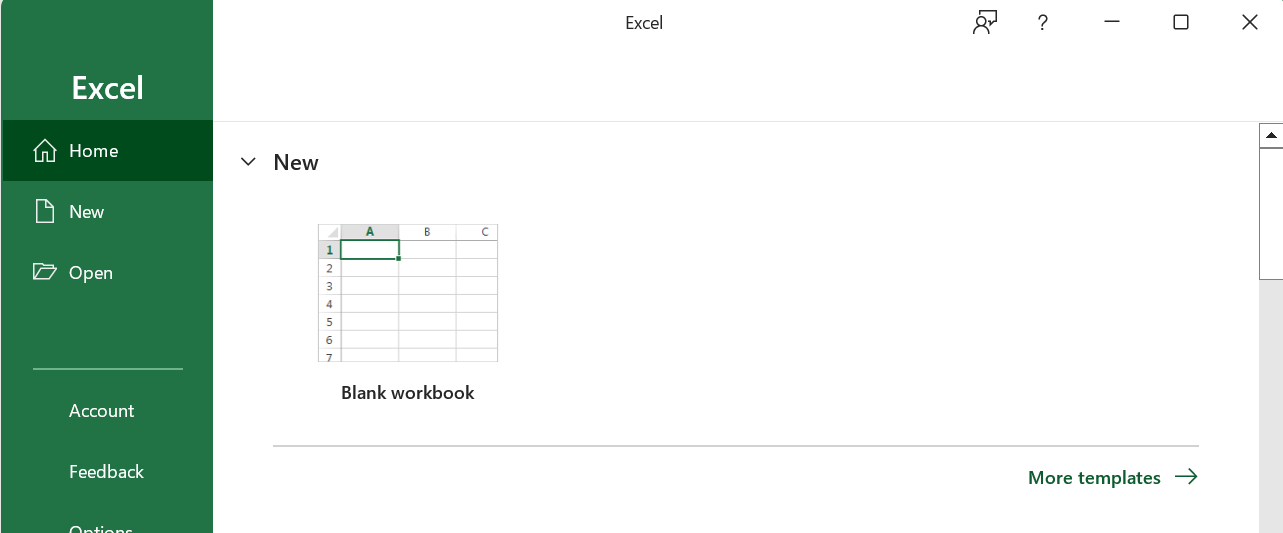
Step 2: Create a New Workbook: 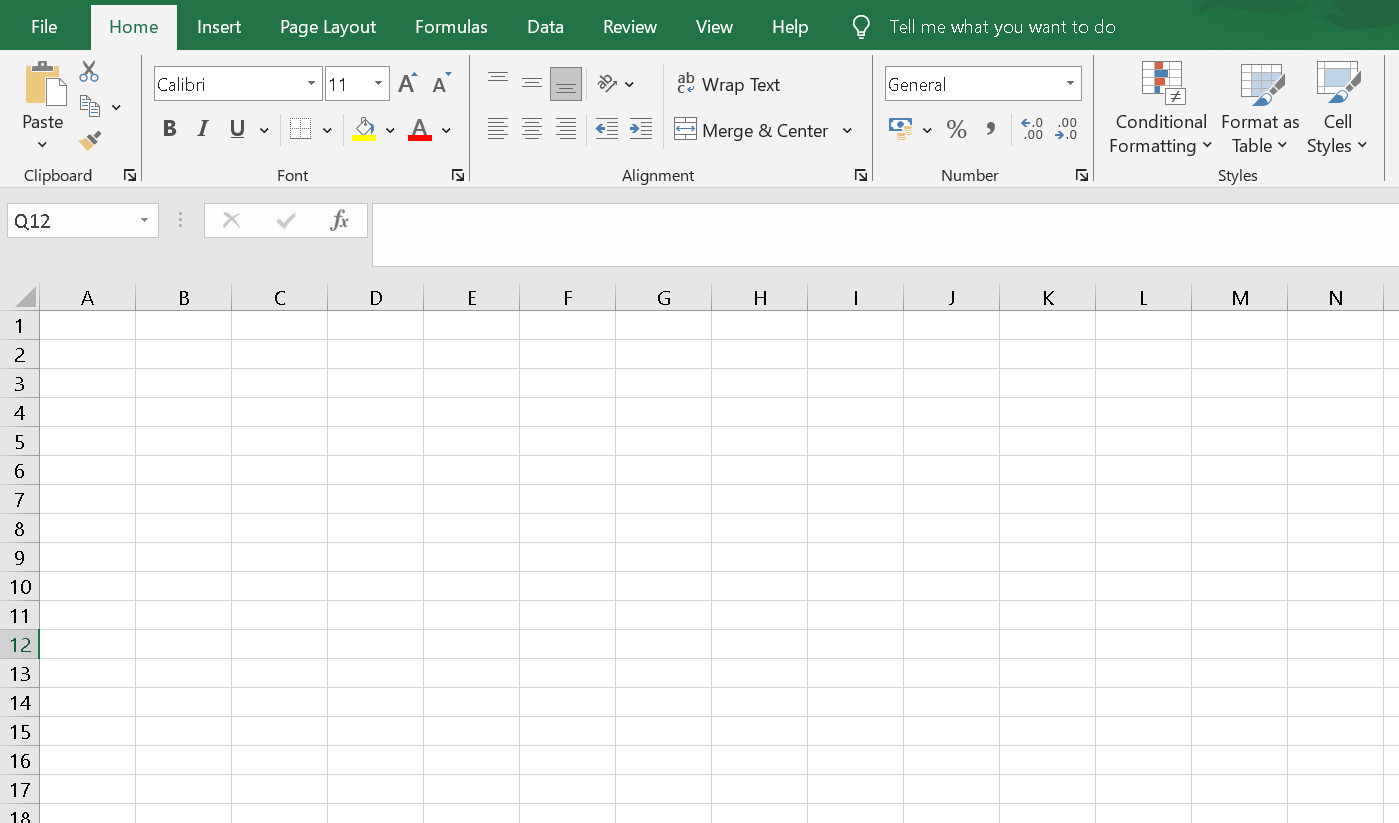
Open a new Excel workbook. Step 3: Copy and Paste the Template in Excel: Copy and Paste the template into cell A1 of the new Excel sheet. 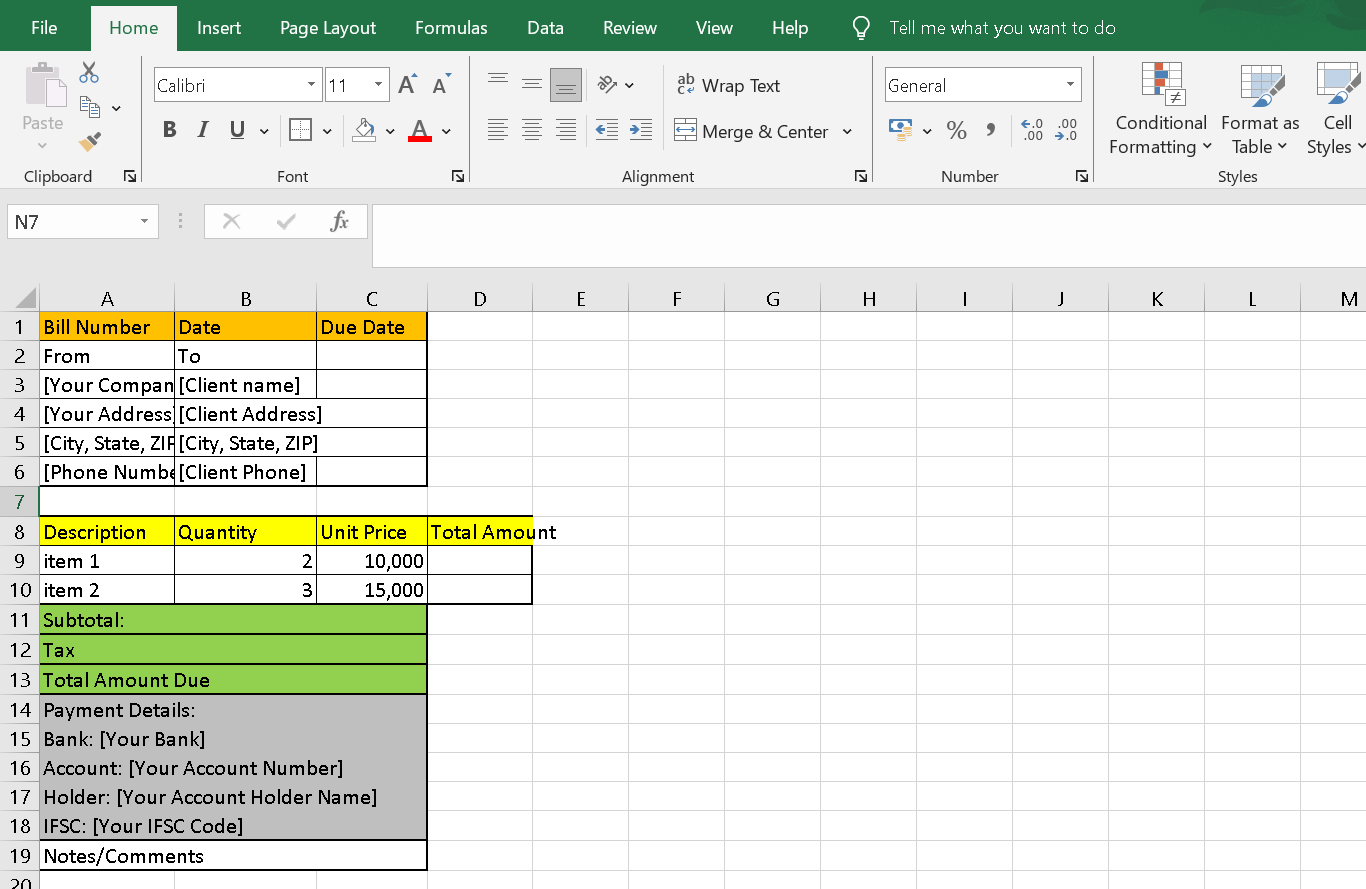
Step 4: Adjust Column Widths Adjust the column widths to make the content fit comfortably. You can do this by dragging the column dividers in the header row. 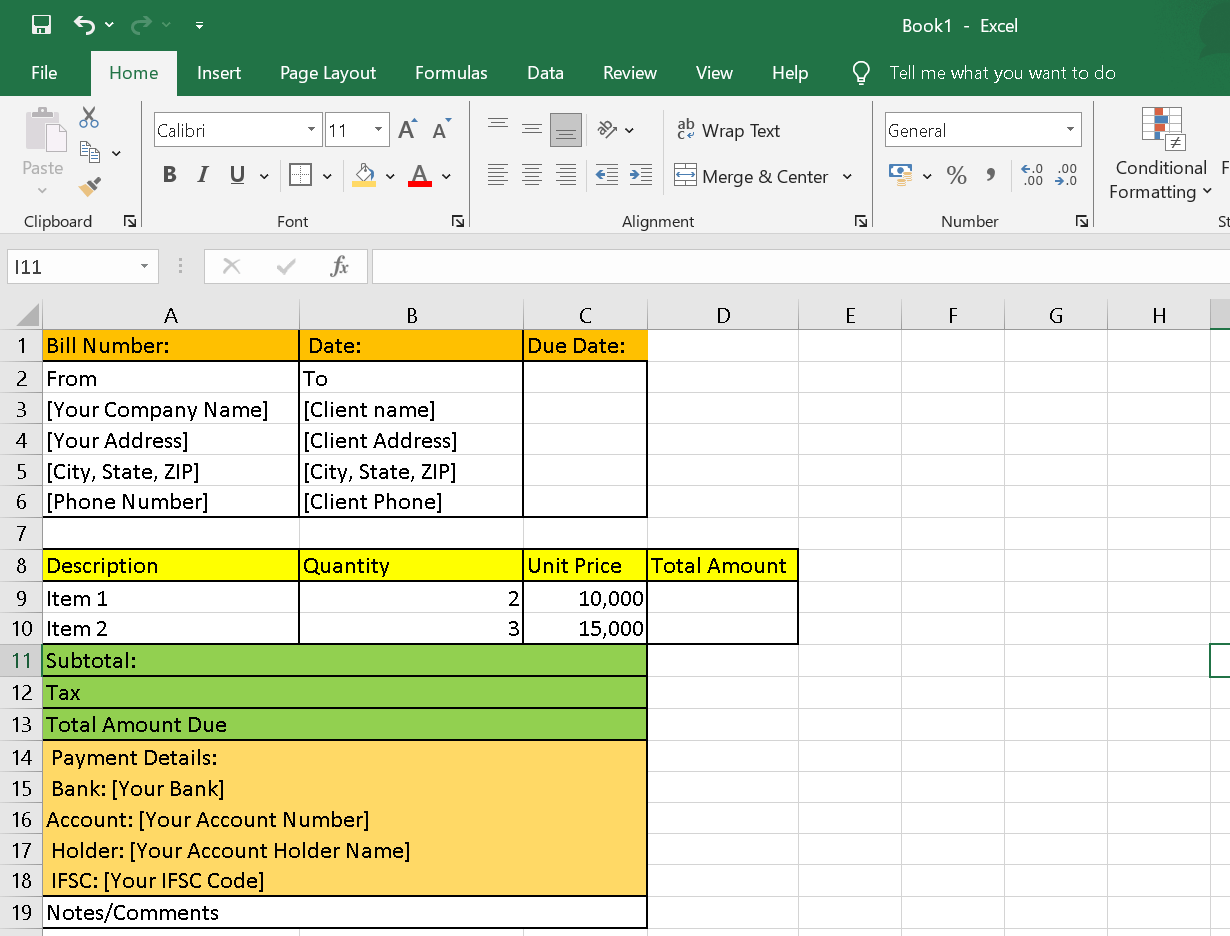
Step 5: Replace Placeholder Text: Replace the placeholder texts such as "[Your Company Name]" and "[Client Name]" with your actual company and client information. For example: Replace "ABC Company" with your company name. Replace "XYZ Client" with your client's name. Replace other placeholder information accordingly. 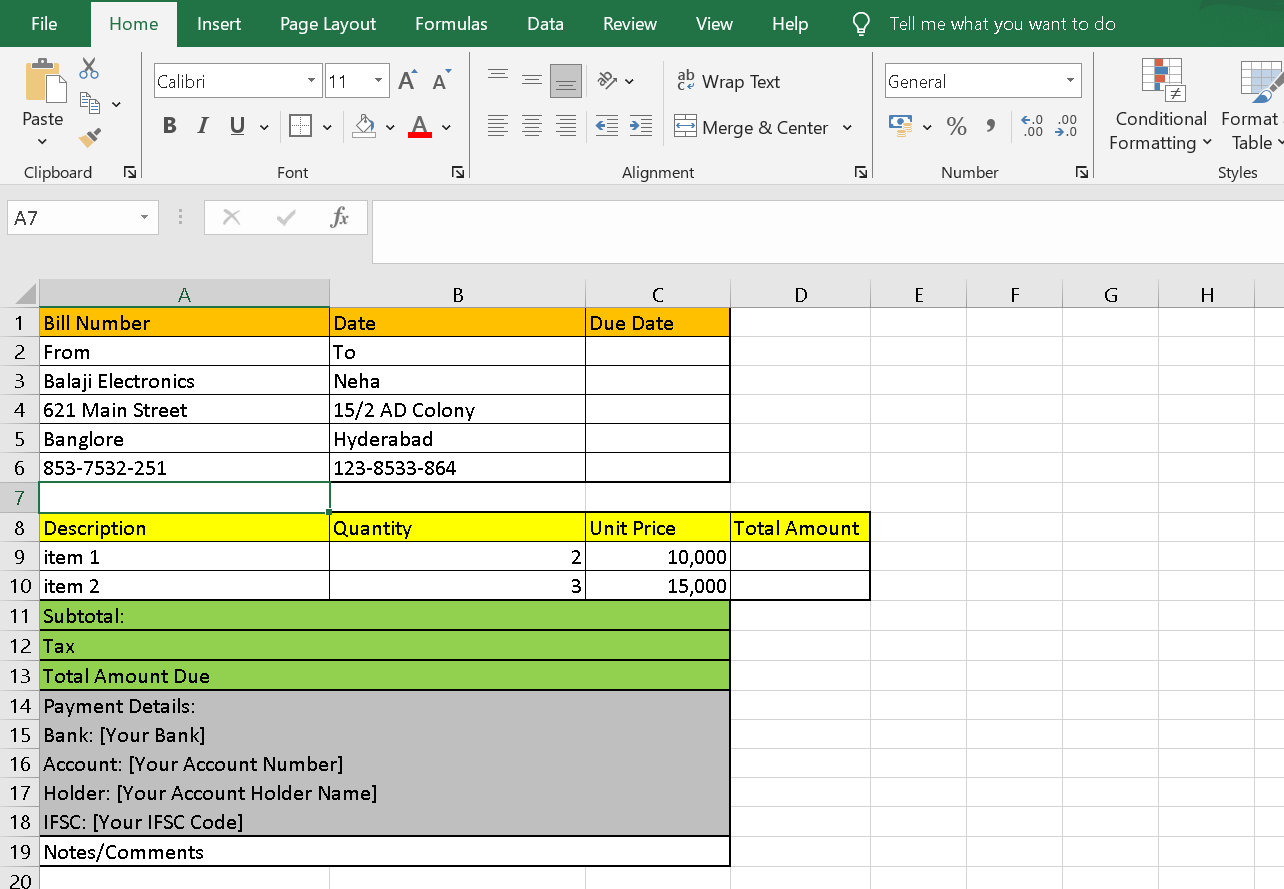
Step 6: Fill in Item Details: Fill in the details under the "Description," "Quantity," "Unit Price," and "Total Amount" columns for each item in the bill. 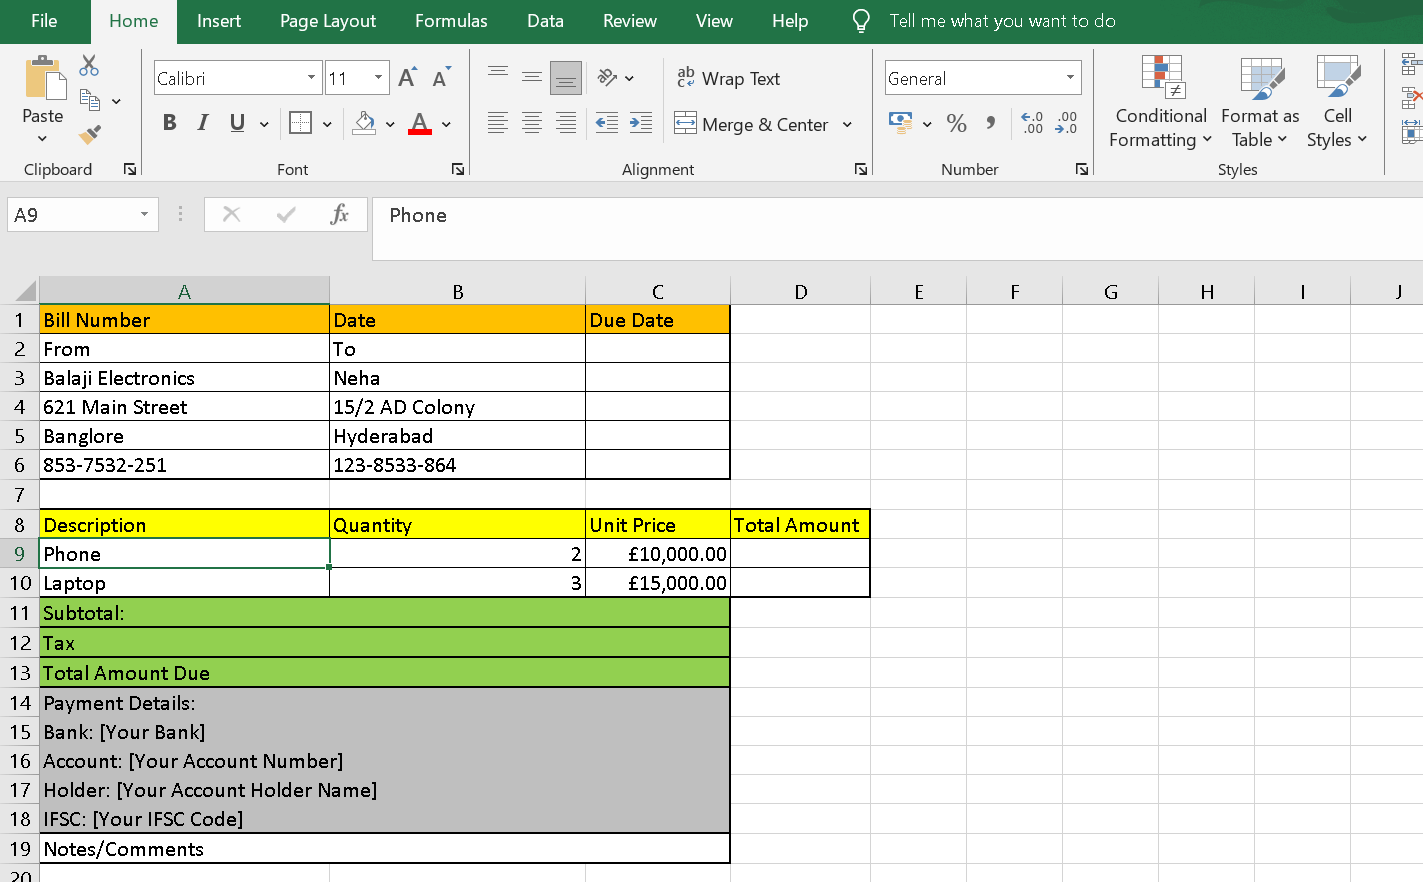
Step 7: Calculate Totals: In the "Total Amount" column for each item, use Excel formulas to calculate the total amount based on the quantity and unit price. For example, in cell D9, you can use the formula =B9*C9 to calculate the total amount for the first item. 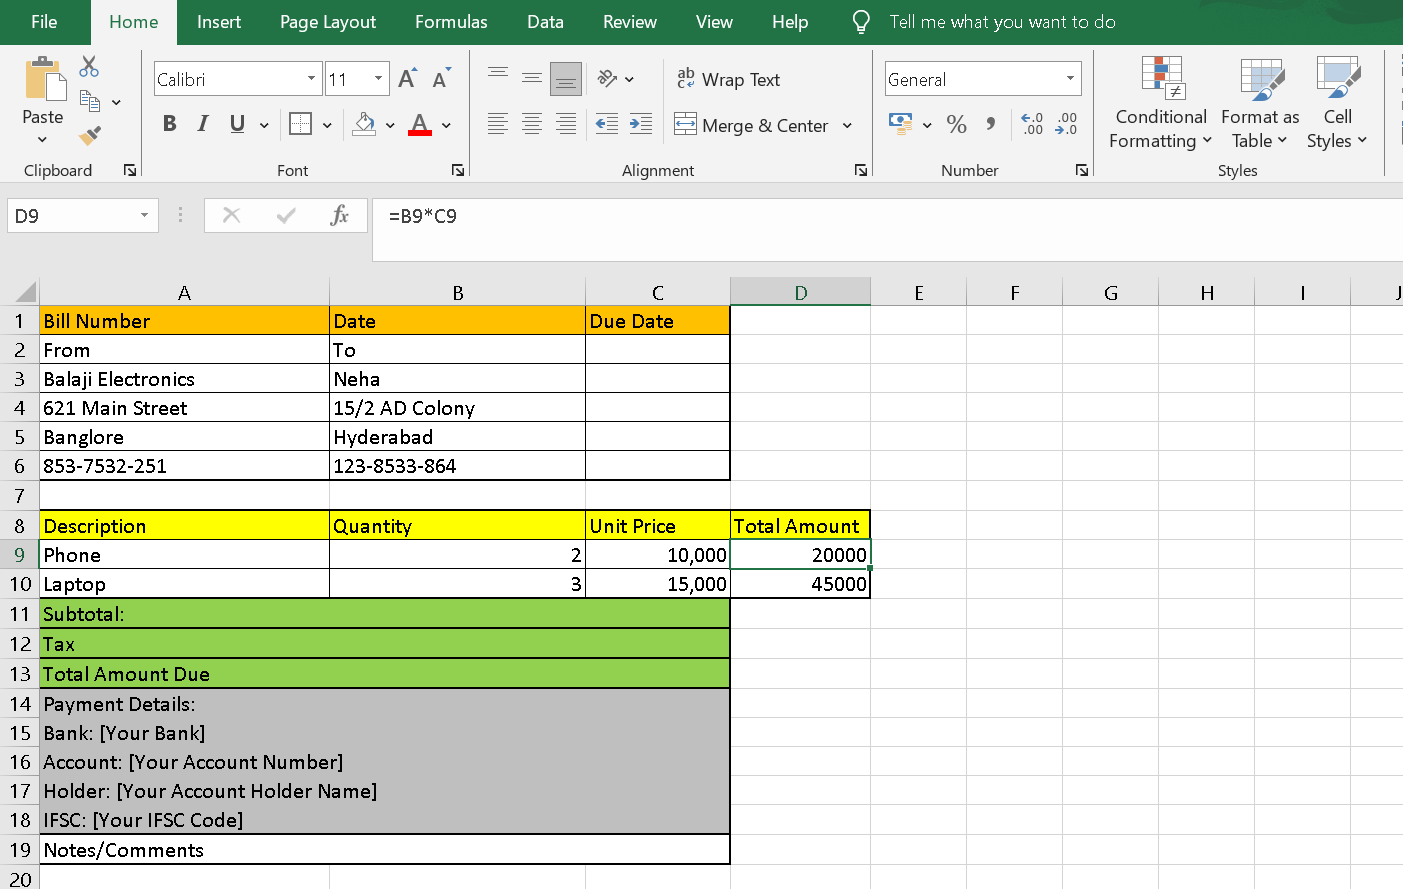
Step 8: Calculate Subtotal, Tax, and Total Amount Due: In the "Subtotal," "Tax," and "Total Amount Due" rows, use Excel formulas to calculate these values based on the item totals. For example, in cell A11, you can use the formula =SUM(D9:D10) to calculate the subtotal. 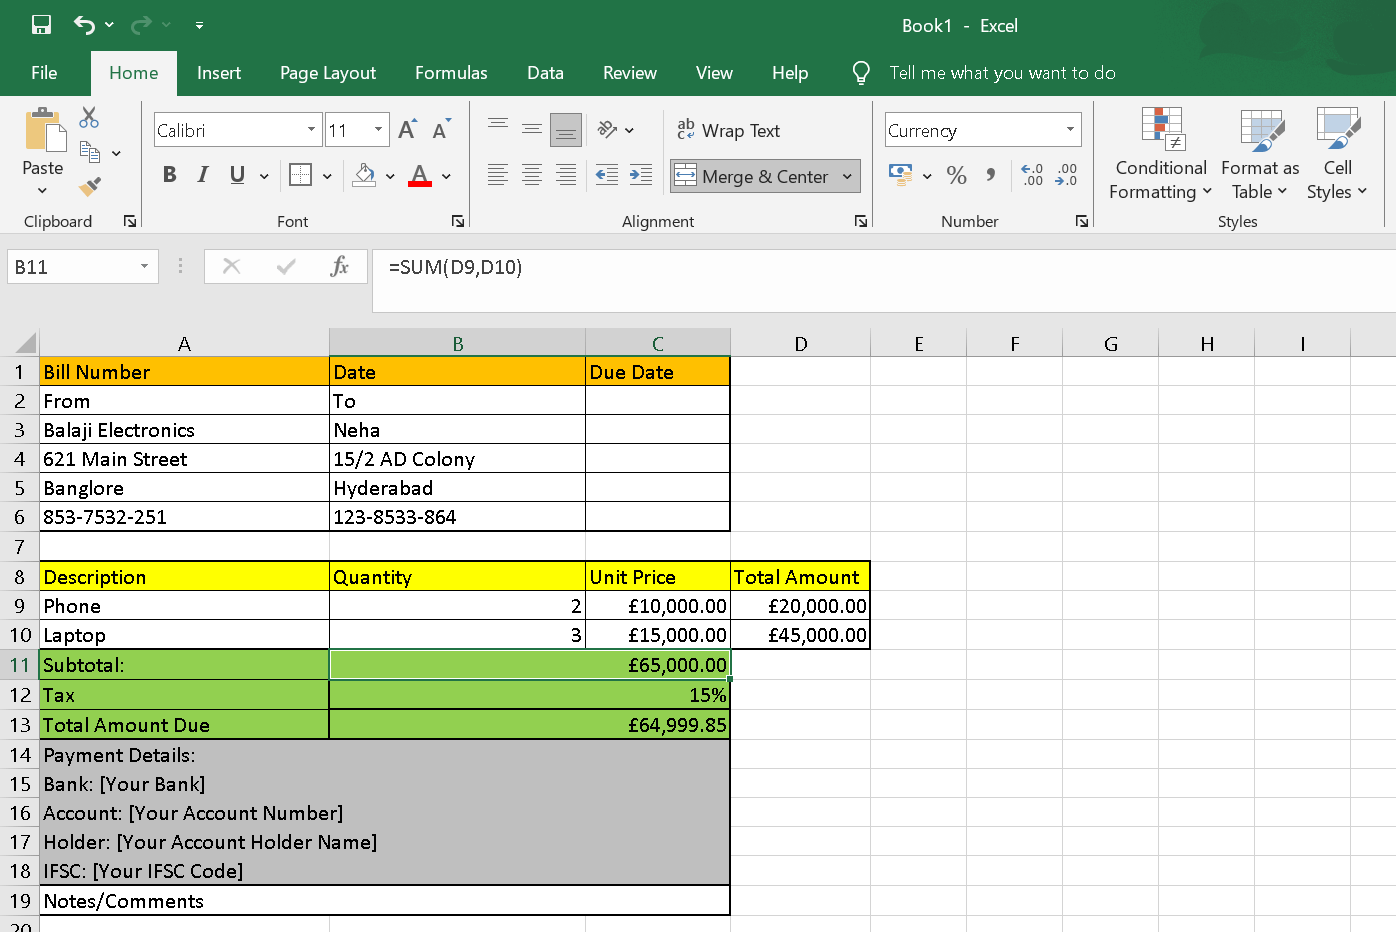
Step 9: Customize Payment Details: Replace the placeholder texts in the "Payment Details" section with your actual banking information.
Replace the placeholder text in the "Notes/Comments" section with any additional information or notes you want to include.
Save your Excel sheet with an appropriate filename and location. 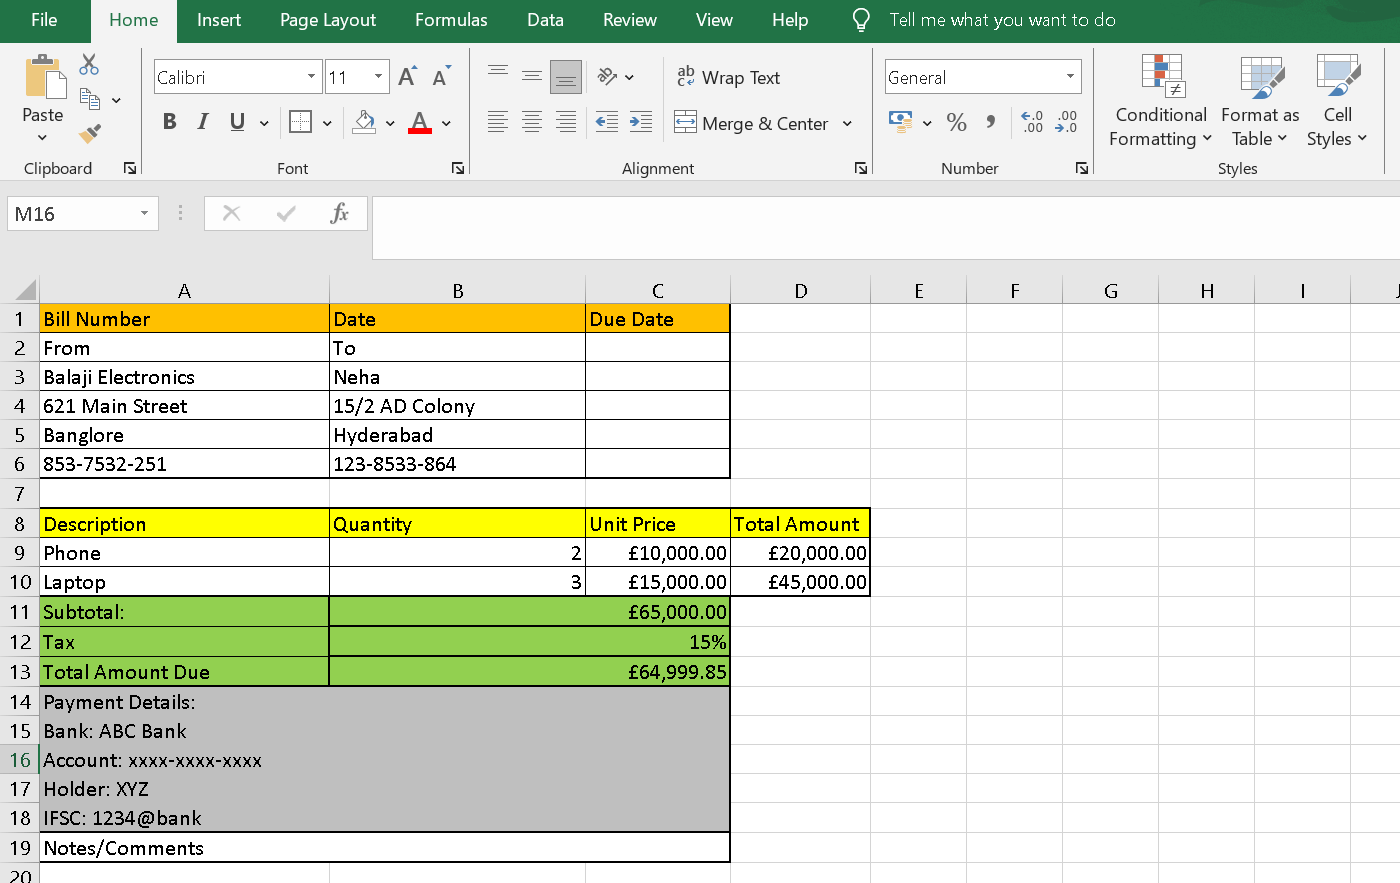
That's it with this tutorial. Now you can easily create your own bill book templates for efficient tracking and organization of billing and other official activities. |
 For Videos Join Our Youtube Channel: Join Now
Feedback
- Send your Feedback to [email protected]
Help Others, Please Share


