| |

How to select data in ExcelSelecting data is one of the most common operation Excel user practices in their day-to-day life. 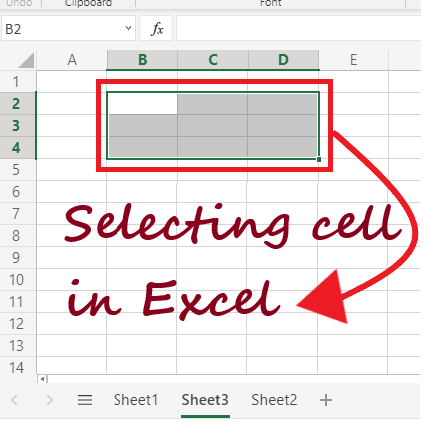
There are various methods to select a cell or multiple cells in Excel, such as through a mouse or by keyboard shortcut keys or a combination of both. As Microsoft Excel users, it is essential to quickly select cells, rows, columns, table cells present in an Excel worksheet. Selection assists the users in various tasks such as insertion, deletion, and formatting of multiple rows and columns in an Excel worksheet. Whenever you select any cells, row, column, or cell range, you will notice that the color of the selected cell(s) will change and get highlighted compared to the rest of the cells. This tutorial will discover the various ways for selecting cells, row columns, tables, and the range of an Excel worksheet. Select a Single CellSelecting a cell in Excel is pretty easy. Just put your mouse cursor on the respective cell that you want to select, and that's it. For example: We want to select the B 4 cell. So we will keep our cursor to that particular cell address to select it. 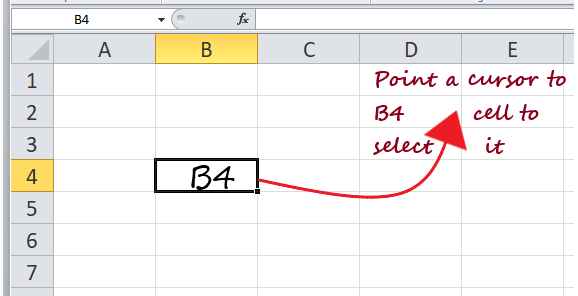
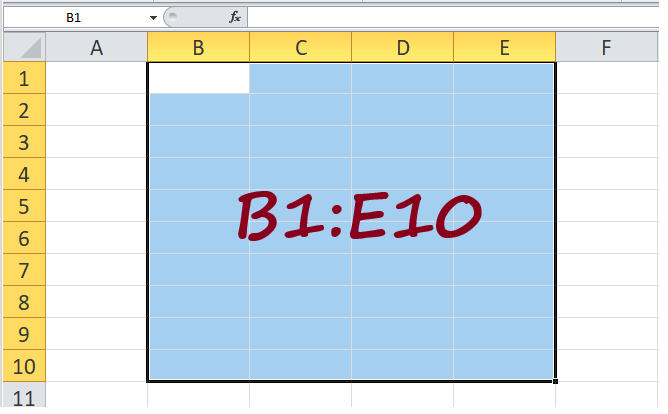
Select Multiple Continuous CellsSelecting multiple continuous cells is easy and simple. Select the first cell from where you want to start the selection and drag the cursor to the end of the selected cell. Suppose you want to select multiple cells B1: E10. Follow the below steps:
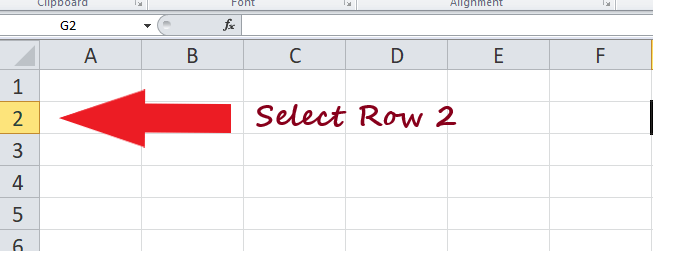
Select Rows/ColumnsWhile working with Excel many times, the user requires selecting an entire row or column for various operations such as hiding or deleting the row or column, applying some conditional formatting, highlighting the data, etc. Unlike you select a cell in Excel by placing the mouse cursor on the respective cells, you can also select any row or a column by moving your mouse on the row or column. 1. Select a Single Row Below given are the steps to select an entire row in Excel.
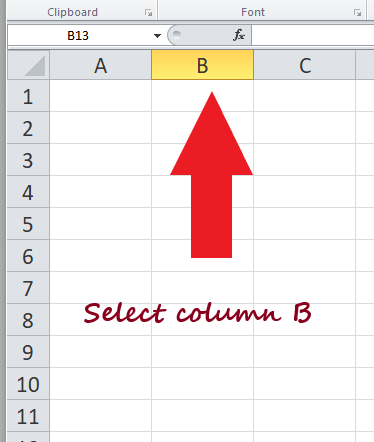
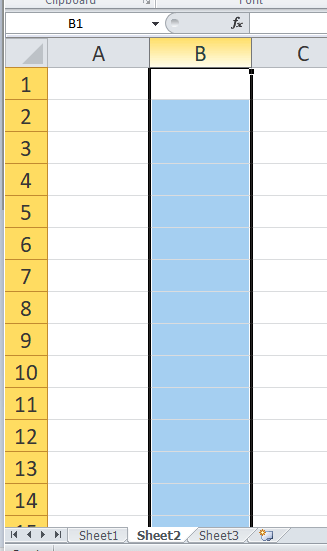
2. Select a Single Column As in the above steps, we have seen how to select an entire row in Excel. Similarly, you can select a column as well. Follow the below steps to select an entire Column in Excel:
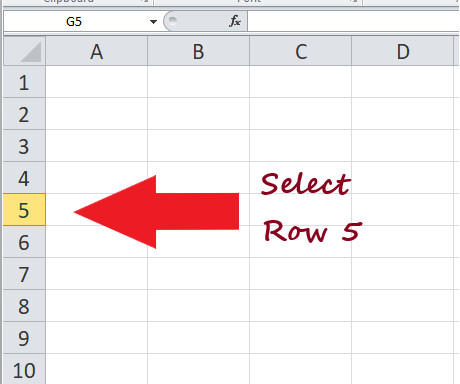
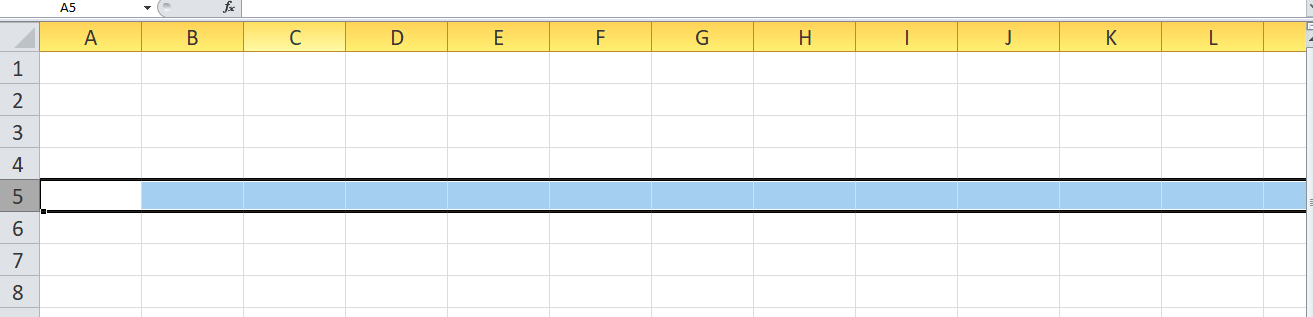
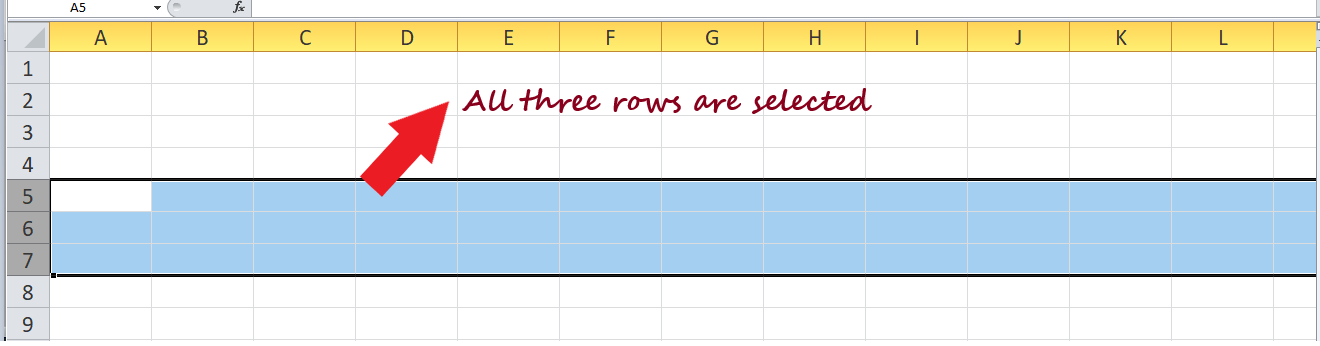
3. Select Multiple Contiguous Rows/Columns We work on Excel and manipulate the data. Sometimes we want to select multiple rows/ columns together to apply the same operation on adjacent rows/columns at once. For example, suppose that you want to select row numbers 5, 6, and 7 together. Follow the below steps.
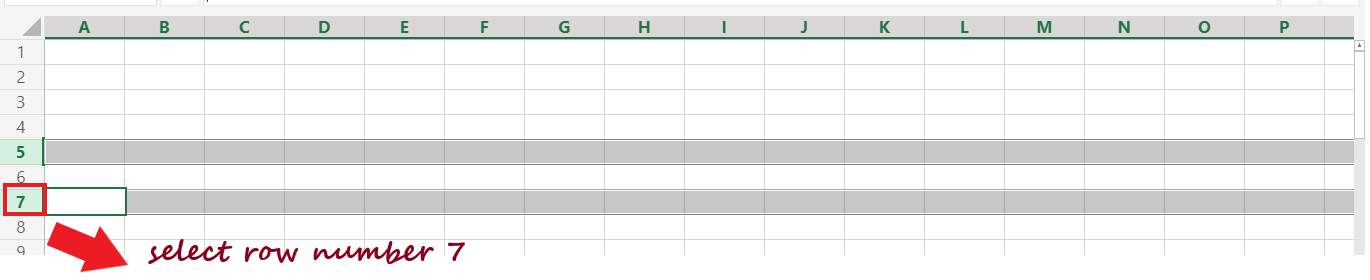
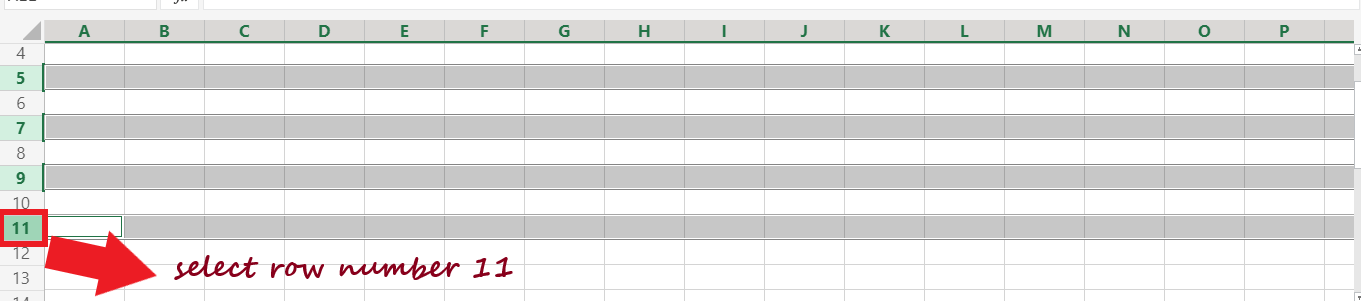
Following the above steps, you can select multiple columns as well. Make sure to click on the column alphabet instead of row number and drag till the last column selection. 4. Select Multiple Non-Adjacent Rows/Columns Not always, we work with contiguous Rows/Columns. We may require it to work with non-adjacent rows/columns as well. How do we select them? Selecting non-adjacent rows/columns is simple. However, the above select and drag technique won't work as restricted to adjacent cells, rows, or columns. To select random cells, rows, or columns in Excel, we have to use a keyboard and mouse combination. Let's say we want to select random rows such as row numbers 5, 7, 9, 10. Below given are the steps.
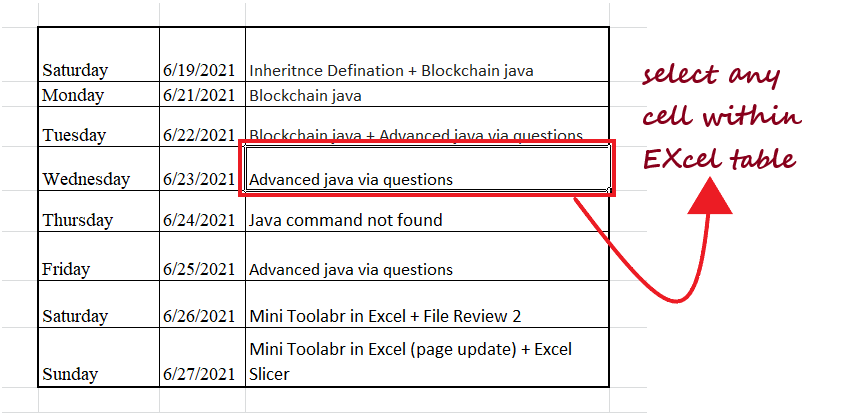
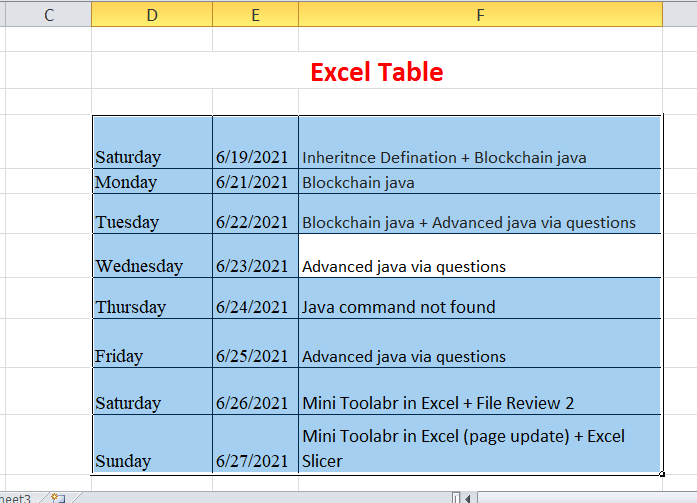
Unlike when you have selected the adjacent rows using a keyboard and mouse combination, you can apply the same method to select multiple non-adjacent columns. Select the Cells in the Excel TableMost of the time, you work with Excel Table, and you are required to select all the cells in the table to apply specific operations, formatting, or filters. You manually select the table cell using the click and drag option. But it could be time-consuming, and with large tables, it becomes damn hard. However, with the help of Excel keyboard shortcuts, selecting the table cells of the worksheet can be done in a blink of time. Below given are the steps.
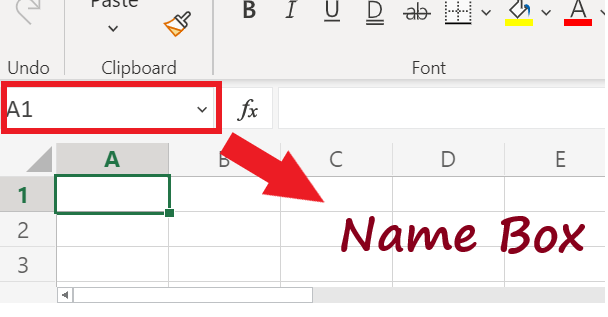
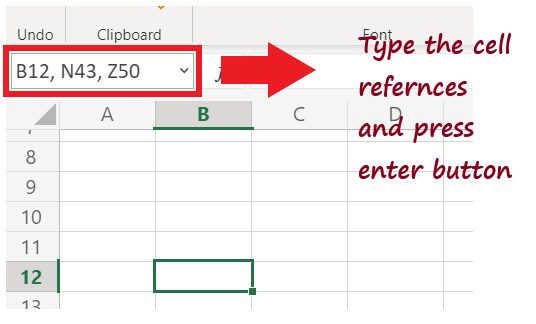
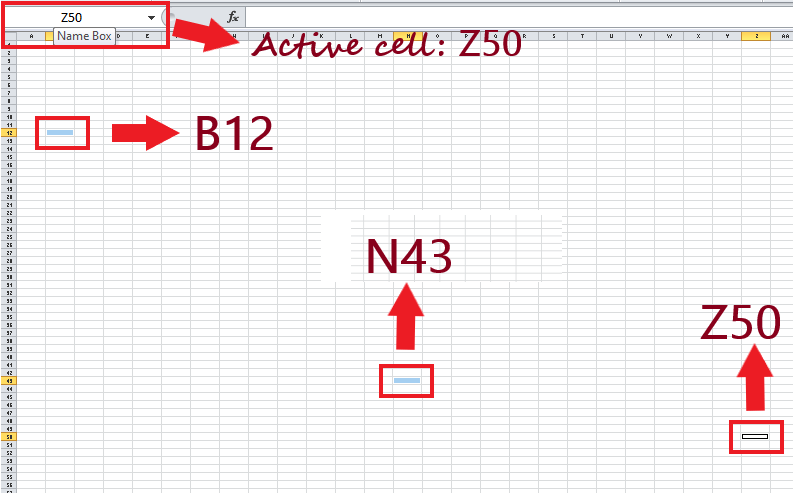
Note: CTRL + A would select all the cells within the table data set unless and until Excel runs into a blank row or column as it would consider the blank row or blank column as the end of the data set and won't stop the selecting operation.Select Cells Using Name BoxSo far, we have covered various selection methods such as selecting the cells manually or with the help of keyboard shortcuts or using a combination of a mouse and keyboard. But the cells we selected were close by and easy to locate. In some cases, you may require to select multiple continuous or non-continuous cells, rows, or columns located at a distance in your Excel worksheet. Of course, those cells can be selected manually, but to your surprise, it will be time-consuming, and if it is something you have to do regularly, then it is a great concern. Therefore, to save your time and select the far-off cells quickly, you can use the Name Box. "In Excel, Name Box is the small rectangular field placed on the top left corner of your worksheet." In general, whenever you select any cell in your Excel worksheet, the cell reference (of the active cell) is shown in the name box. Though the vice versa is also applicable, i.e., whenever you type any cell address in the name box, it selects all the mentioned cells or cell range." For example: Let's suppose we have to select multiple non-contiguous cells, unlike B12, N43, and Z50. If you notice the cells mentioned earlier are far off each other, it would be cumbersome and time-consuming if we select it manually. So let's try selecting the cells using the name box instead. Follow the below steps.
Note: In the Name Box bar, only the cell references of the active cells are visible. It does not represent the total cells you selected; it only displays the active cell, so don't get confused.Selection using Keyboard Shortcut KeysSelection helps you to operate easily. So far, we have seen many different ways, but Excel also provides some useful shortcut keys using which you can select the combination of cells. Below given are some useful keyboard shortcuts that will help you to automate the selection process easily.
|


 For Videos Join Our Youtube Channel: Join Now
Feedback
- Send your Feedback to [email protected]
Help Others, Please Share


