| |

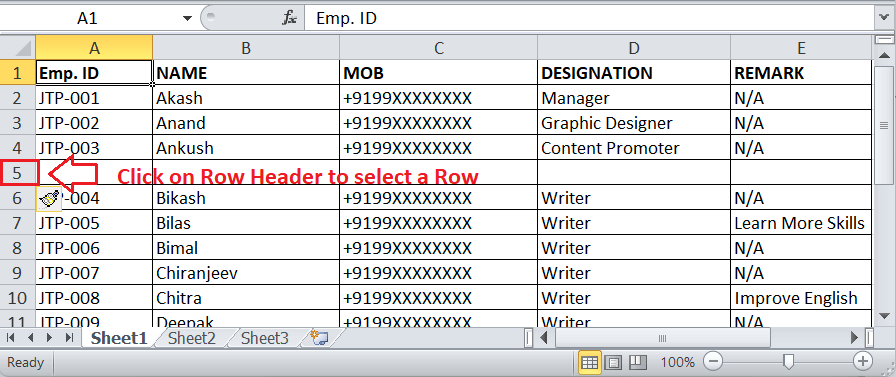
Excel Remove Blank RowsMS Excel, or Microsoft Excel, is powerful spreadsheet software that enables users to record large sets of financial data in cells and tables across multiple worksheets. While working with large data, there may be cases when we may see blank rows in our excel sheet. To make the data attractive and organized, the blank rows should be removed. There are several reasons for getting blank rows in sheet such as exporting data from database, getting workbook from other persons, removing the data manually etc. With blank rows in the sheet, the overall presentation of the sheet's data doesn't look good. It typically looks like we are missing some data in certain rows within the sheet. In addition, a blank row or even a blank cell can cause formula errors if particular cells are referenced incorrectly in the formula. Hence, it is always better to remove/delete such unnecessary blank/empty rows from the worksheet. 
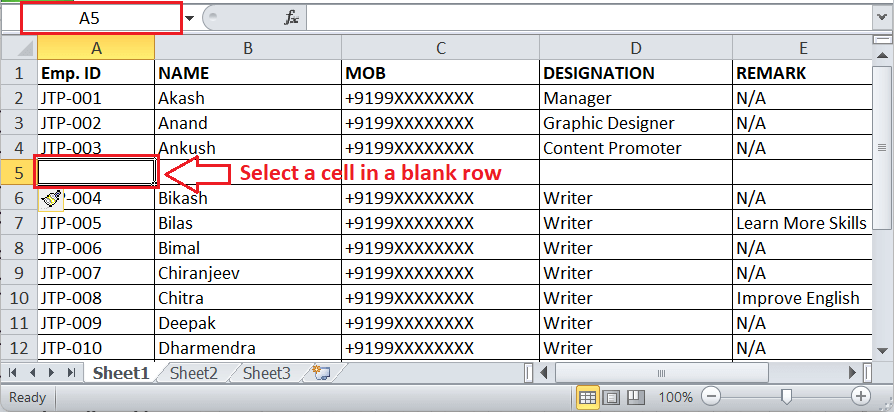
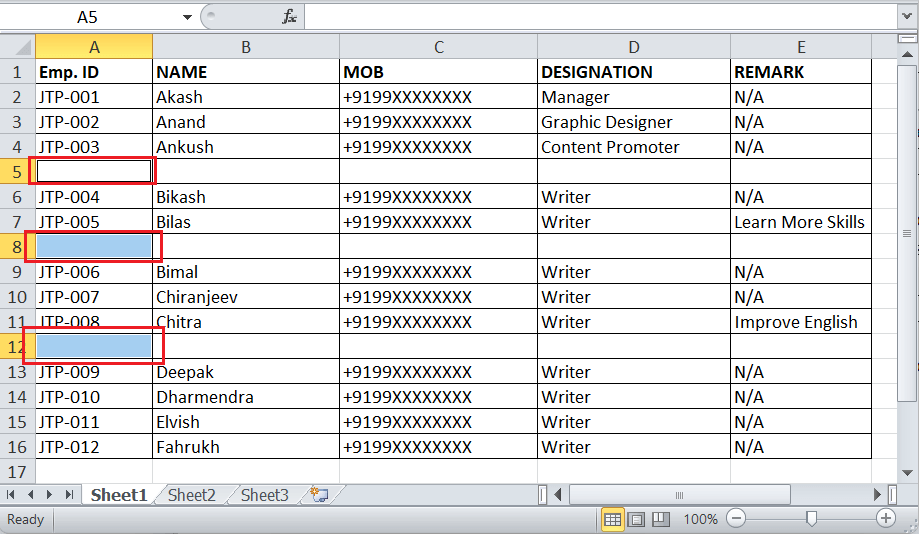
This article discusses various easy-to-use methods to help us delete blank or empty rows within a worksheet. It is necessary to know each possible method of deleting blank rows in a sheet so that we can try different methods in different use-cases. How to remove/ delete blank rows in Excel?One benefit of using Excel to perform any certain spreadsheet-related task is the availability of many options. Similarly, when we need to delete or remove blank rows in a worksheet, it provides various options or methods. Some of the most commonly used methods are discussed below: Not remove blank Rows by selecting blank cellsBefore removing blank row, sometimes the row containing data are deleted. For example, If the worksheet contains data, in a cell range A1:D5 as follows: 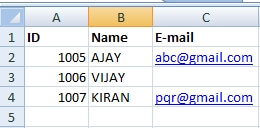
In this data, the empty cell present in C3 is removed. Here one of the methods to remove the blank cell is, Select the data from cell range A1:C4 Press the F5 button, where the "Go To" dialog box will appear. 
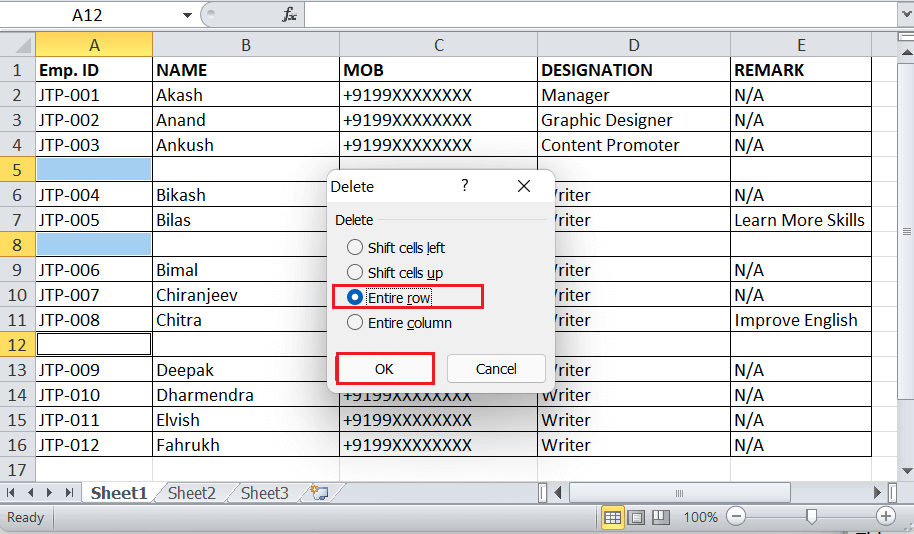
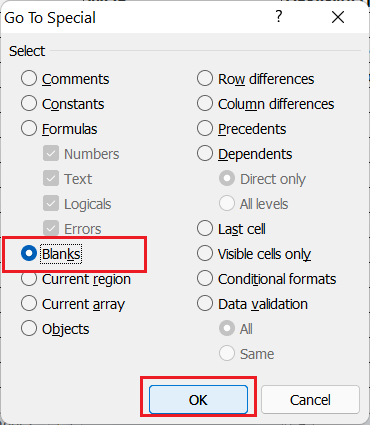
In that choose the Special Option The Go To dialog box will appear , in that choose the "Blanks" radio button and Click ok. The blank cell called C3 is selected and right-click towards the cell, and choose the option "Delete" The Delete dialog box will open, in that choose the option called "Entire Row". 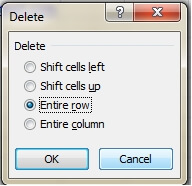
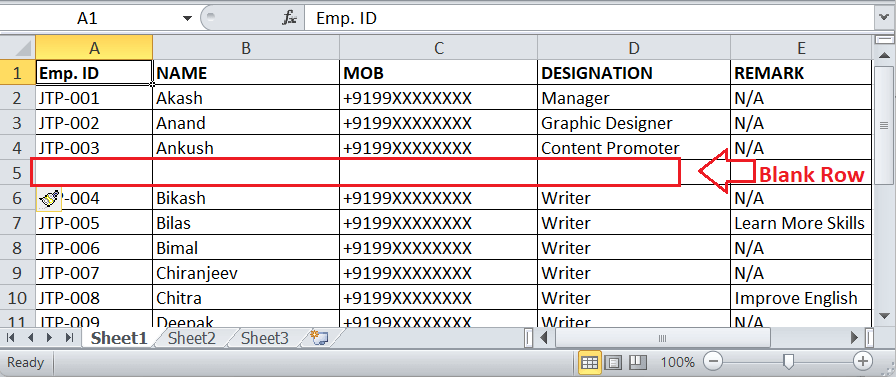
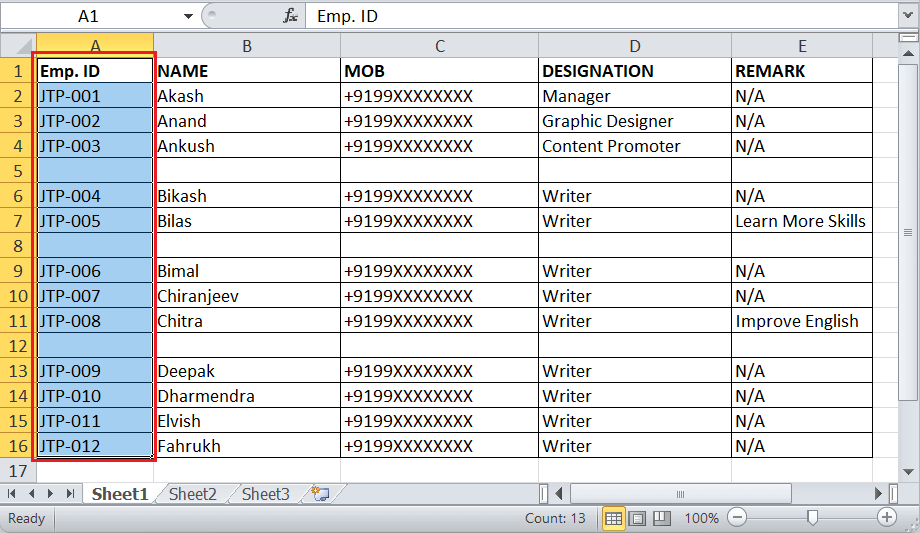
Click Ok. Here the entire row is deleted and the data present in cell A3 and B3 are deleted too. In this method, the important data present in row are deleted. Hence the row containing empty cell with data are deleted. Therefore this method is not applicable for all the data. Key column Method to remove the blank rowThis method helps to remove the empty row without losing data. The steps to be followed are: Enter the data in the worksheet as follows, 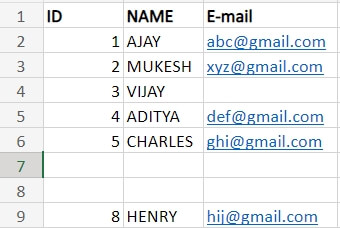
Select the whole data present in the worksheet , namely A1:C9 and press Ctrl+Home, and press Ctrl+Shift+End. 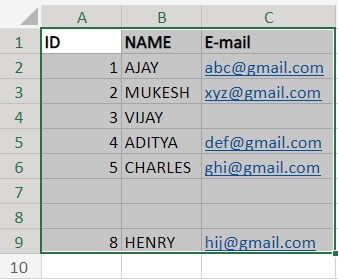
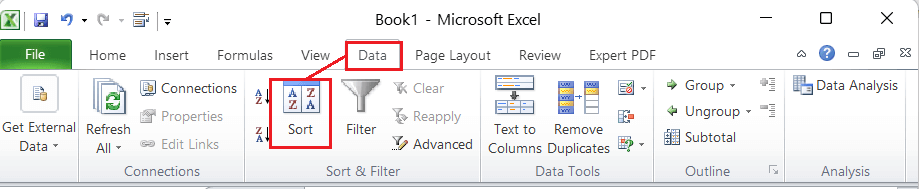
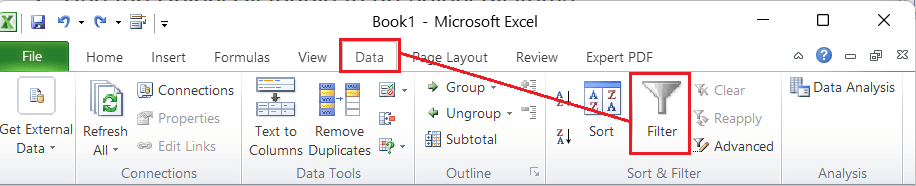
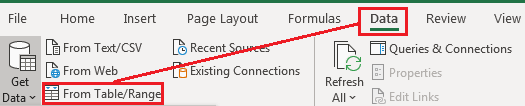
To apply filter option, click the Data tab and choose Filter option. 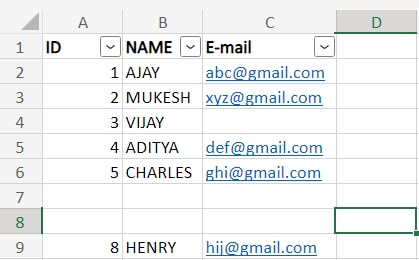
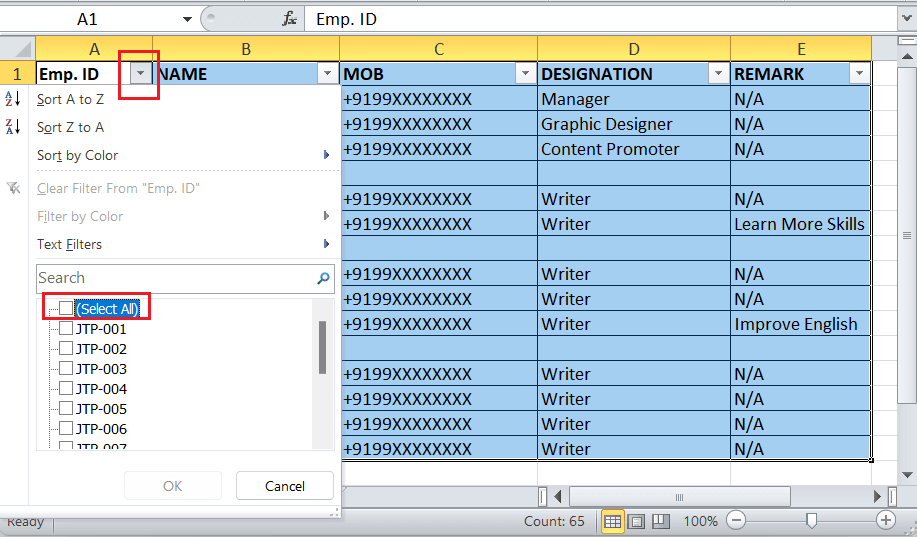
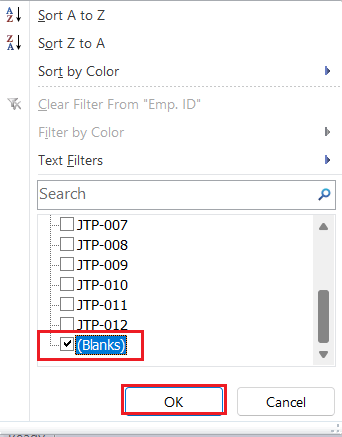
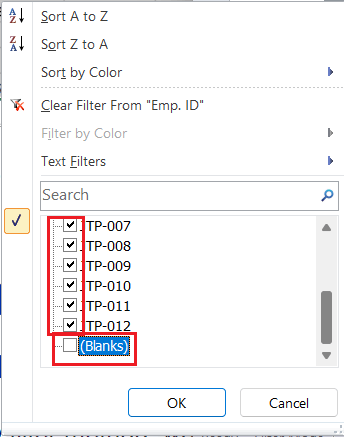
Click the filter option present in the column header of cell A1 and uncheck the "Select All " checkbox. Scroll down to the end of the list , to to check the "Blank" checkbox which is present at the bottom of the list.Click Apply. 
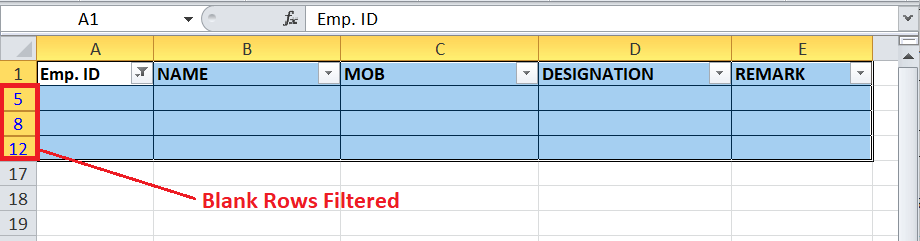
Now the filtered rows will display in the worksheet. Select the filtered rows present in the worksheet .Press Ctrl+Home. Then press Ctrl+Shift+End. It displays the range of selected rows which needs to be deleted. 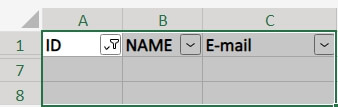
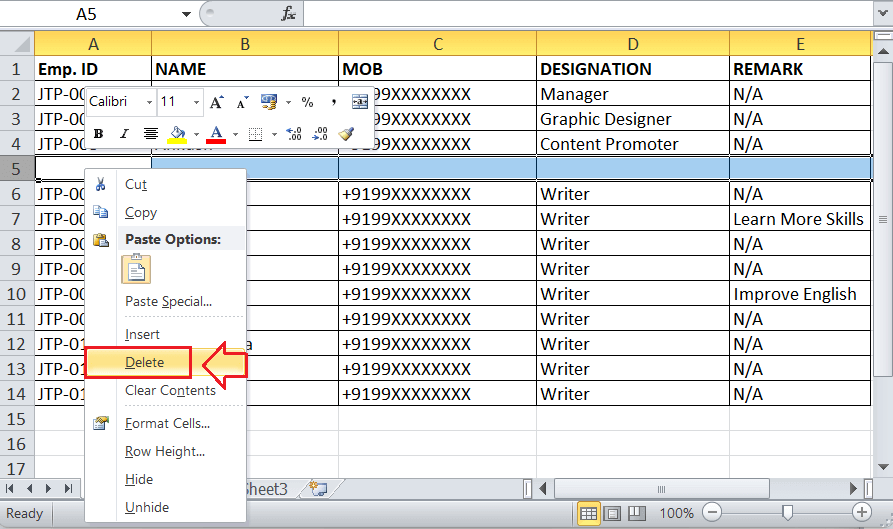
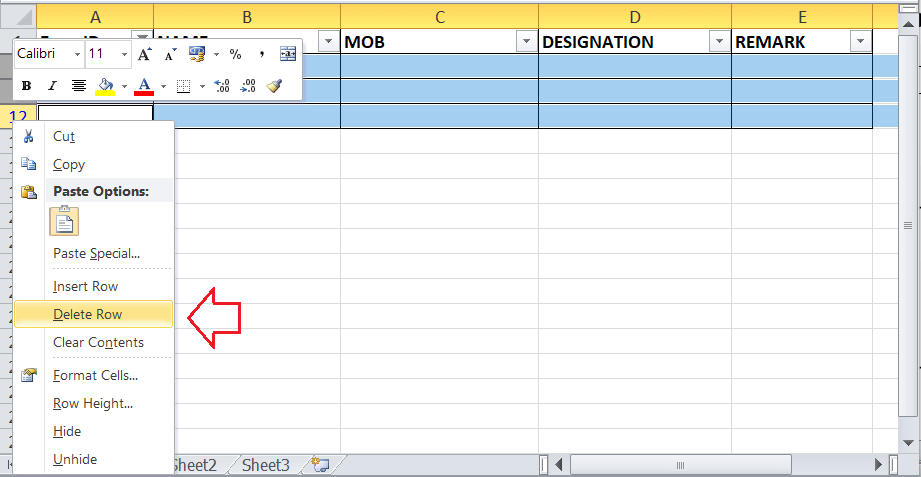
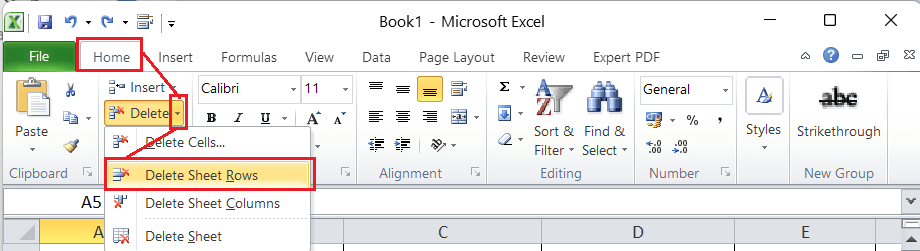
In the worksheet Right-Click any of the selected cell and press "Delete Row" option or click Ctrl+-(minus sign). The Delete row option displays a dialog box,in that choose the option,"Delete entire Sheet". 
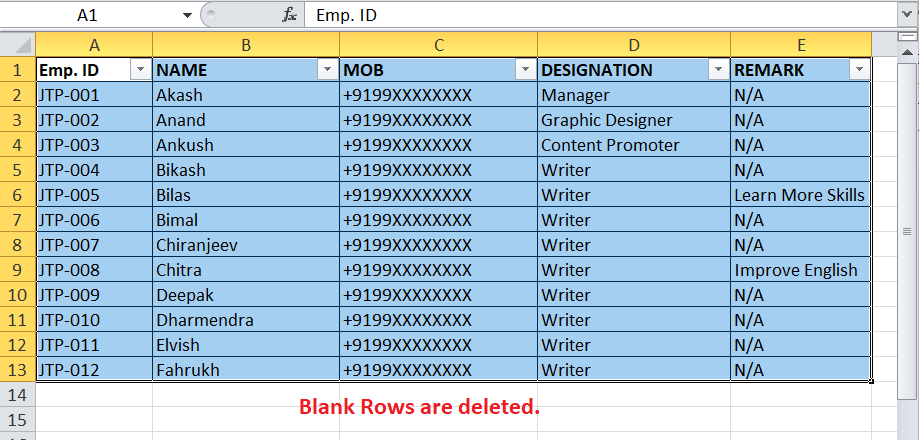
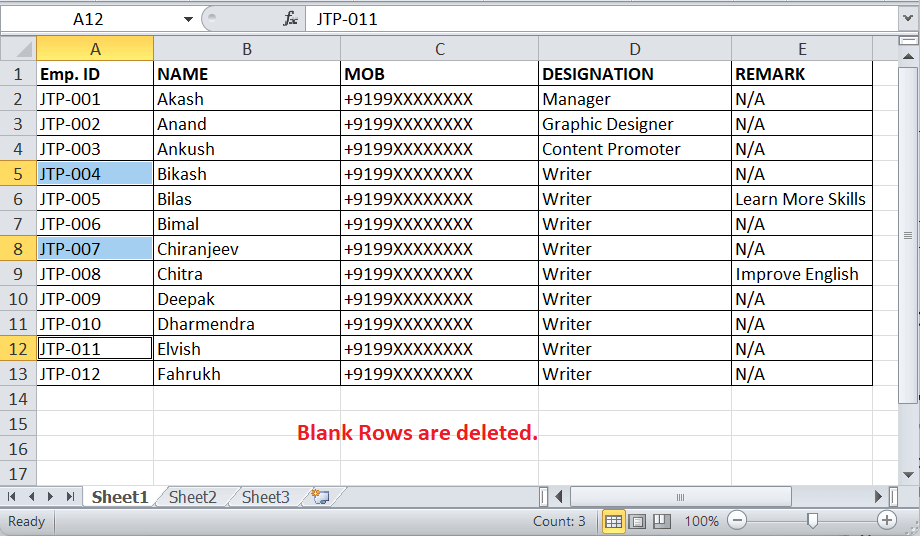
Click Ok. It displays the data as follows: 
To remove the filter , choose the Data tab, and click Clear Button. The result of the worksheet is as follows: 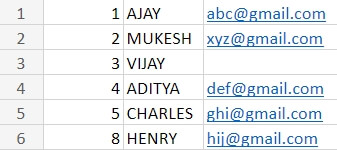
Here the blank rows are completely removed, but a rows containing containing data and empty cell are not removed.Here the row A3 is not removed and the data is saved. How to delete the blank rows, if the table doesn't contain key columns?This method is used,when the worksheet consists of multiple empty cells which is scattered across the particular table range, and the requirement is to delete the rows , which does not contain any data in the column. The steps to be followed are: Enter the data in the worksheet is as follows: 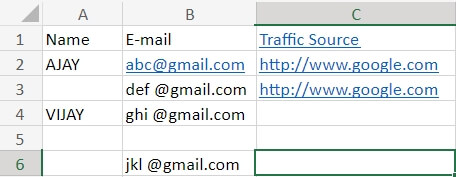
In the above data, there is no key column, which determines whether the empty is or not. Hence the helper column is added in the data. To add the helper column, the blank column is added in the end of the data namely cell D1. In the cell D2, enter the formula as =COUNTBLANK(A2:C2). Press Enter. It displays the count of cells which does not contains the data.Use the fill handle to cell C6 to display the count of cells which doesn't contain data. 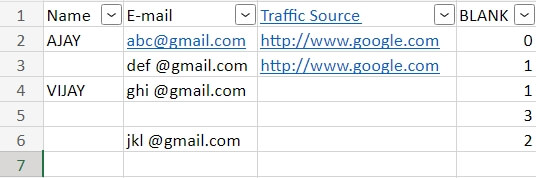
The data is converted to table. The filter option will display in the header column in the table. Click the filter option in the blank cell column header.In the option displayed uncheck all the options, except the number 3. Because the count of cells containing number three is empty row. Click OK. 
Then select the filtered rows and press Ctrl+Home , and click Ctrl+Shift+End.It displays the range of selected rows which needs to be deleted. Right click any of the selected row and choose the option "Delete Row" or press CTRl+-(minus sign).The Delete row option displays a dialog box,in that choose the option,"Delete entire Sheet". 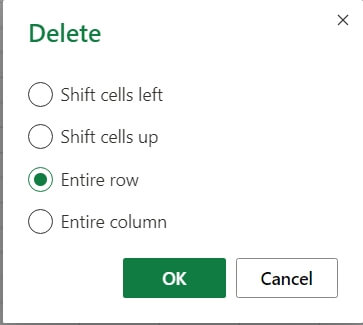
Click Ok. It displays the data as follows: 
In the worksheet the empty row is deleted. If needed, the helper column can be removed,or the filter option is applied to blank cellsto check the count of one or more blank cells present in the row. Click the filter option present in the Blank Column, and check the option 1 and 2 and uncheck the value zero. 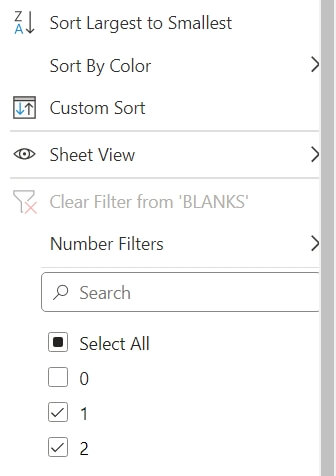
After applying the result will be displayed as follows: 
Removing Blank Rows using Excel's Context MenuIf we need to remove or delete a single row or only a few rows, we can use Excel's context (Contextual menu/ Right-click Menu menu). It is most commonly used to remove blank rows and includes the steps we must perform manually. This method includes the following steps:
Removing Blank Rows using the Excel's Keyboard ShortcutThe quickest method to perform any specific task in Excel is using keyboard shortcuts. To use the keyboard shortcuts for removing blank rows, we can perform the below steps:
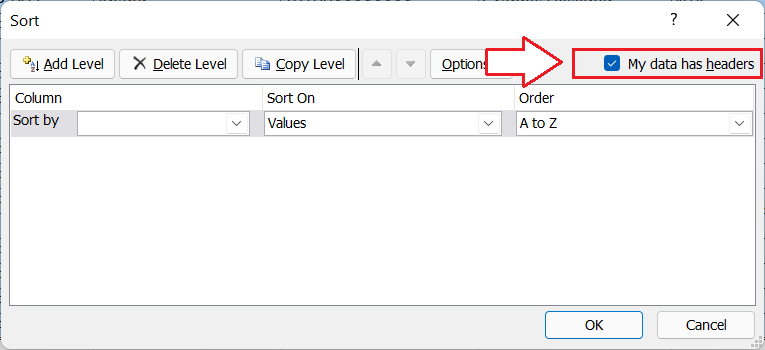
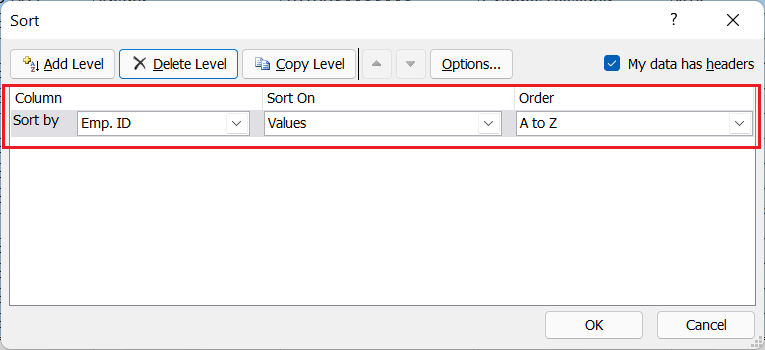
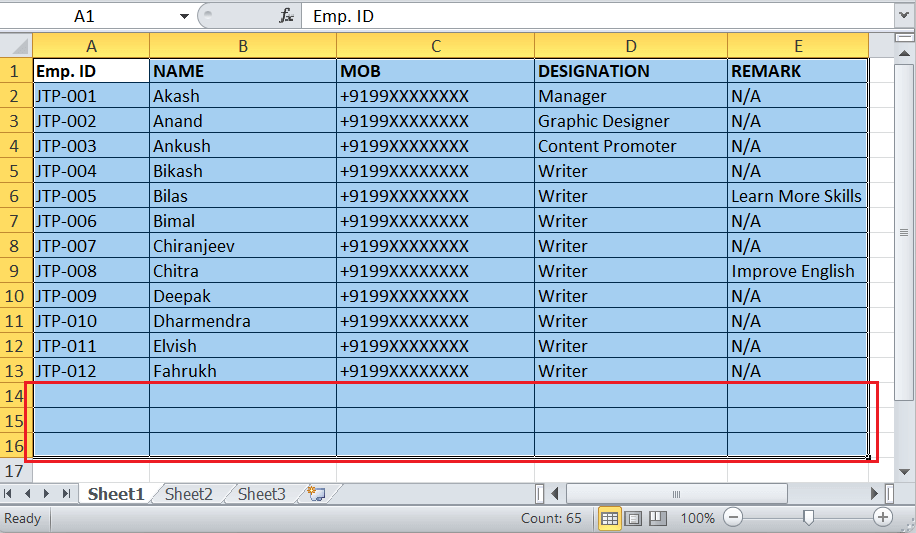
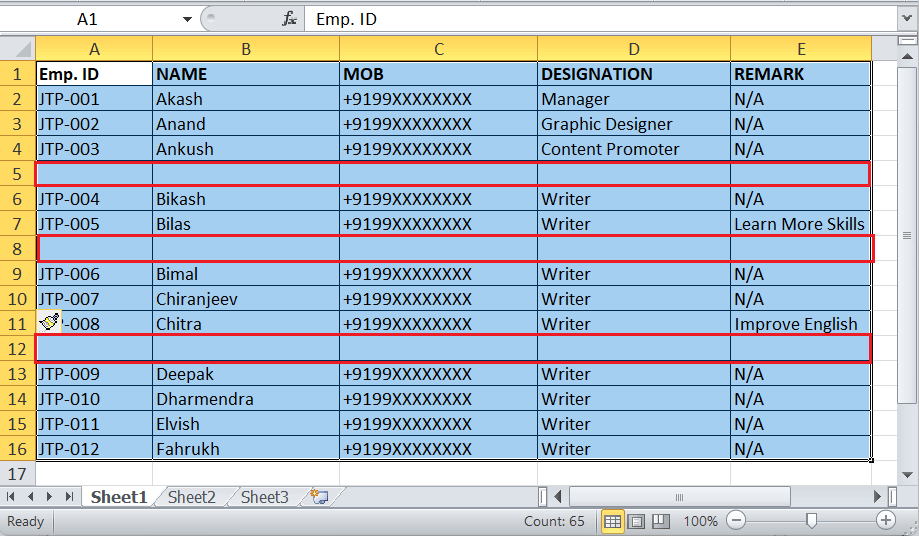
Removing Blank Rows using Excel's SortingAnother easy method to remove blank rows includes using Excel's sorting feature. The sort feature helps us arrange the data so that the blank rows appear at the bottom of the data. Later, we can decide to delete such rows at once; otherwise, we can ignore them. We can perform the following steps to delete blank rows by sorting:
Removing Blank Rows using Excel's FilterExcel has a Filter feature that allows us to find or arrange any specific data type in the sheet. We can use Filter and find one or more existing blank rows in our sheet and delete them accordingly. To use filters and remove blank rows, we must perform the following steps:
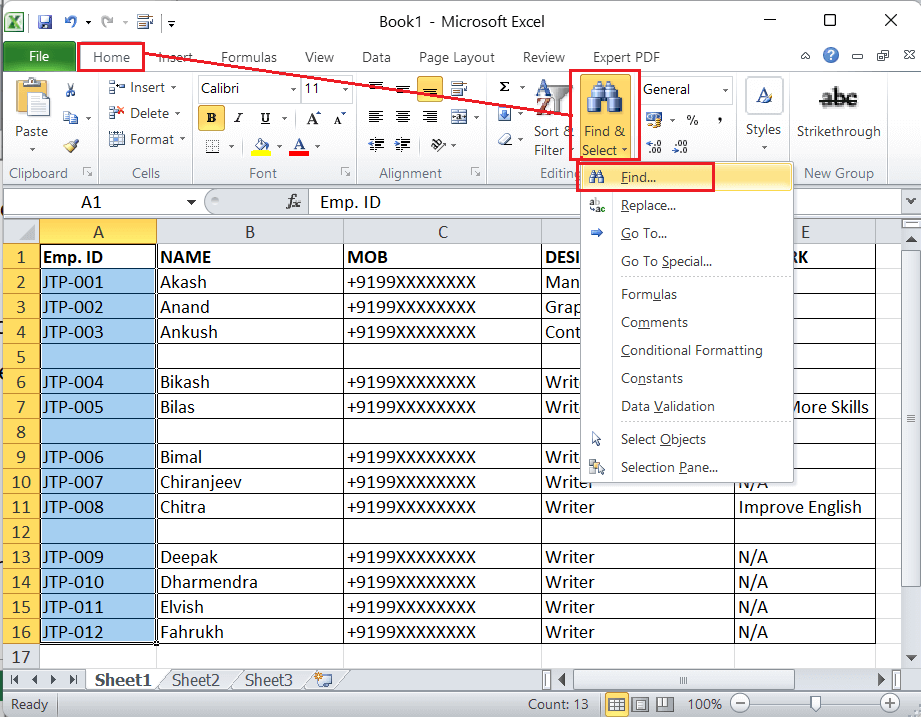
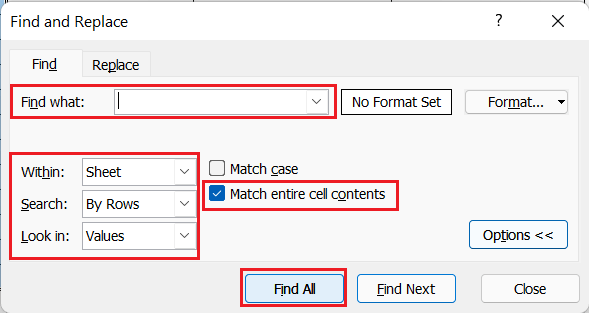
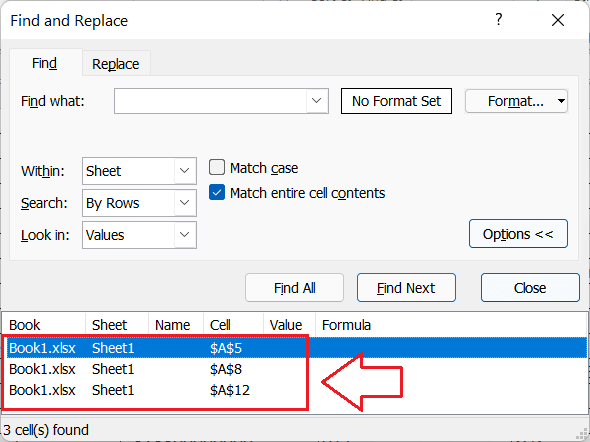
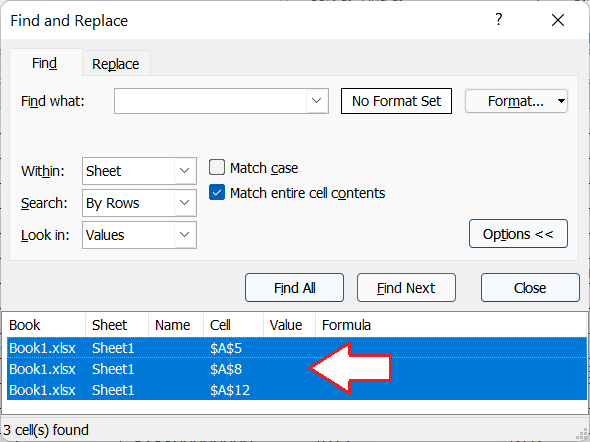
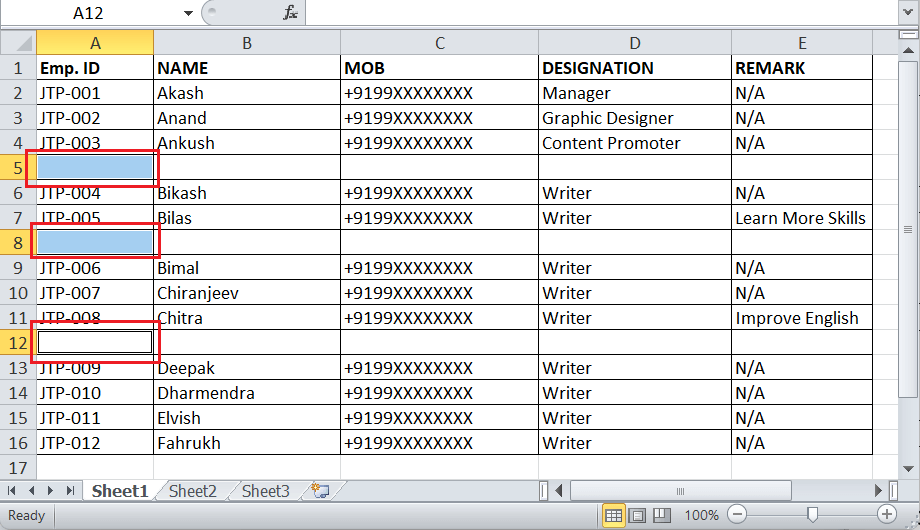
Removing Blank Rows using Excel's Find CommandExcel's Find command can help find and select blank cells from our supplied data within a worksheet. Once the blank cells are located, we can delete the entire row and if they are completely blank, then delete these rows. We can delete multiple blank rows in our worksheet at once by using it. The method includes the following steps:
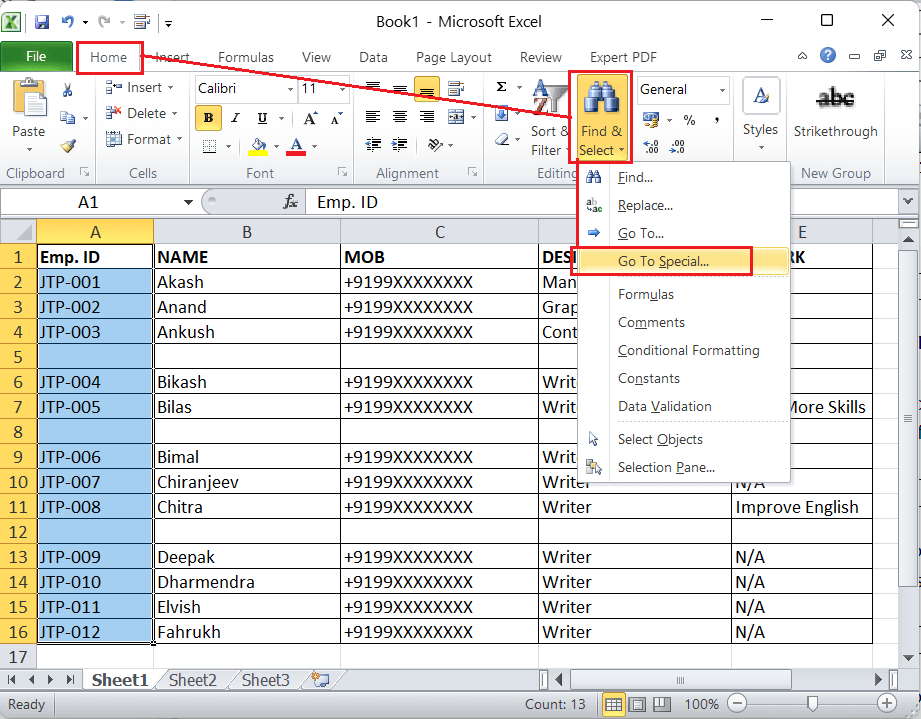
Removing Blank Rows using the Excel's Go to Special FeatureAnother method that helps remove blank rows from Excel sheets involves using the 'Go-To Special' feature. Excel's 'Go-To Special' feature is a good option to locate empty/blank rows if our worksheet has many blank rows scattered across a large data set. This unique feature helps us select all the blank cells from the selected column, which we can then check to decide whether to delete them or keep them or their respective rows. This method includes the following steps:
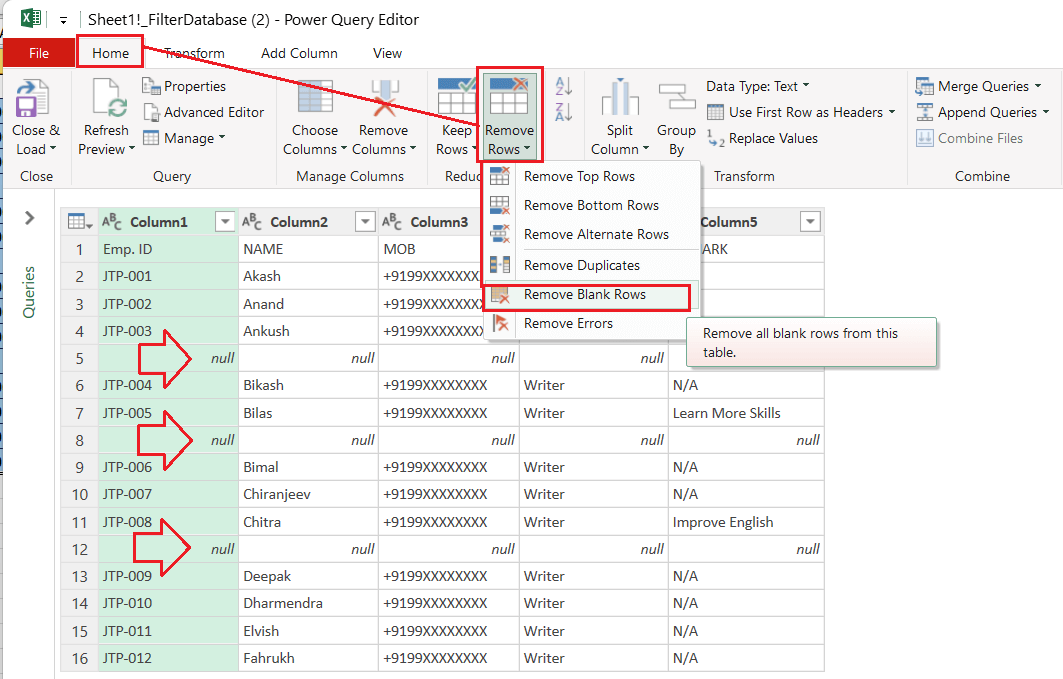
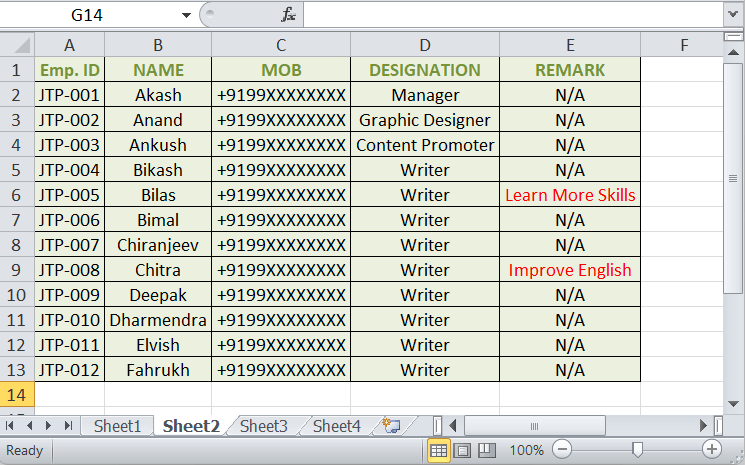
Removing Blank Rows using Excel's Power QueryExcel's Power Query tool can be defined as one of the best options to delete several blank rows with only a few clicks. We can export or open our data inside the power query editor and remove blank rows easily. Excel's power query considers blank rows as null values. We can perform the following steps and remove certain blank rows from our Excel sheet using the graphic view of Power Query Tool:
Next TopicHow to delete rows in Excel
|


 For Videos Join Our Youtube Channel: Join Now
Feedback
- Send your Feedback to [email protected]
Help Others, Please Share


