| |

How to insert a column in Excel?Inserting a column in an Excel sheet is one of the basic operations in Excel. An Excel sheet has more than 16000 columns that are good enough. But sometimes, the Excel users need to insert a new column in between the columns containing data. Hence, they need to know how to insert it. This chapter is all about inserting a column in an Excel sheet and different methods for it. We will try to explain you the easiest ways to insert the column in an Excel sheet. Need to insert columnSometimes, the Excel users need to insert a new column in between the columns containing data to add some more data. Hence, they need to know how to insert the new columns. The Excel users organize the sheet data by inserting or deleting a necessary/unnecessary column from the sheet. You may need to insert the row in continuous and also non-continuous manner. Insert a column from Excel menuSee the method to insert a new column from the Excel menu bar that contains the Insert option for row, column, and cell. Use it to insert a new column. The Insert option to insert a new column, row, or cell resides inside the Home tab. A new column is always inserted left to the column you selected to insert. By taking the help of this example, you will understand it much better. To insert a column, perform the given steps: Step 1: We have an Excel sheet containing some data inside it. We want to insert a new column next to the state column for DOB of employee. 
Step 2: Just go to one of the cells in column D as we want to insert the new column before this. Then, click the Insert dropdown option inside the Home tab. 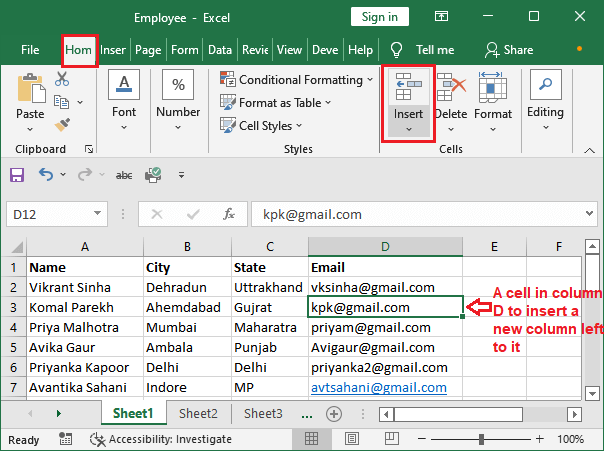
Step 3: Here, select the Insert Sheet Columns. 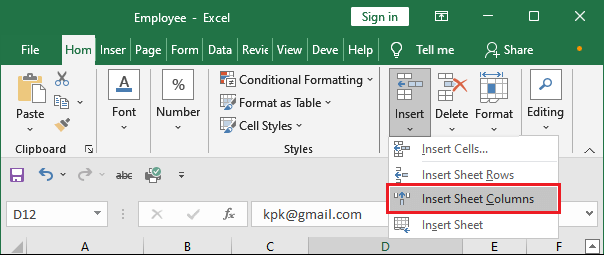
Step 4: When you click the Insert Sheet Columns, a new column will immediately insert to the sheet. 
You can now enter the data inside the newly inserted column. Insert a column from column headerIn the above method, we have inserted the new column with the help of Excel menu bar. The Excel users can also insert a column by using the header of the column. As we already told you that a new column is always inserted left to the column you selected to insert. Now, let us show you to insert a new column from the header of the sheet. There is no need of cell selection to insert the column. To insert a new column, perform the given steps: Step 1: We have the same Excel sheet with some data inside it. Just like the above method, we will insert a column in this sheet. 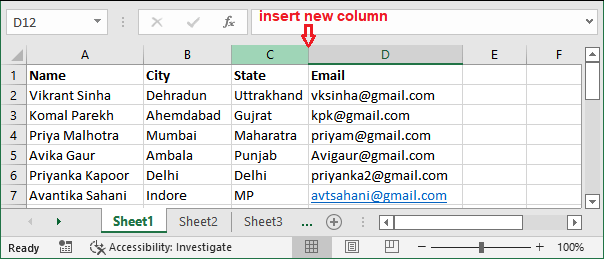
Step 2: Just go to the column before which you want to insert a new column and right-click on it, then select the Insert option from it. 
Step 3: A column will immediately insert into the sheet (left to the selected column). 
Step 4: You may also get a small window panel sometimes before inserting the column. If you get that window, click the Entire Column and click OK. If the user mistakenly inserts the new column at the incorrect place, they can move it to the left or right. Insert multiple columns in Excel sheetTill now, you have seen that we have inserted a single column in an Excel sheet. What if the user needs to insert more than one column in the sheet? We can do it using too by using the above method, but it will be time taking to reperform the same step multiple times. Excel enables another way to insert multiple columns in an Excel sheet. Using this, you can insert a number of columns in one go. Two methods are there for multiple columns insertion. Method 1 You can perform the same steps to insert a column and then immediately press the F4 function key of your keyboard to contiguous insertion of multiple columns. This method is good when you want to insert more than one column in a contiguous manner. Method 2 Excel enables another easiest way to insert multiple columns in one go. You have to select the number of columns in the sheet to insert the same number of columns in that sheet. Let us implement these steps in our sheet. Perform the below steps to insert the multiple columns in an Excel sheet: Step 1: We have the following data of different branches of BTech from 2017 to 2020. We want to insert three more columns for year 2014, 2015, and 2016. 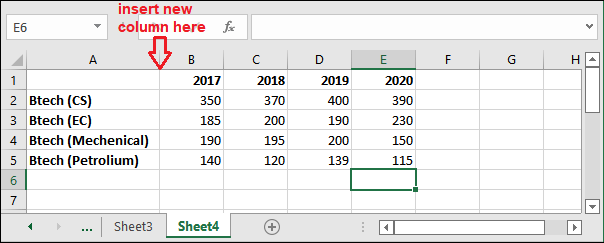
Step 2: Select the whole column from the column header (from column B to E) and right-click on the selected column. Click the Insert option in the given list. 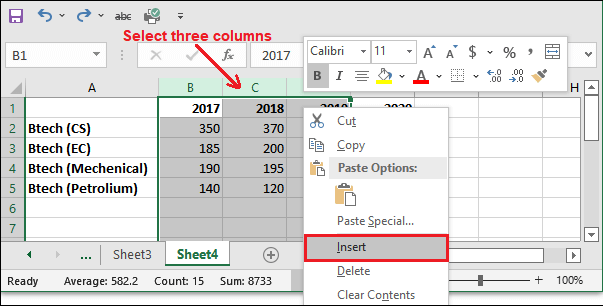
"Select the number of columns/cells equal to the number of new columns you want to insert in the sheet." Step 3: Three new columns have been inserted left to the year 2017 successfully in the Excel sheet. 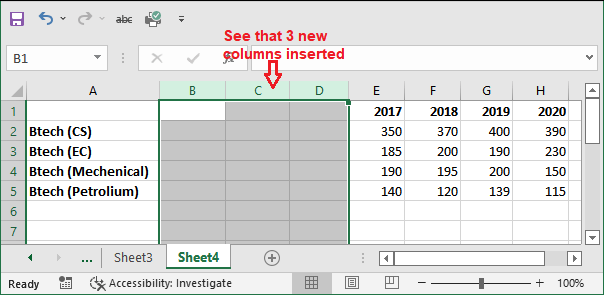
You can define the column header and enter the data into it. In this way, multiple columns can be easily inserted to the Excel sheet in a single go. You do not need to perform the extra steps and the problem will get solved. You can prefer this method. Step 4: In case the whole column is not selected and only some cells of the number of columns have been selected. 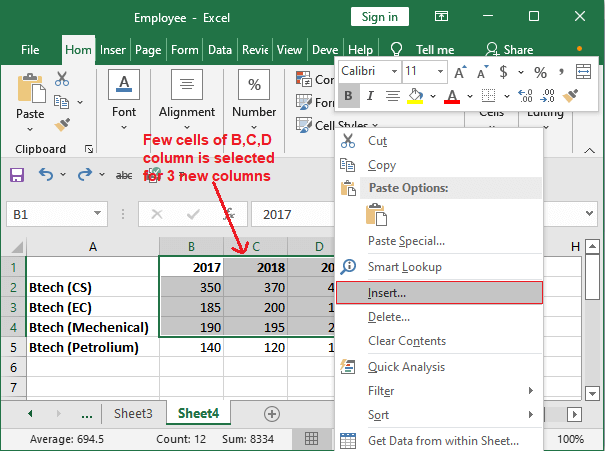
Step 5: You may get this type of small window where you select the Entire Column and click OK. 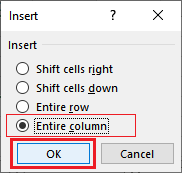
So, you do not need to worry at any step. Just follow the step and insert the columns without any worry. Insert multiple adjacent columnsInserting adjacent columns means inserting more than one column in a non-contiguous column manner rather than continuously. You have seen we have discussed the methods to insert a column as well as more than one column in an Excel sheet. In both methods, columns are inserted continuously. But sometimes, users do not need to insert the columns in a contiguous manner. They need to insert multiple adjacent columns in one go in an Excel sheet. The way to inserting the adjacent columns is almost the same with a little bit of difference. Learn the way to insert the multiple columns in an adjacent manner in an Excel sheet. Step 1: We have this set of data for which we will show you to insert the adjacent columns in this sheet. 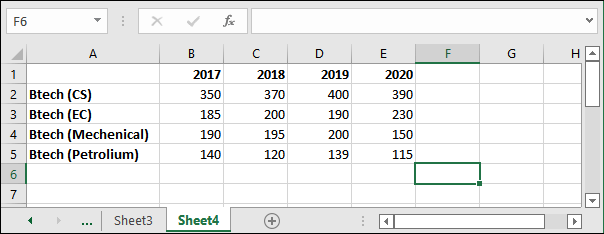
Step 2: Select the columns before which you want to insert the new columns by holding the Ctrl key from the column header. 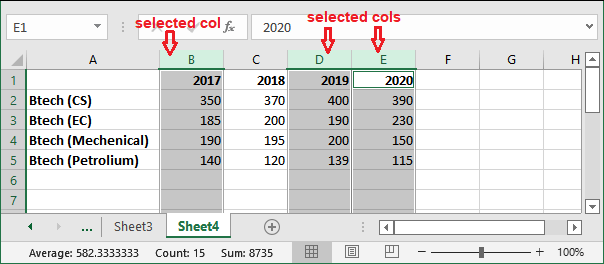
Step 3: Right-click one of the selected columns and select the Insert option. 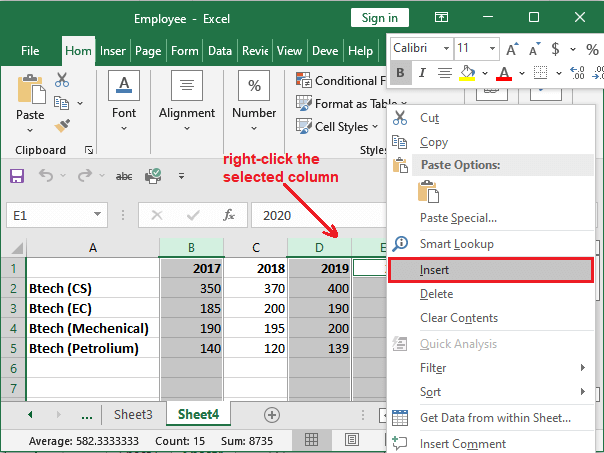
Step 4: See that the adjacent column has been inserted left to each selected column. 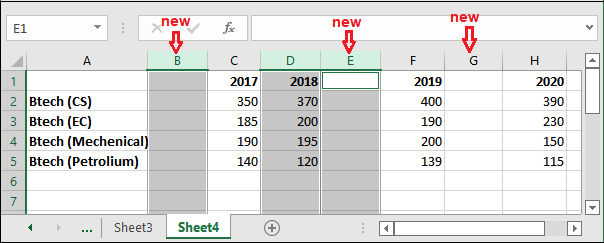
In this way, the columns have been inserted adjacently. These are not inserted in a contiguous manner. So, whenever you need this type of column insertion in an Excel sheet, you can follow this method.
Next TopicHow to insert multiple rows in Excel
|
 For Videos Join Our Youtube Channel: Join Now
Feedback
- Send your Feedback to [email protected]
Help Others, Please Share


